Dynamic Data Filtering with Parameters
Topics Covered:
- Adding and configuring a BoardId parameter for filtering.
- Setting up a filter condition using the Filter Editor.
- Linking the parameter to the ParentID column.
- Finalizing and saving the data source configuration.
This section equips you with the knowledge to dynamically filter data in your dashboards, ensuring that each dashboard retrieves and displays relevant, board-specific data seamlessly.
Use Parameters to Filter Data in the Data Source
To make the data source display only the categories specific to your board, we’ll use parameters. Parameters allow us to dynamically filter data, ensuring that each dashboard only loads the information it needs. Here’s how it works:
Why Parameters?
When a user opens the dashboard, the system automatically assigns a BoardId value based on the board being viewed. By linking this value to the data source, we ensure that only the relevant categories for that board are loaded. Steps to Filter Data:
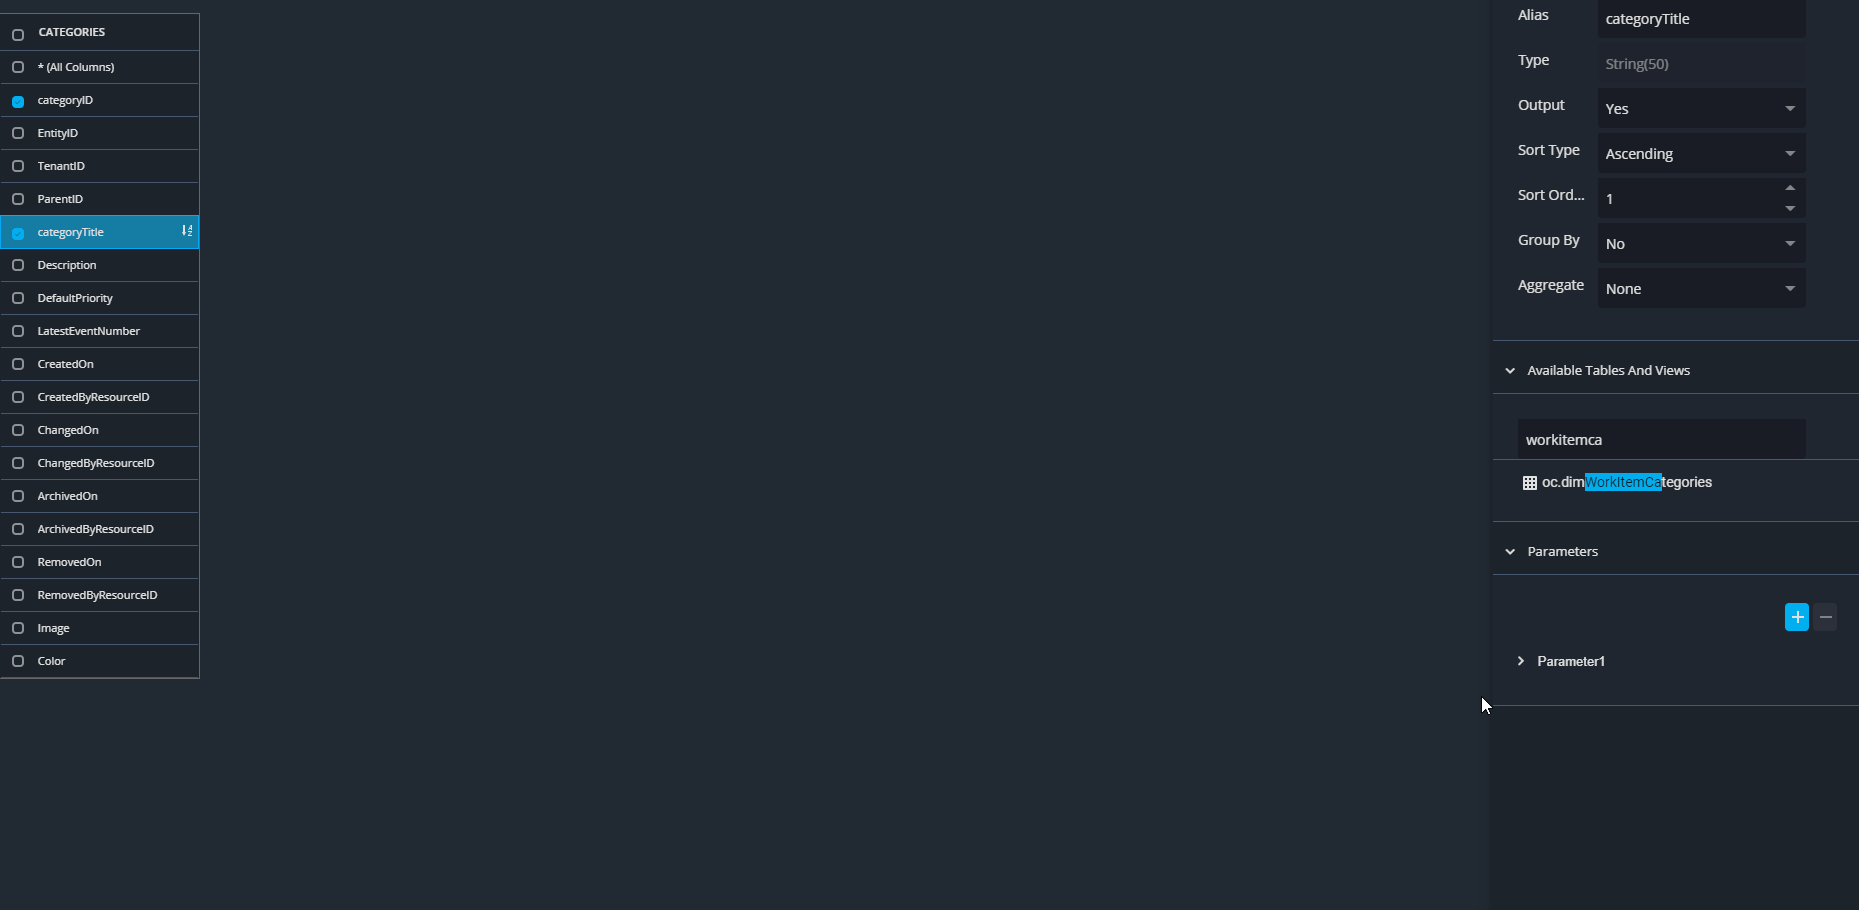
Step 1. Expand the Parameters section in the Query Builder and click the + Plus button to add a new parameter.
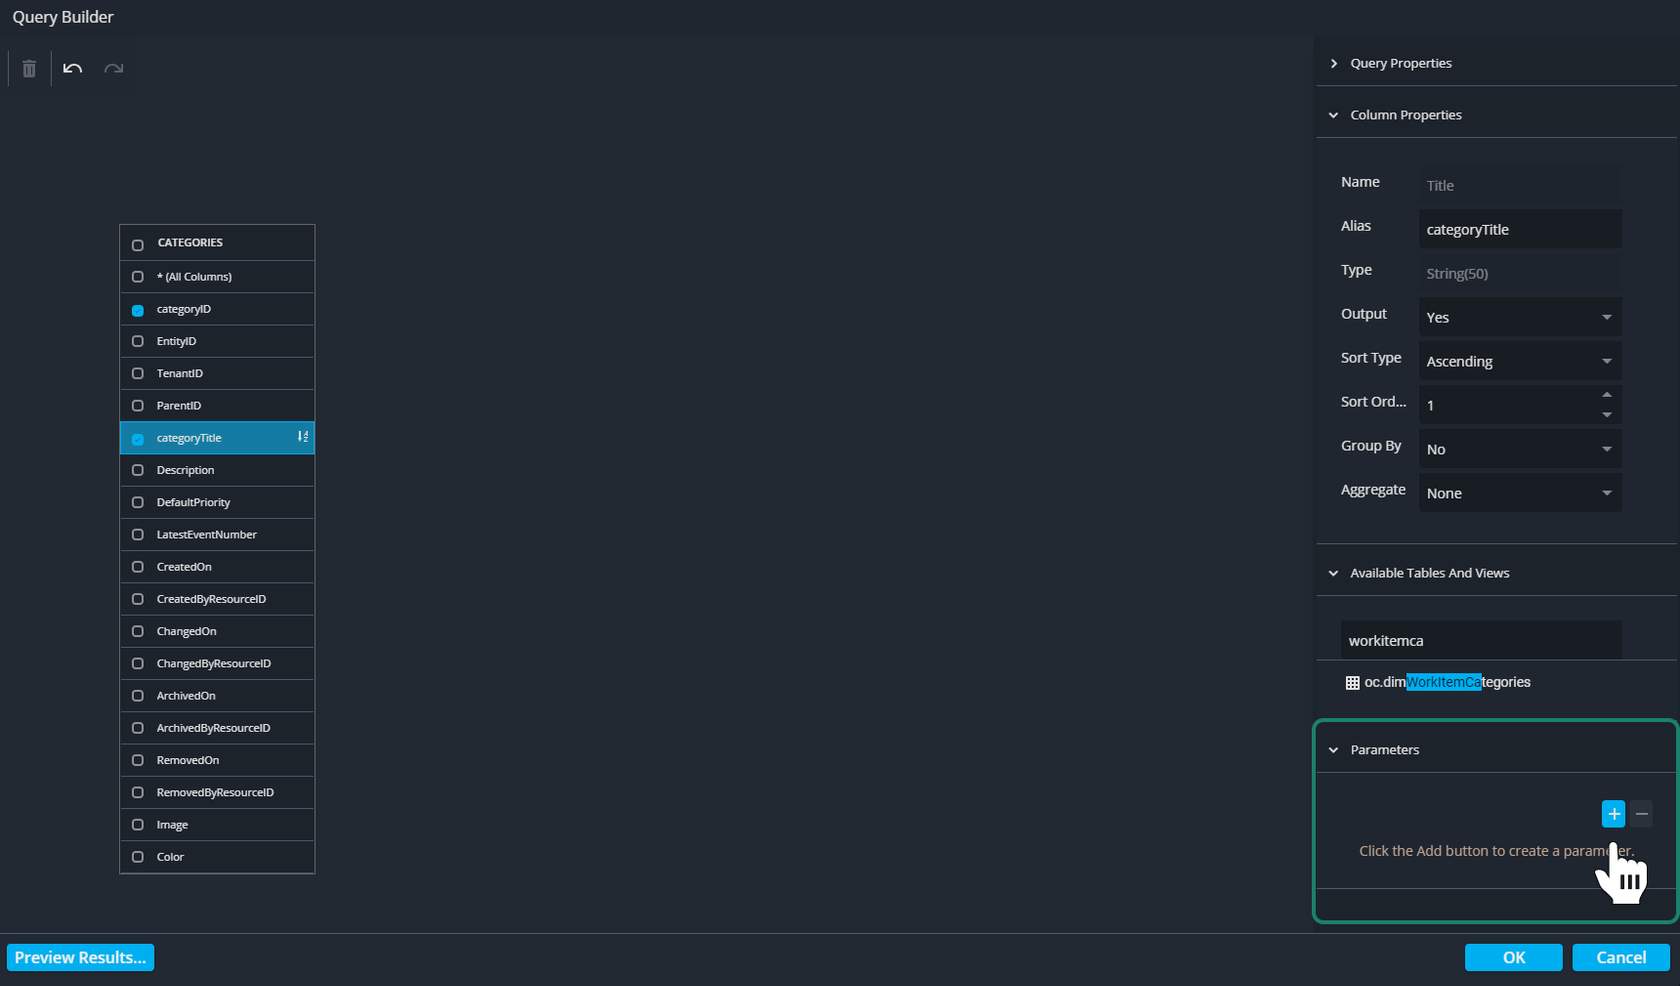
Step 2. Set the following details for the parameter:
- Name: BoardId
- Type: Expression (This means the value will be calculated dynamically).
- Result Type: Number (32-bit Integer)
- Value: ?BoardId (Use the three-dot menu to open the popup, then double-click the Board ID to select it.)
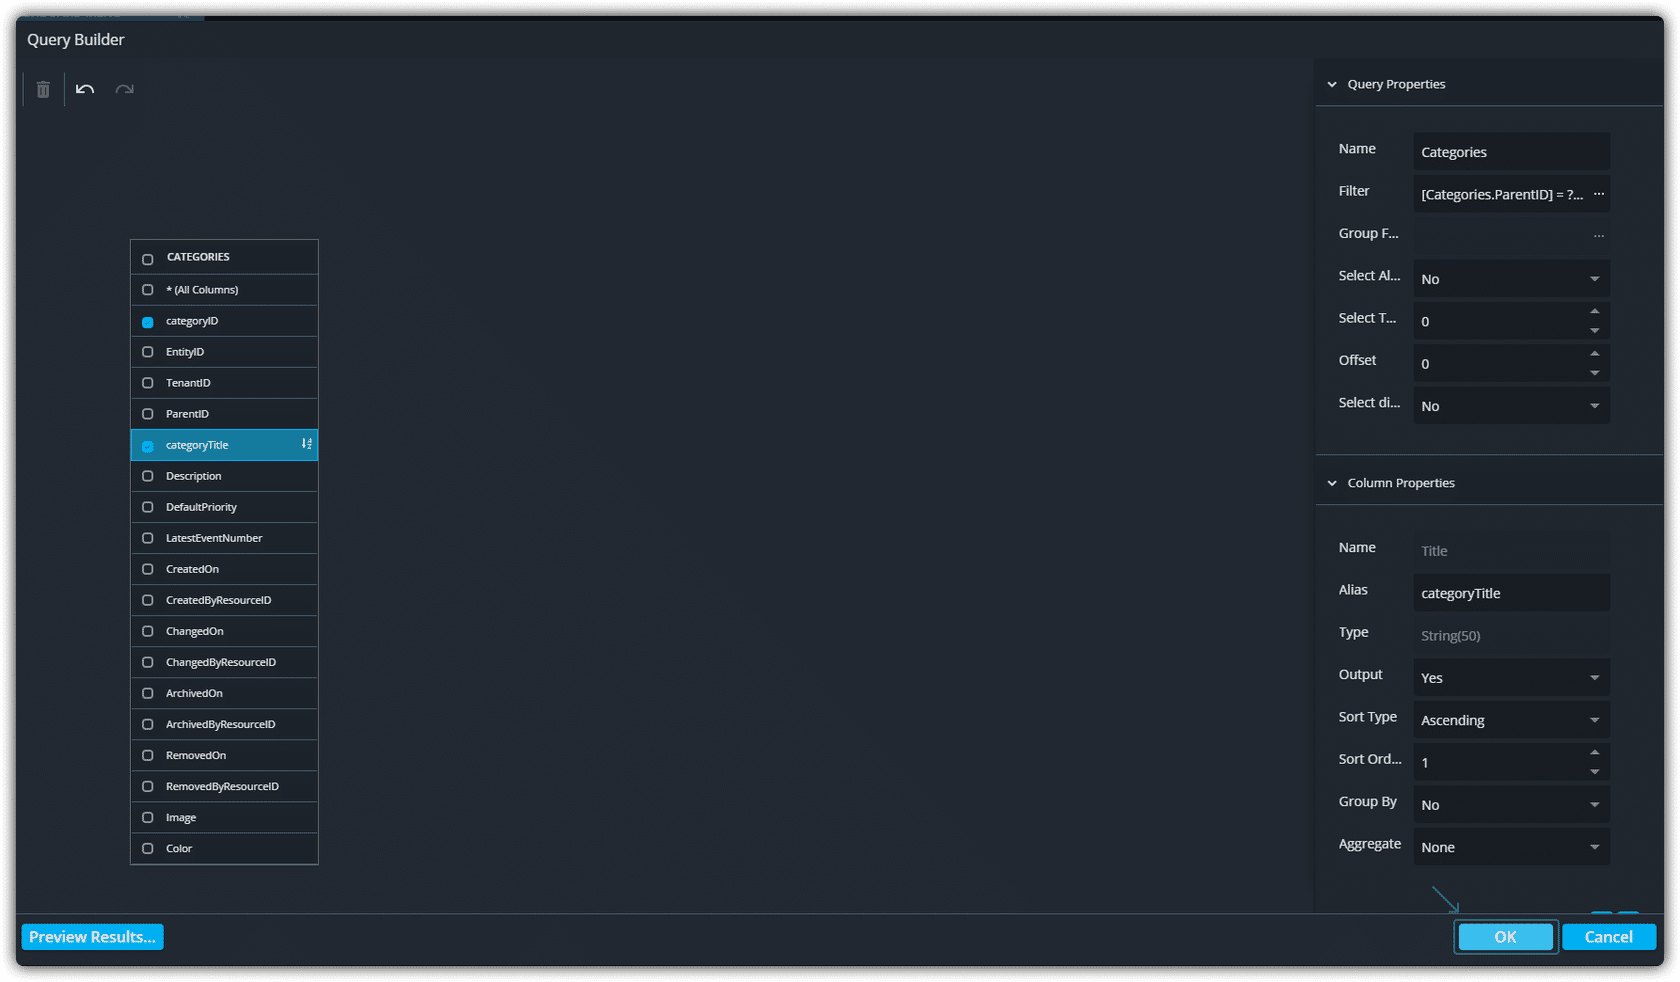
Applying Filters to the Data Source
Now that we’ve created the BoardId parameter, it’s time to use it to filter the data in the data source. This ensures the data source only retrieves categories specific to the current board. Steps to apply filters to the data source:
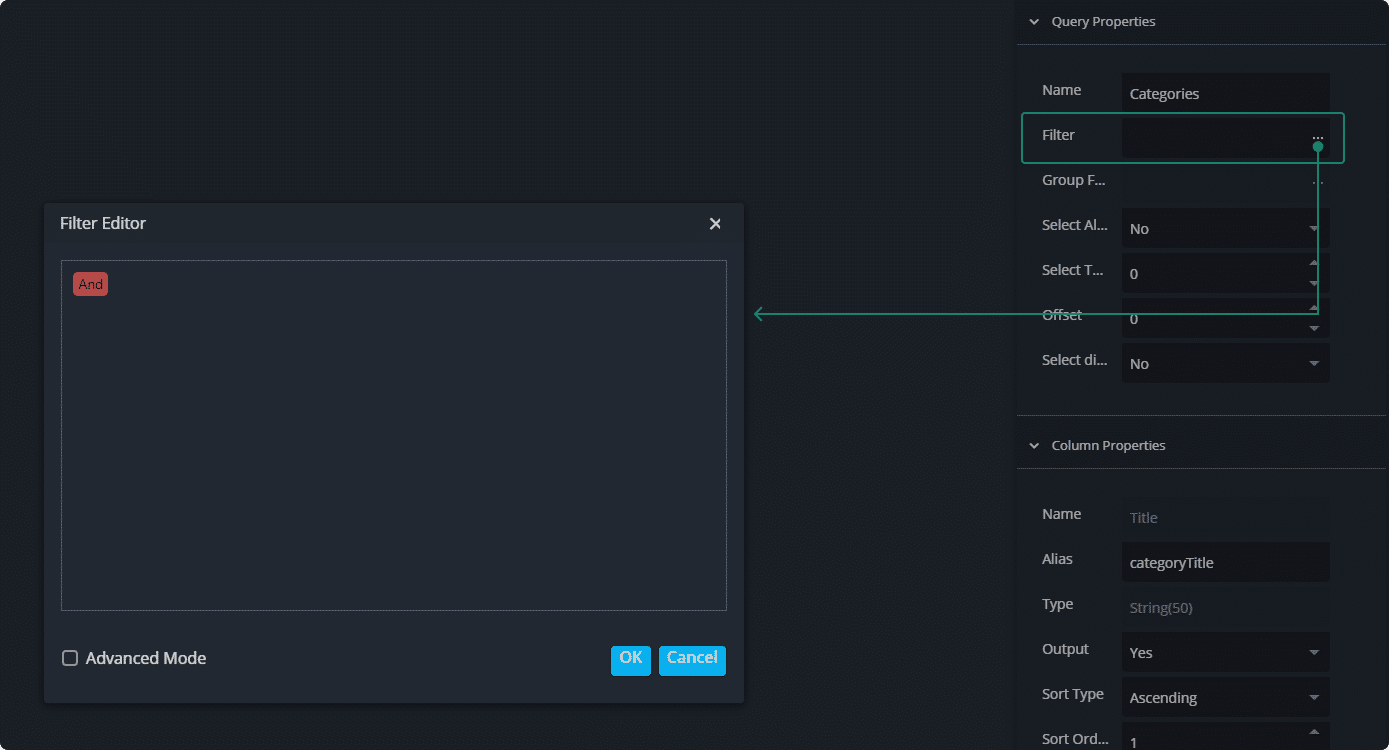
1. Open the Query properties:
In the side panel, scroll to the top and expand the Query properties section.
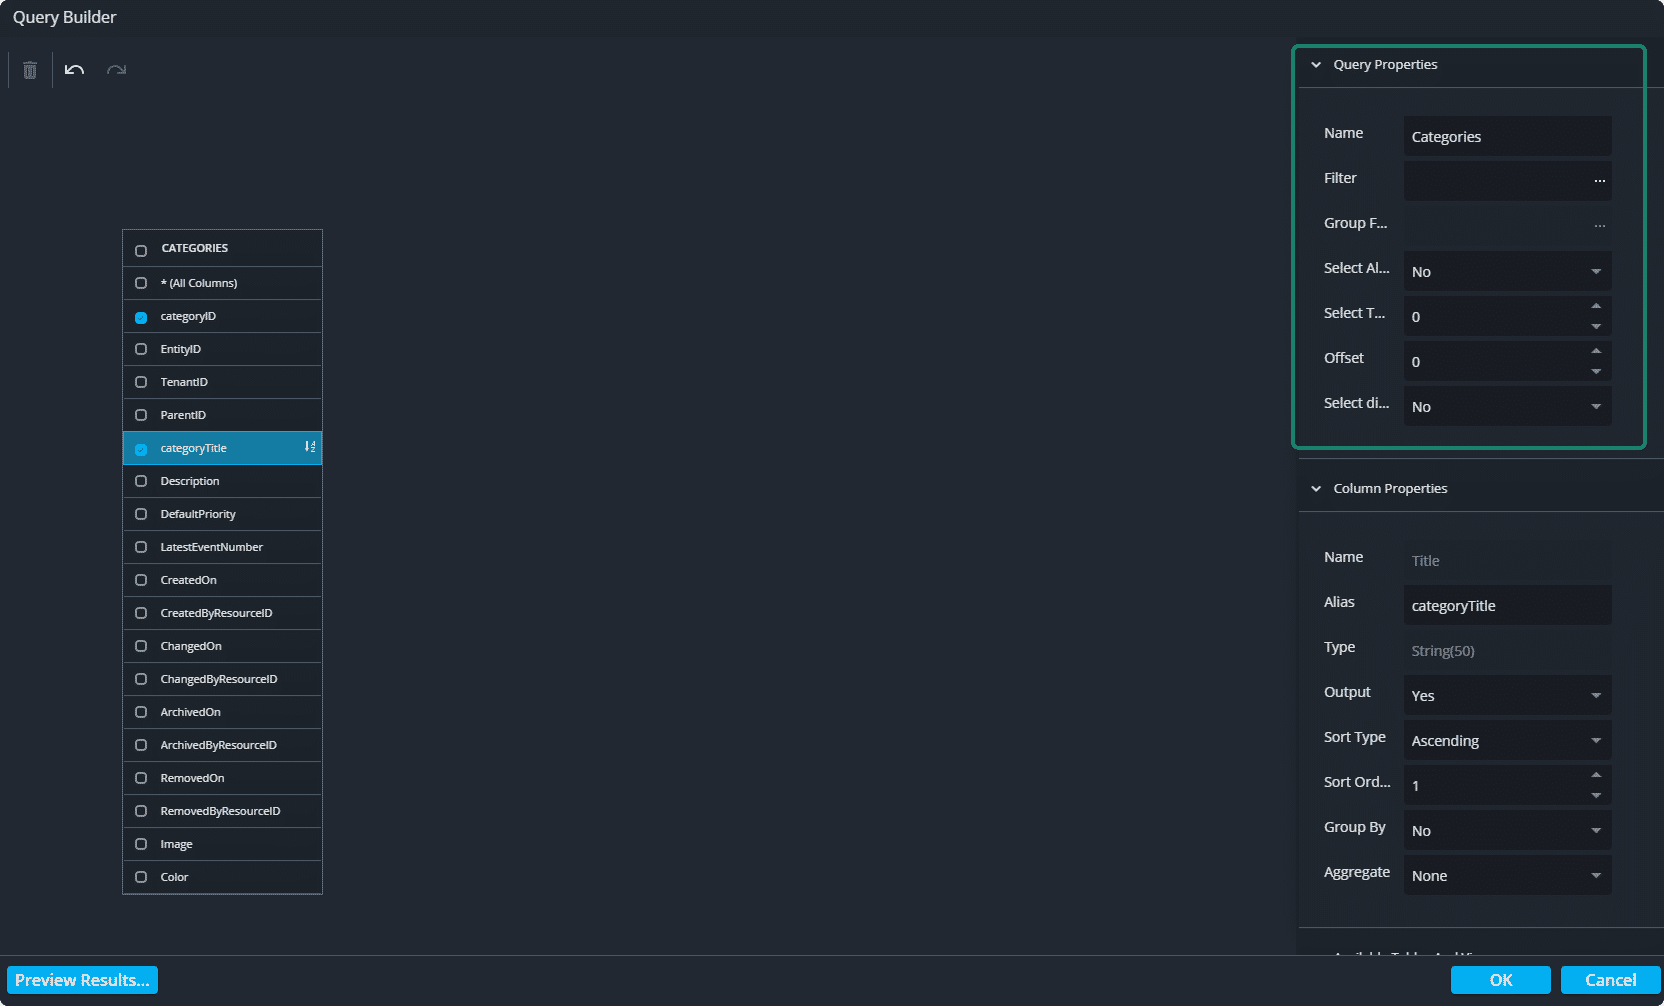
2. Access the Filter Editor:
Click on the three dots next to the Filter field. This will open the Filter Editor interface.
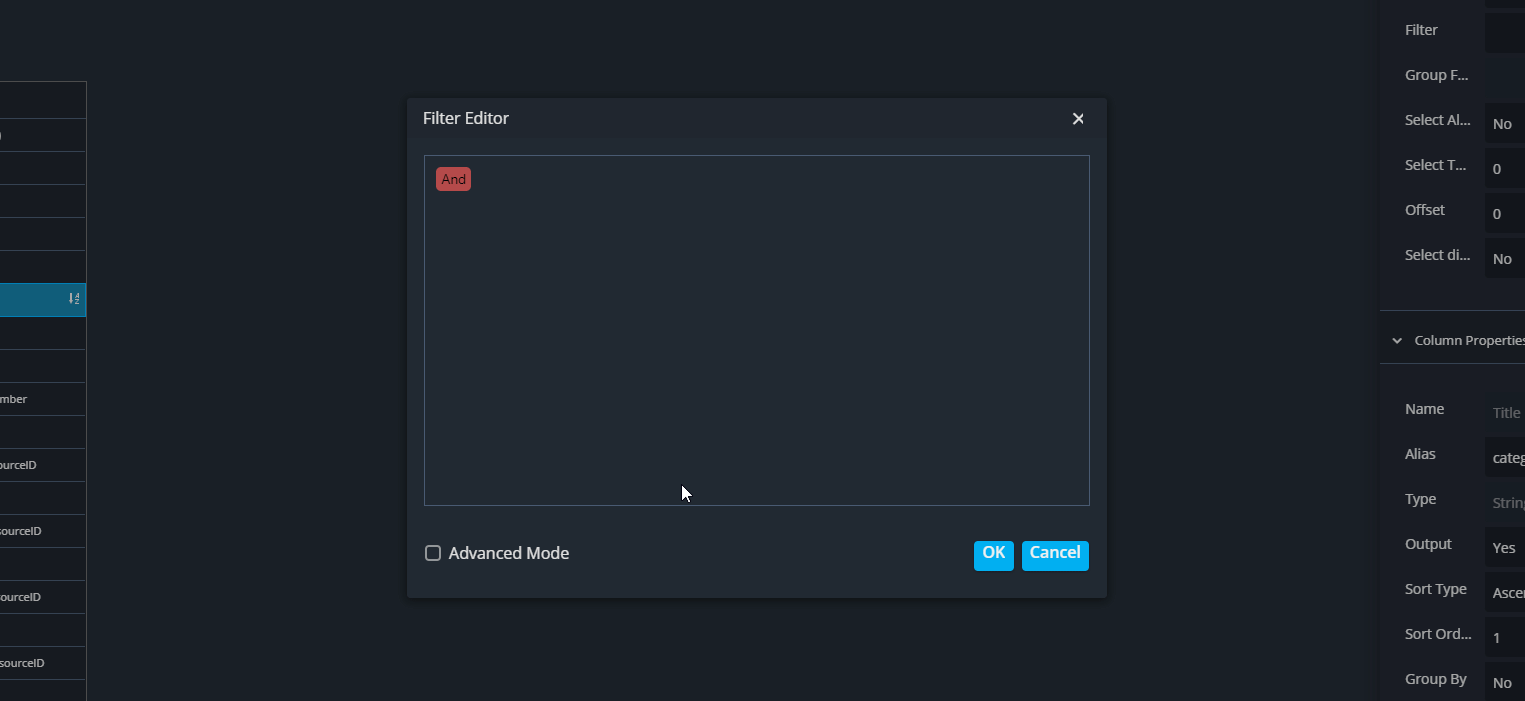
3. Add a Filter Condition:
- Hover over the And statement at the top of the Filter Editor.
- Click the + Plus button next to it to add a new condition.
- This condition will be used to filter the data based on the BoardId parameter.
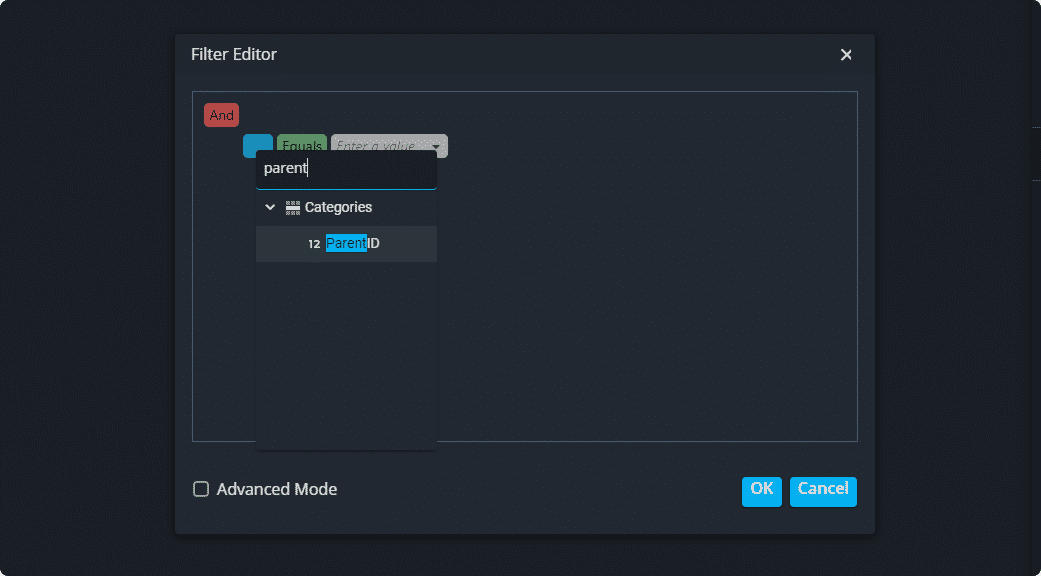
4. Select the Filter Column:
- Click the blue button to open the column selector.
- Search for ParentID within the Categories table and double click it.
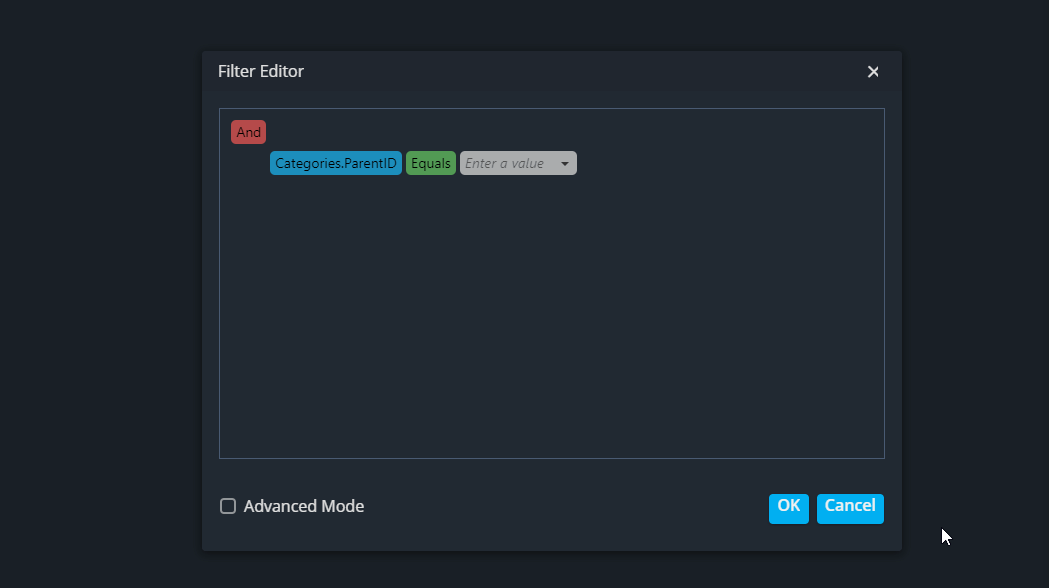
5. Set the Filter Value:
- Click on the down arrow of the Enter a value button.
- From the dropdown, select Parameter.
- The system should automatically fill in the parameter BoardId.
- Close the filter editor by clicking OK.
Result:
By completing these steps, the data source will dynamically filter the categories using the BoardId parameter. This ensures that only the relevant categories for the current board are displayed in your dashboard.
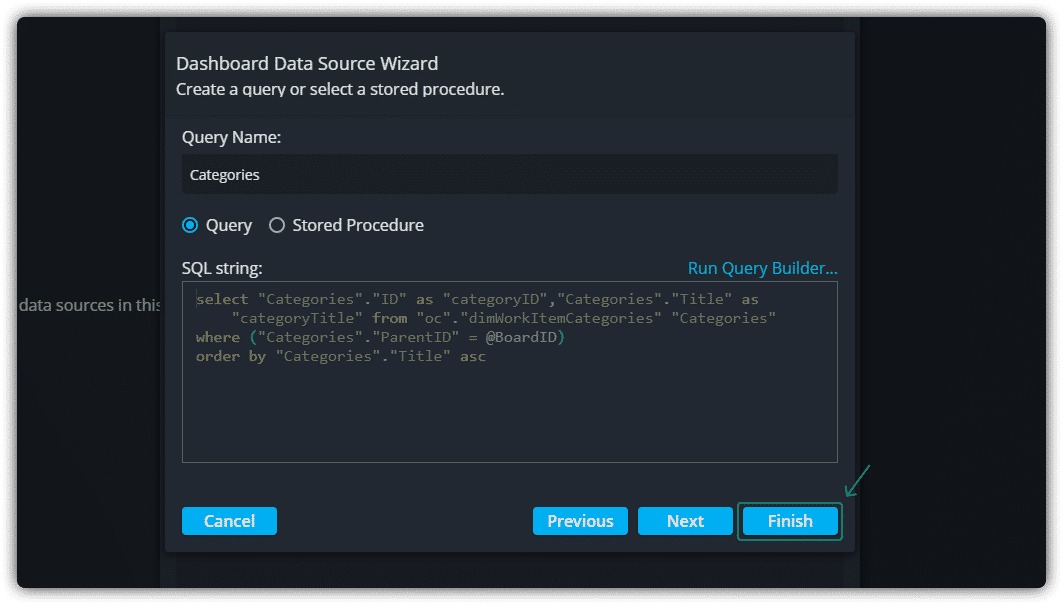
Finalizing the Filter and Completing the Data Source
1. Close the Filter Editor:
After setting the filter condition, click OK at the bottom of the Filter Editor to save and close the popup.
2. Complete the Data Source Setup:
Click Finish to exit the Data Source Wizard and save the newly configured data source.
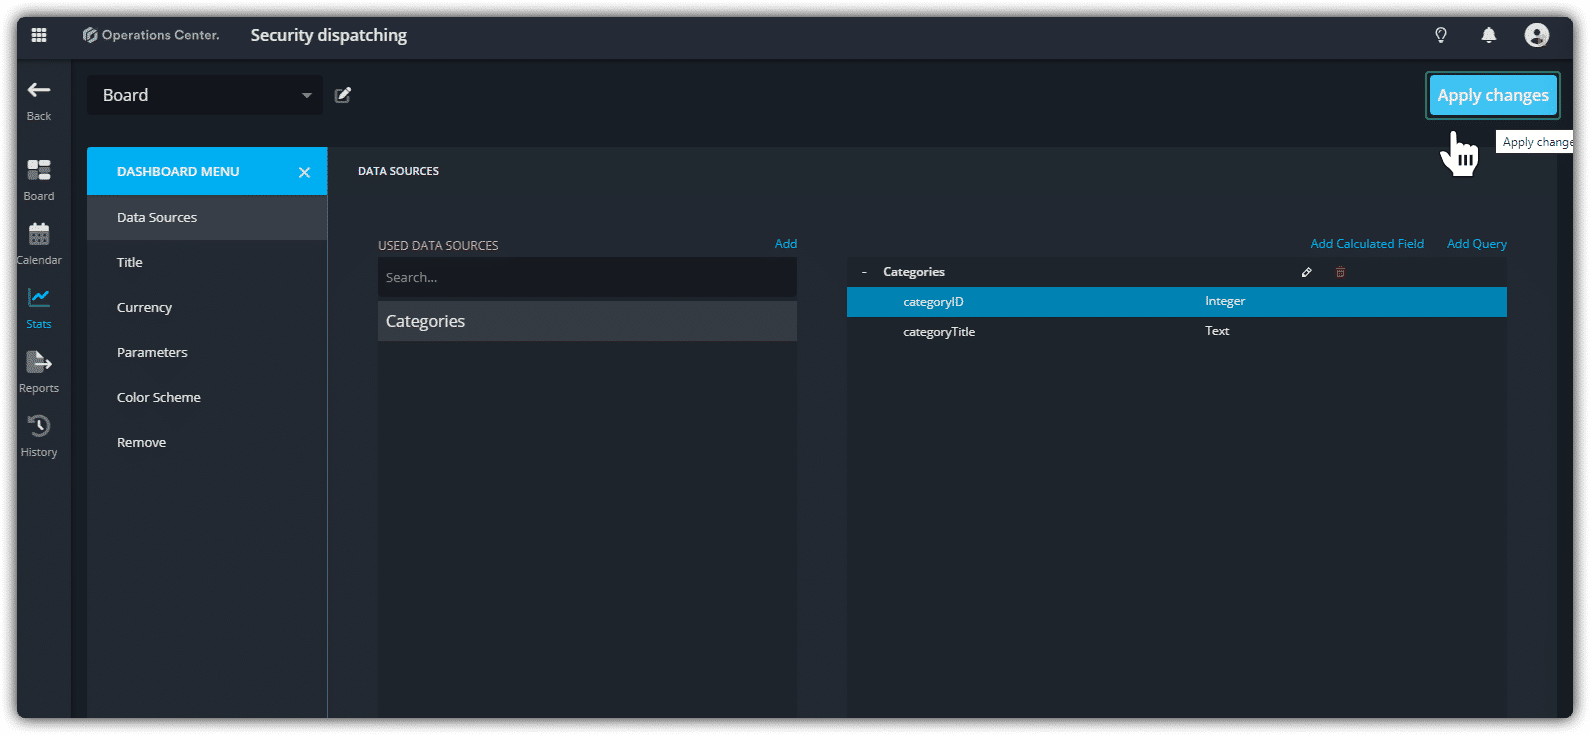
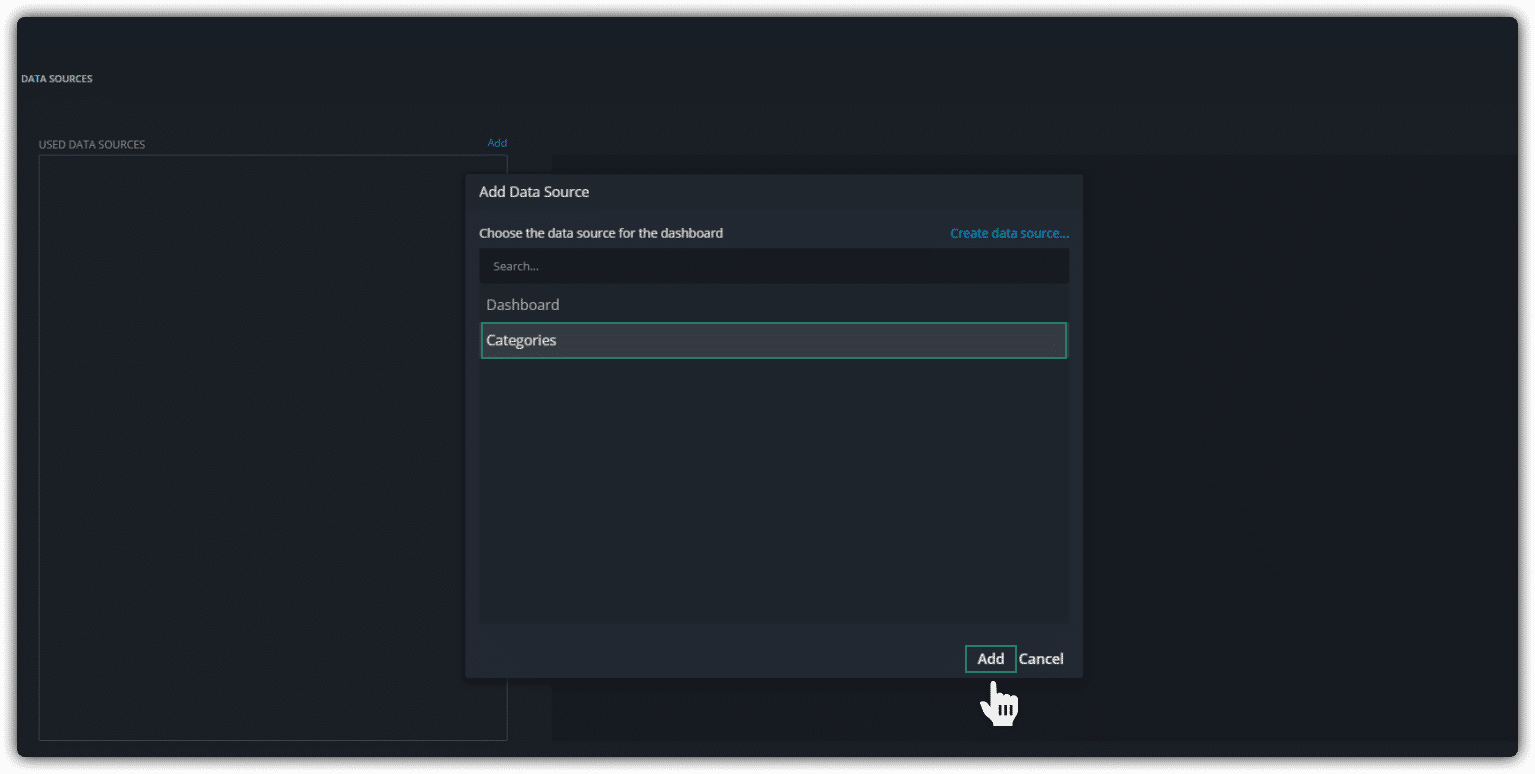
3. Add data source
Make sure Categories is selected and click ‘Add’ to add the new query to the dashboard.
💡 Make sure to apply your changes.