
Setting Up the Custom Connector
If you want Power Automate to talk to Operations Center smoothly, you need a custom connector—think of it as a translator that helps them understand each other. Without it, automation would be like trying to text in Morse code when the other side only speaks emojis.
In just a few steps, you’ll have your custom connector up and running, ready to power your automation. Watch the video for the full process or follow the step by step breakdown below.
Create a New Custom Connector
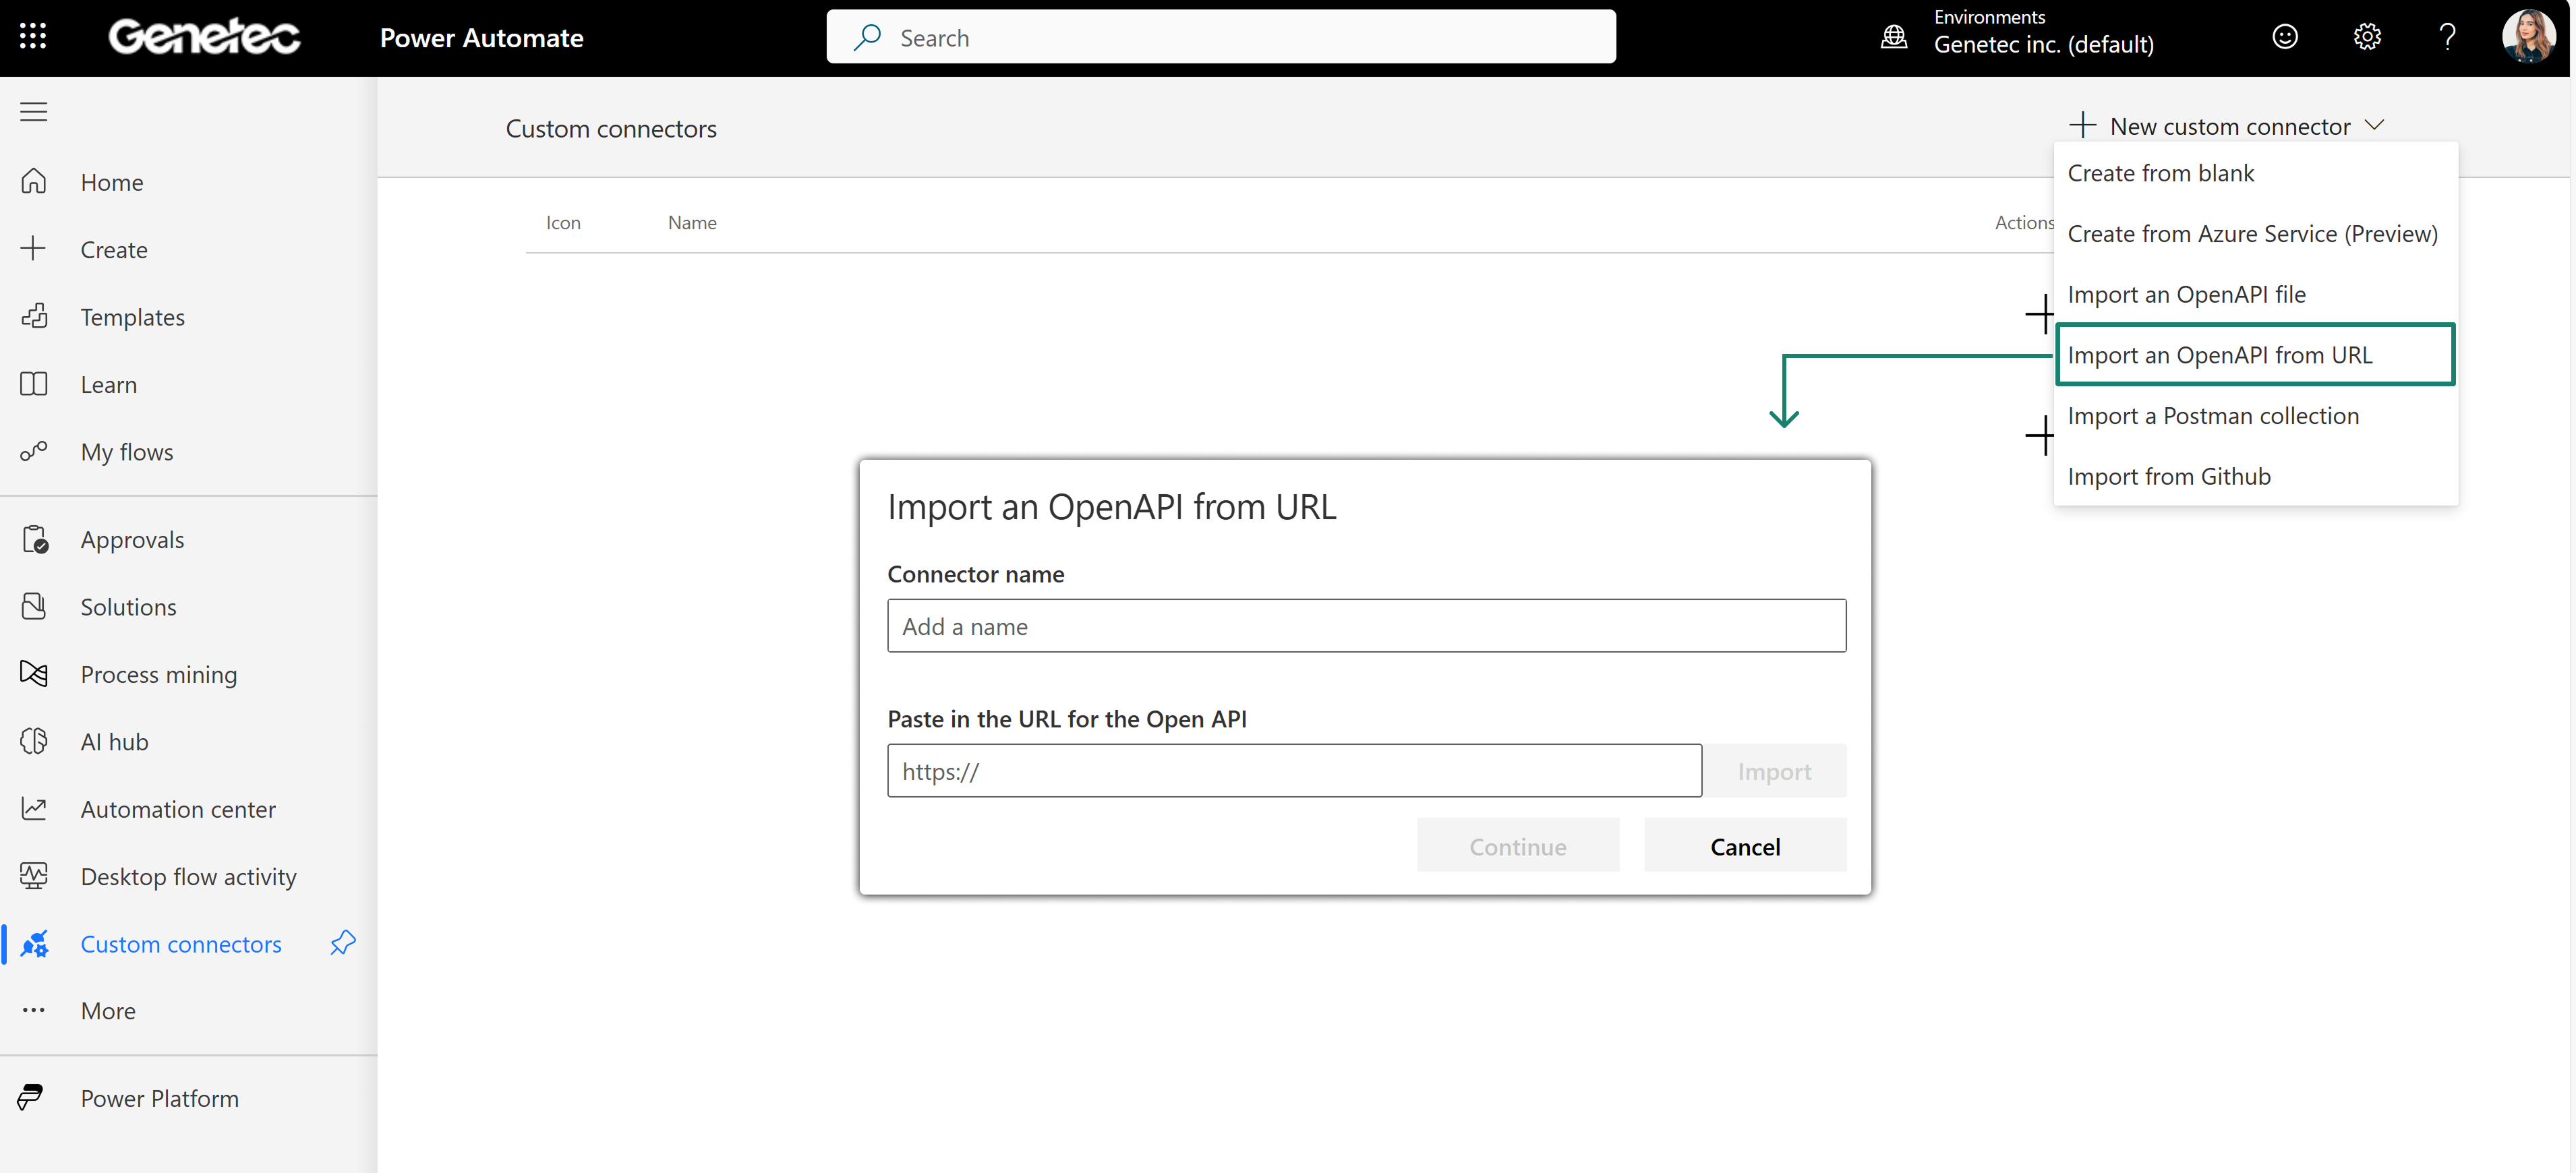
Open Power Automate and navigate to Custom Connectors:
Click New Custom Connector → Import an OpenAPI from URL:
Enter the API URL for Your Cluster
The API URL you use depends on your Operations Center cluster. Choose the correct one from the table below:
Your Operations Center cluster determines which API URL you use. Pick the right one from the table below:
| Cluster | API URL |
|---|---|
| Australia East | https://api.aus-east.ops.center/swagger/automate/v1.0/swagger.json |
| Canada Central | https://api.ca-central.ops.center/swagger/automate/v1.0/swagger.json |
| Europe West | https://api.eu-west.ops.center/swagger/automate/v1.0/swagger.json |
| US East | https://api.us-east.ops.center/swagger/automate/v1.0/swagger.json |
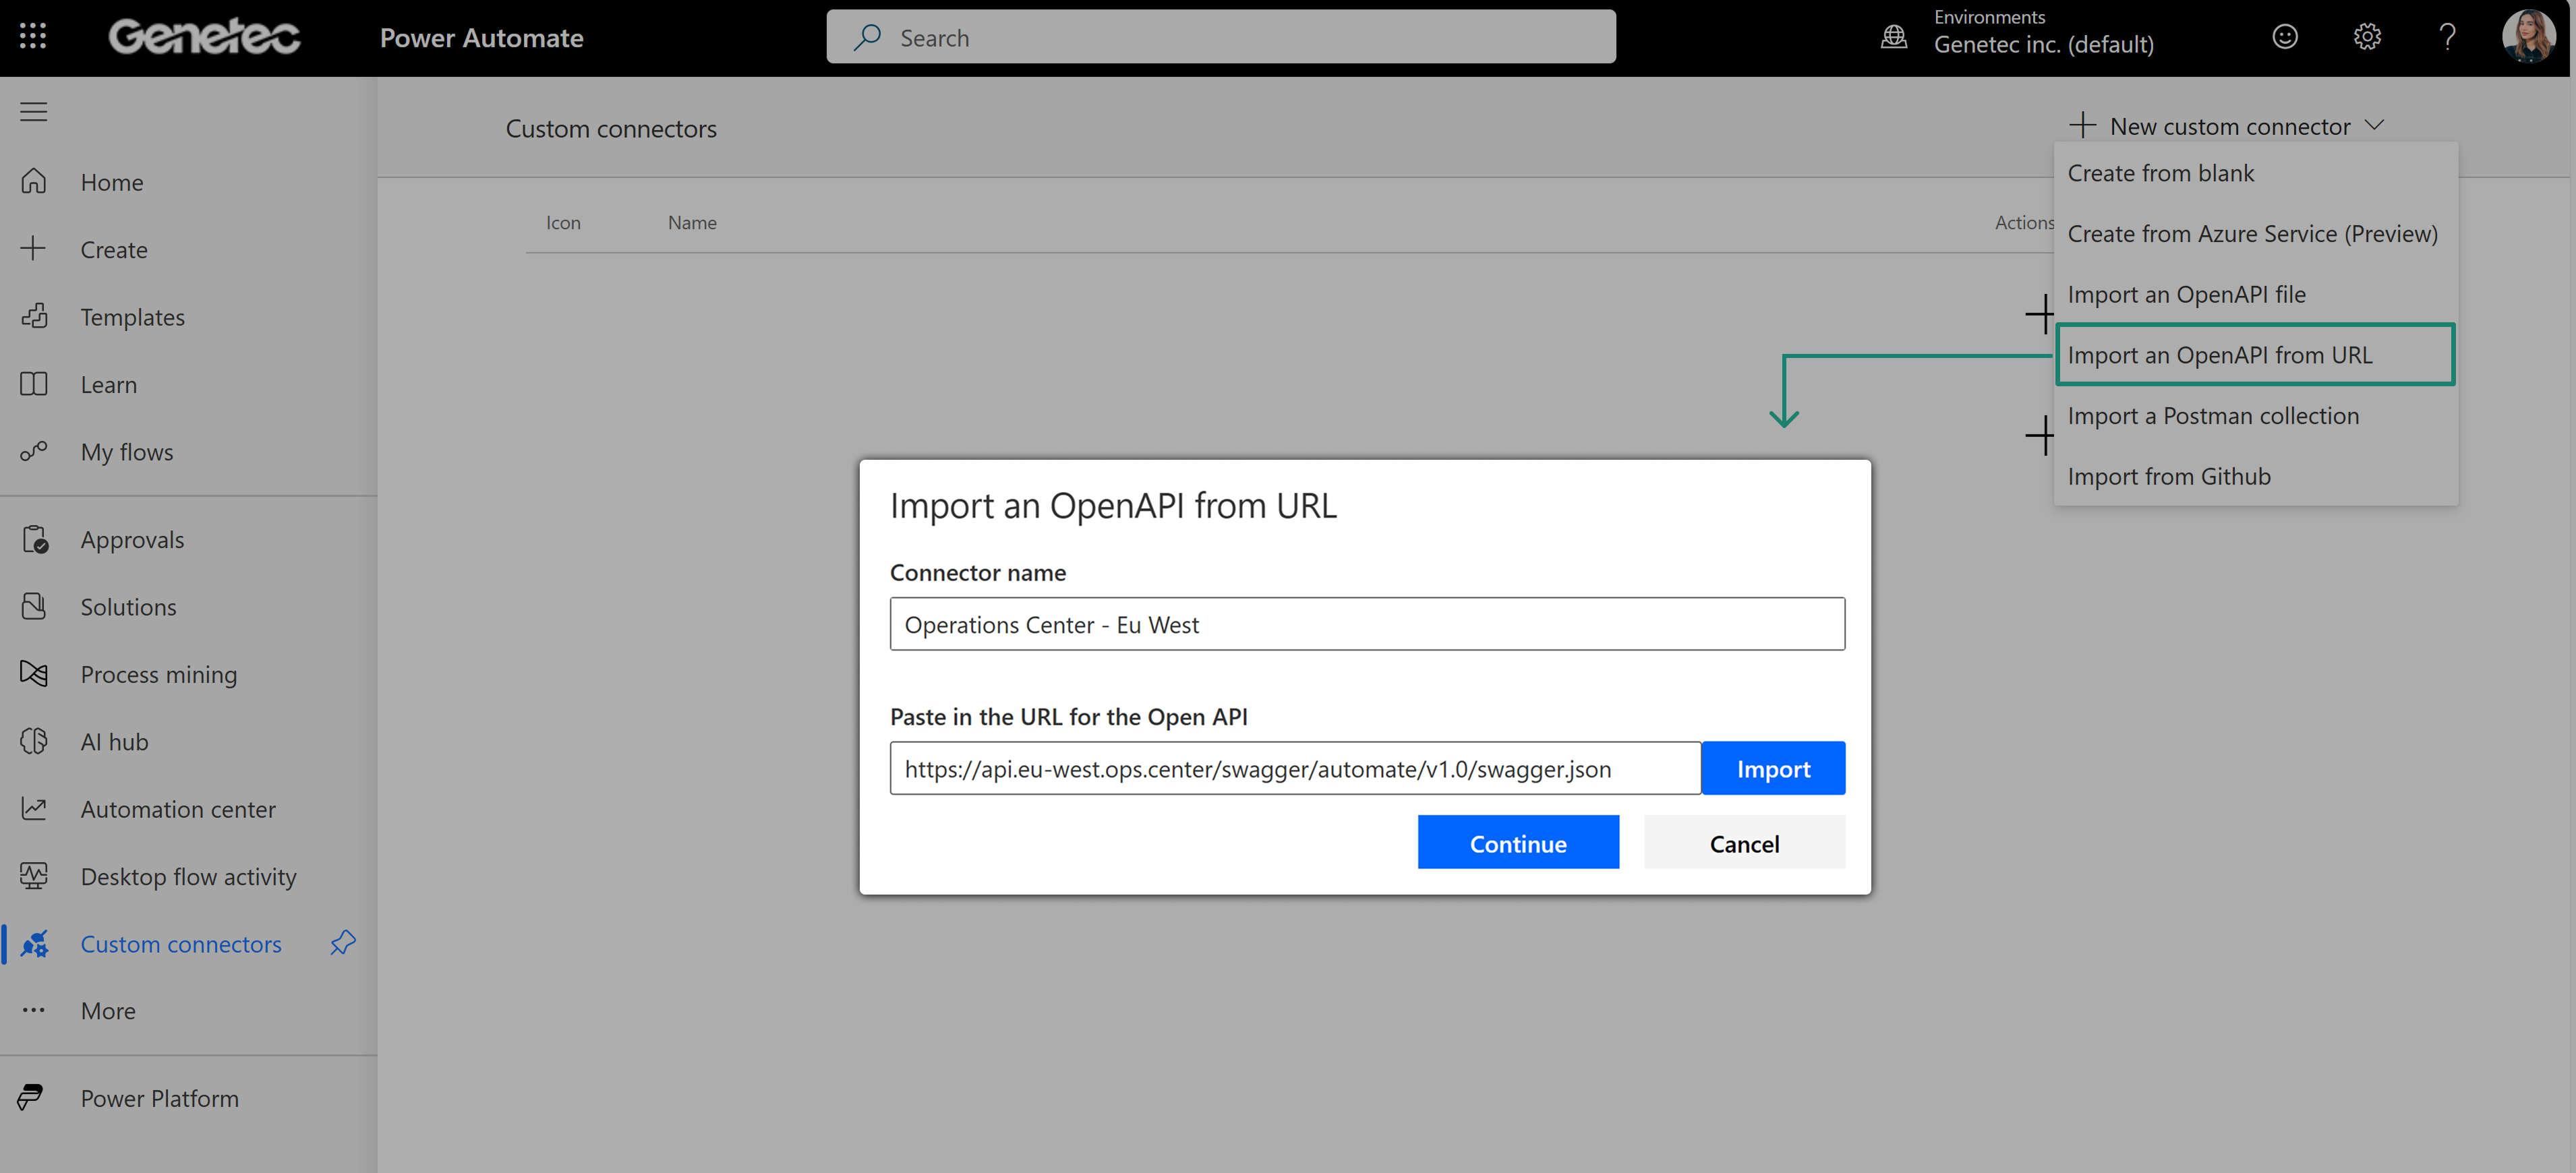
Copy and paste your cluster's API URL into the OpenAPI URL field. Click Import, then Continue.
Set General Connector Information
Give your connector a logical name (let’s keep it simple).
For the Host, select the appropriate option from this table:
| Cluster | Host |
|---|---|
| Australia East | api.aus-east.ops.center |
| Canada Central | api.ca-central.ops.center |
| Europe West | api.eu-west.ops.center |
| US East | api.us-east.ops.center |
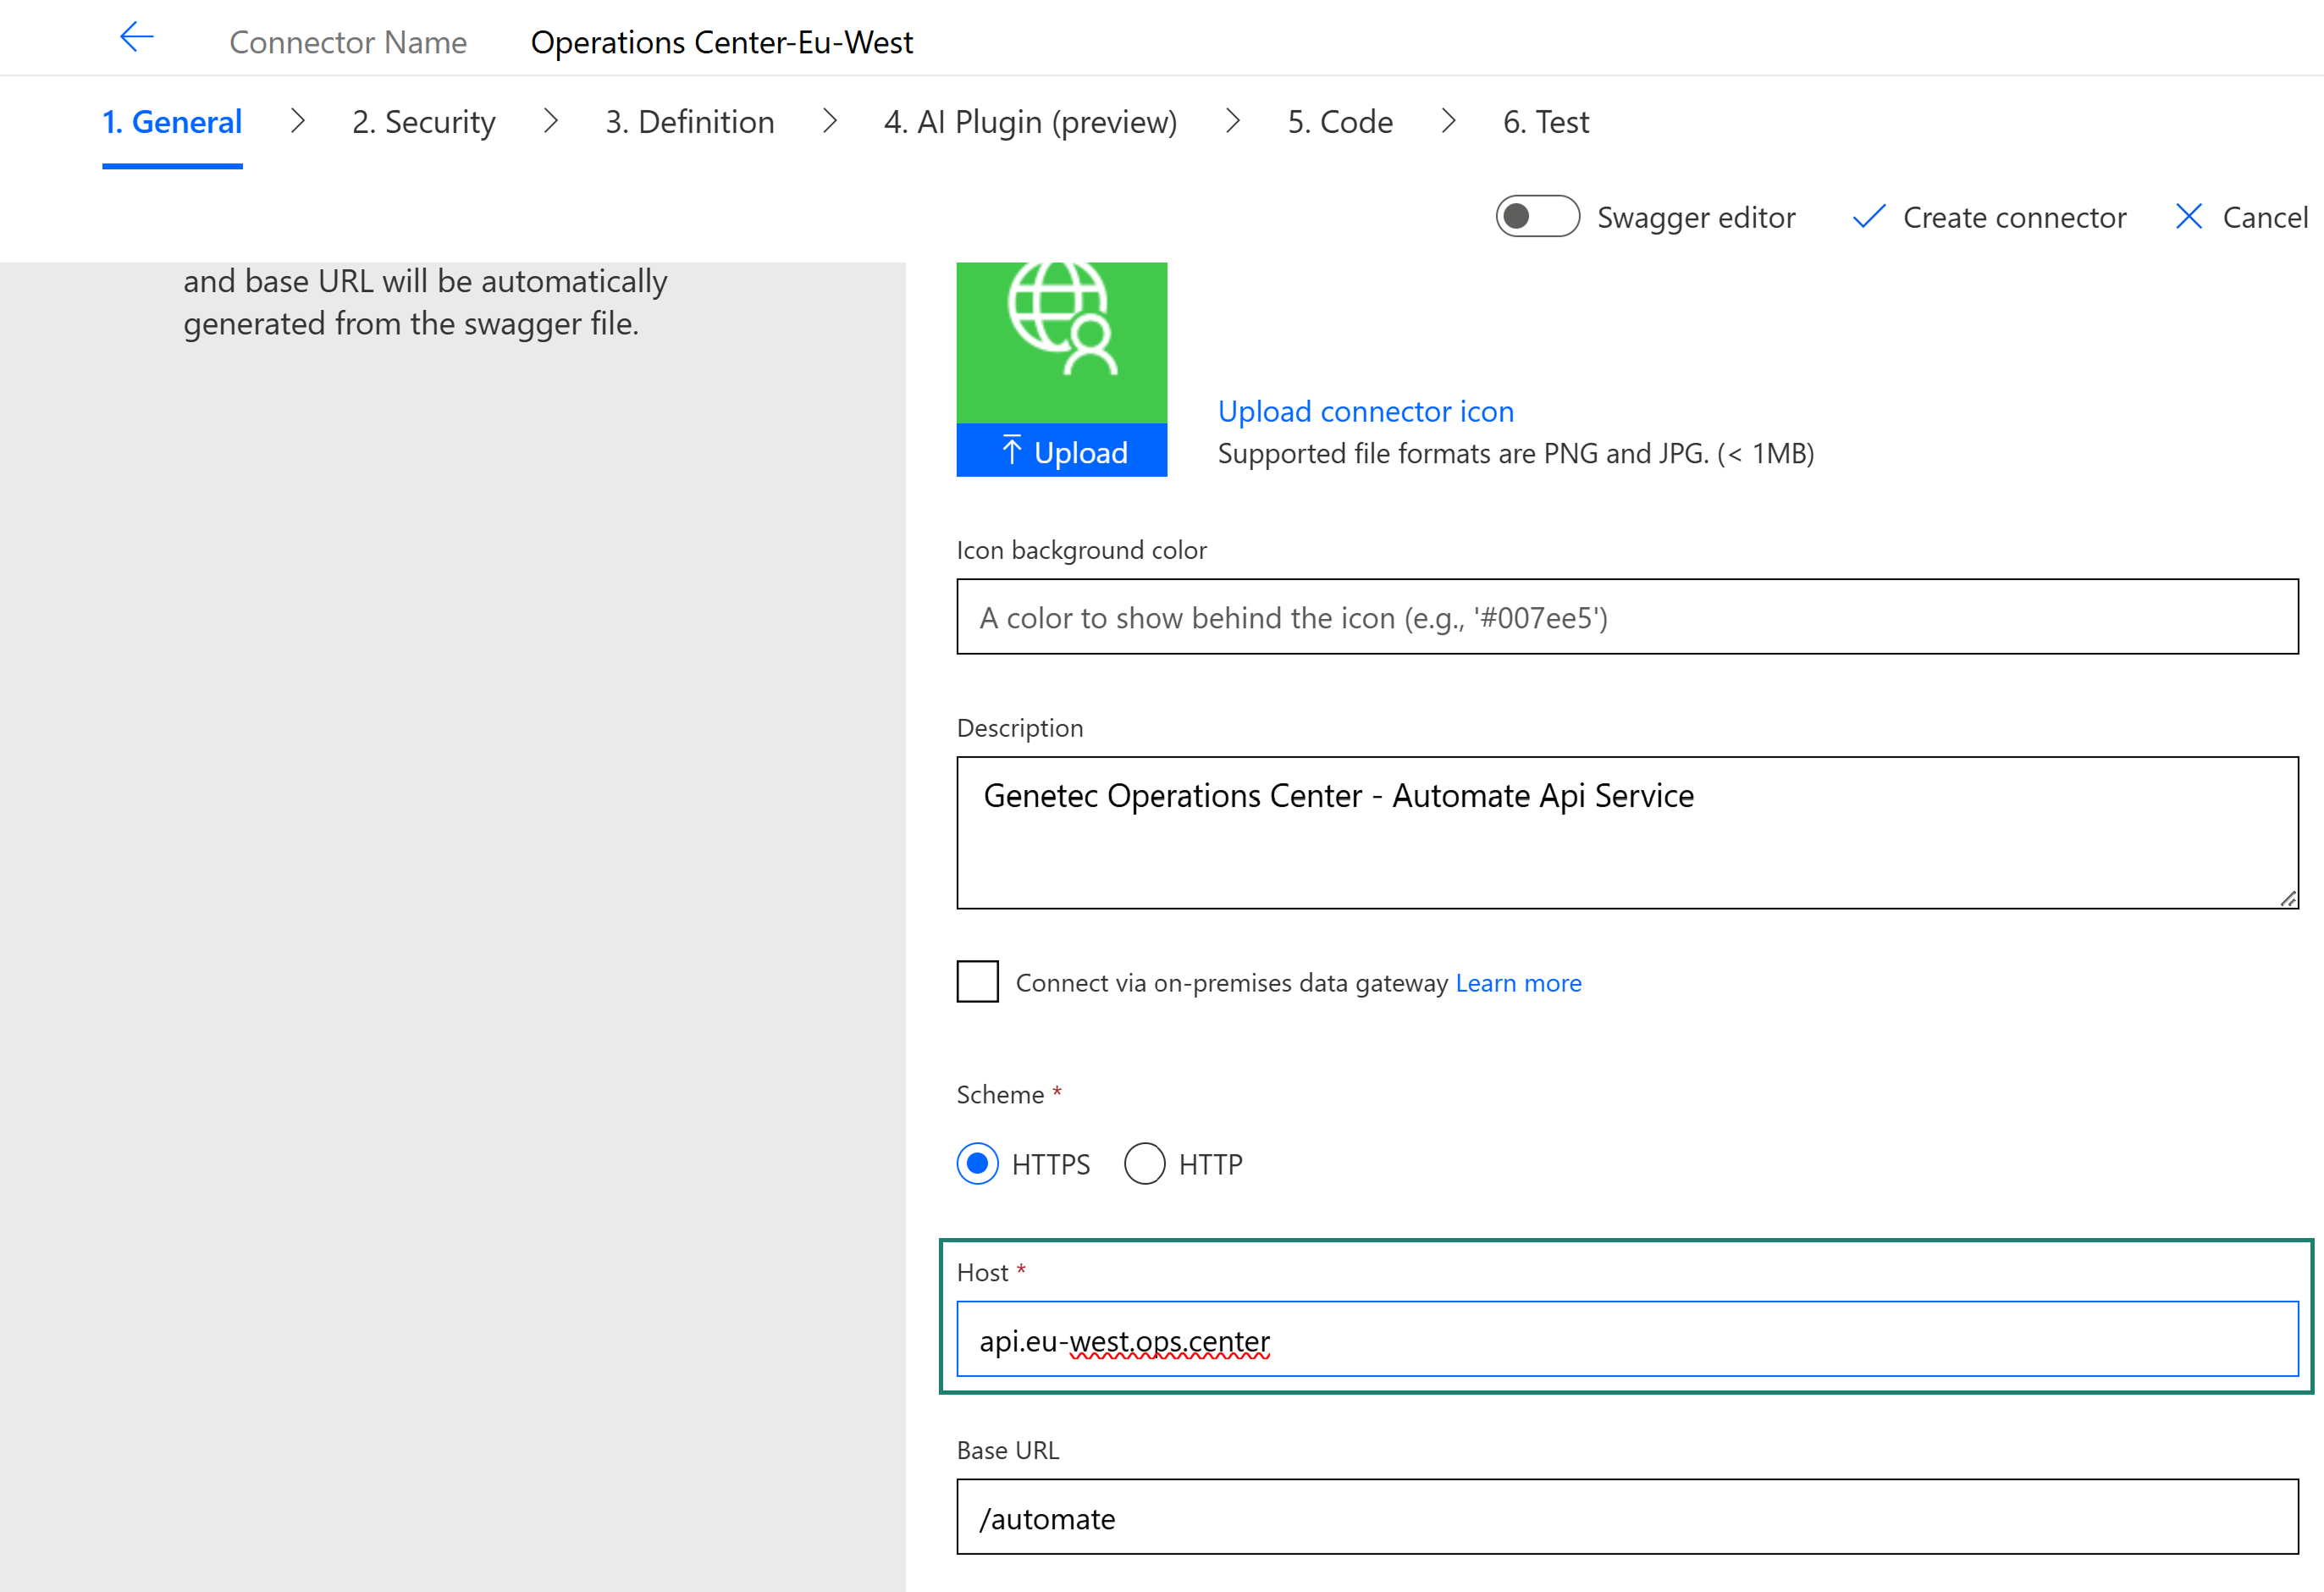
Click on create connector at the top and just like that, your connector is created and ready to be used. Now it is time to take the next step and set up authentication. For that, you need to navigate to your Operations Center system. Follow the next lesson to learn how.