
Create custom fields
Operations Center offers full customization, empowering board admins to tailor each board to meet their team's specific needs. This article walks you through setting up your board's properties, adding columns and lanes to represent different process stages, and modifying their properties such as title and width.
Open board settings
There are two ways to navigate to the board settings:
- From the board itself, click on the gear icon located at the bottom left of the screen.
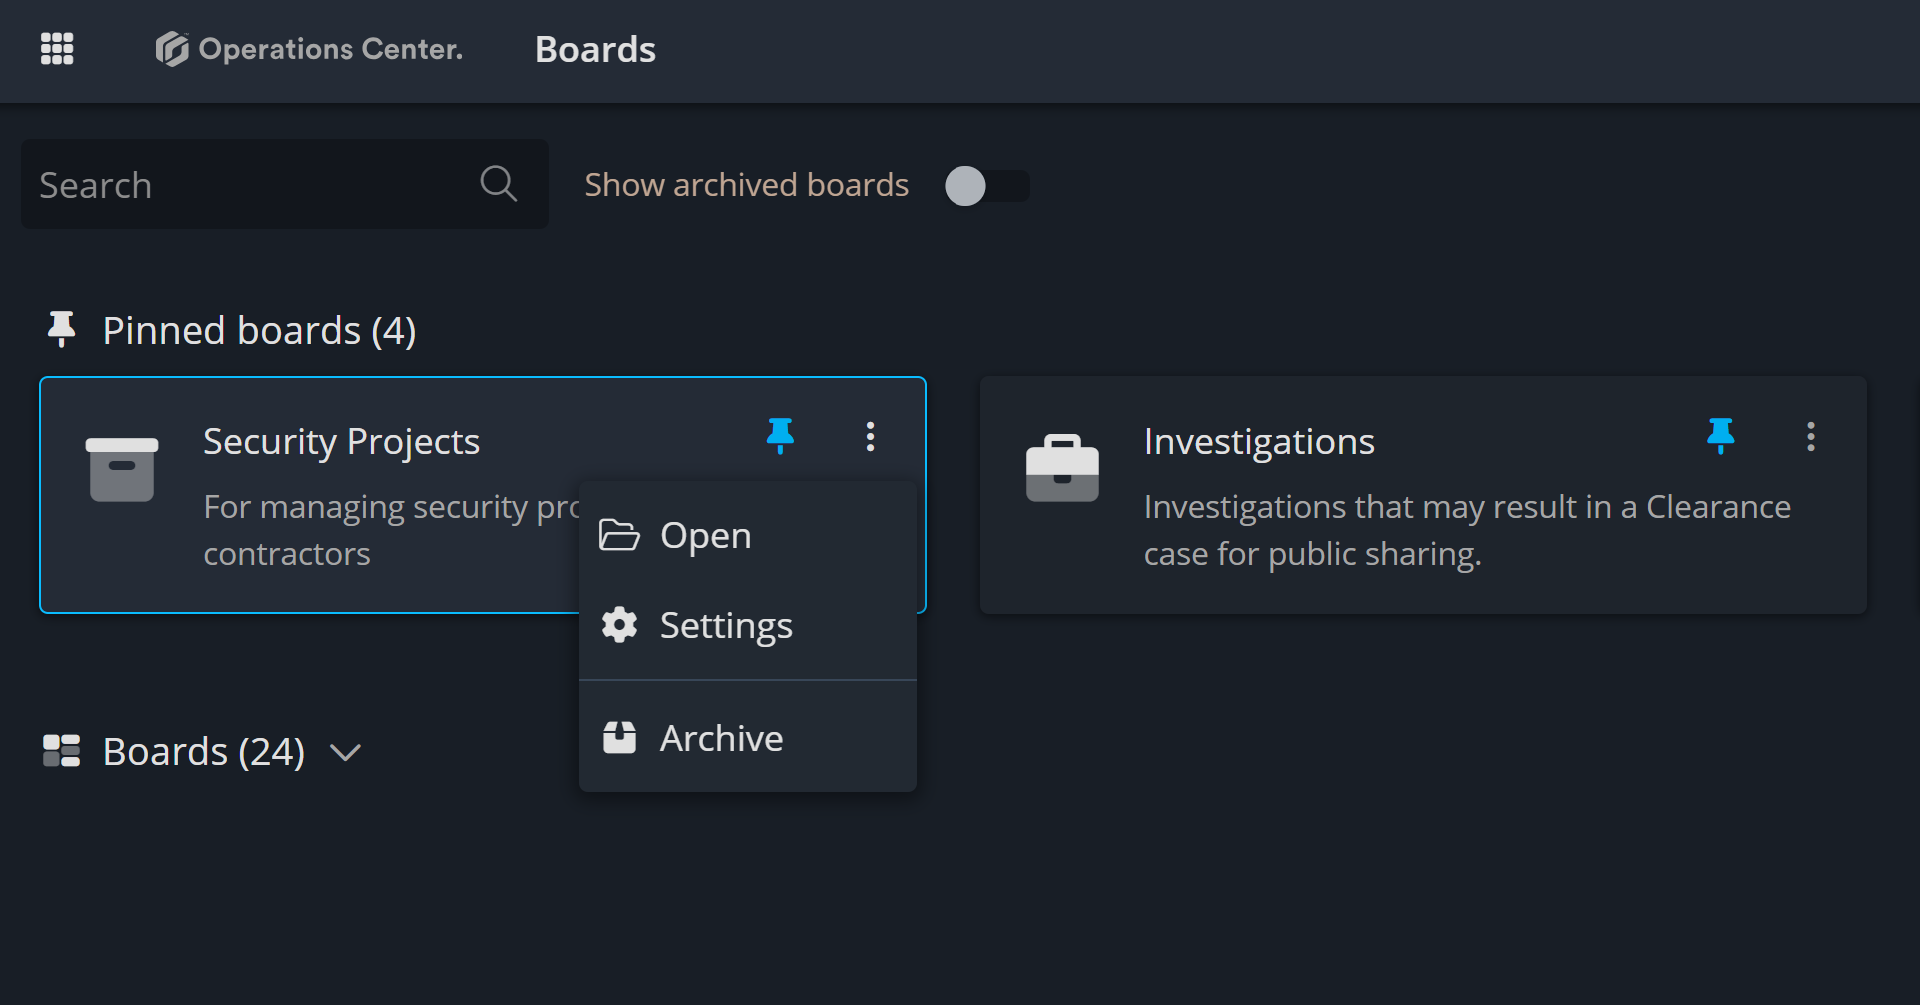
2. From the board overview page, where you can see all the boards you have access to, click the ellipsis (three dots) to open the context menu and select Settings.
Custom Fields in Operations Center
Custom fields in Operations Center provide the flexibility to adapt your board to your team’s unique needs. Whether you’re tracking key metrics, organizing resources, or capturing essential details, custom fields allow you to define and structure the data that matters most to your work.
How to create a custom field
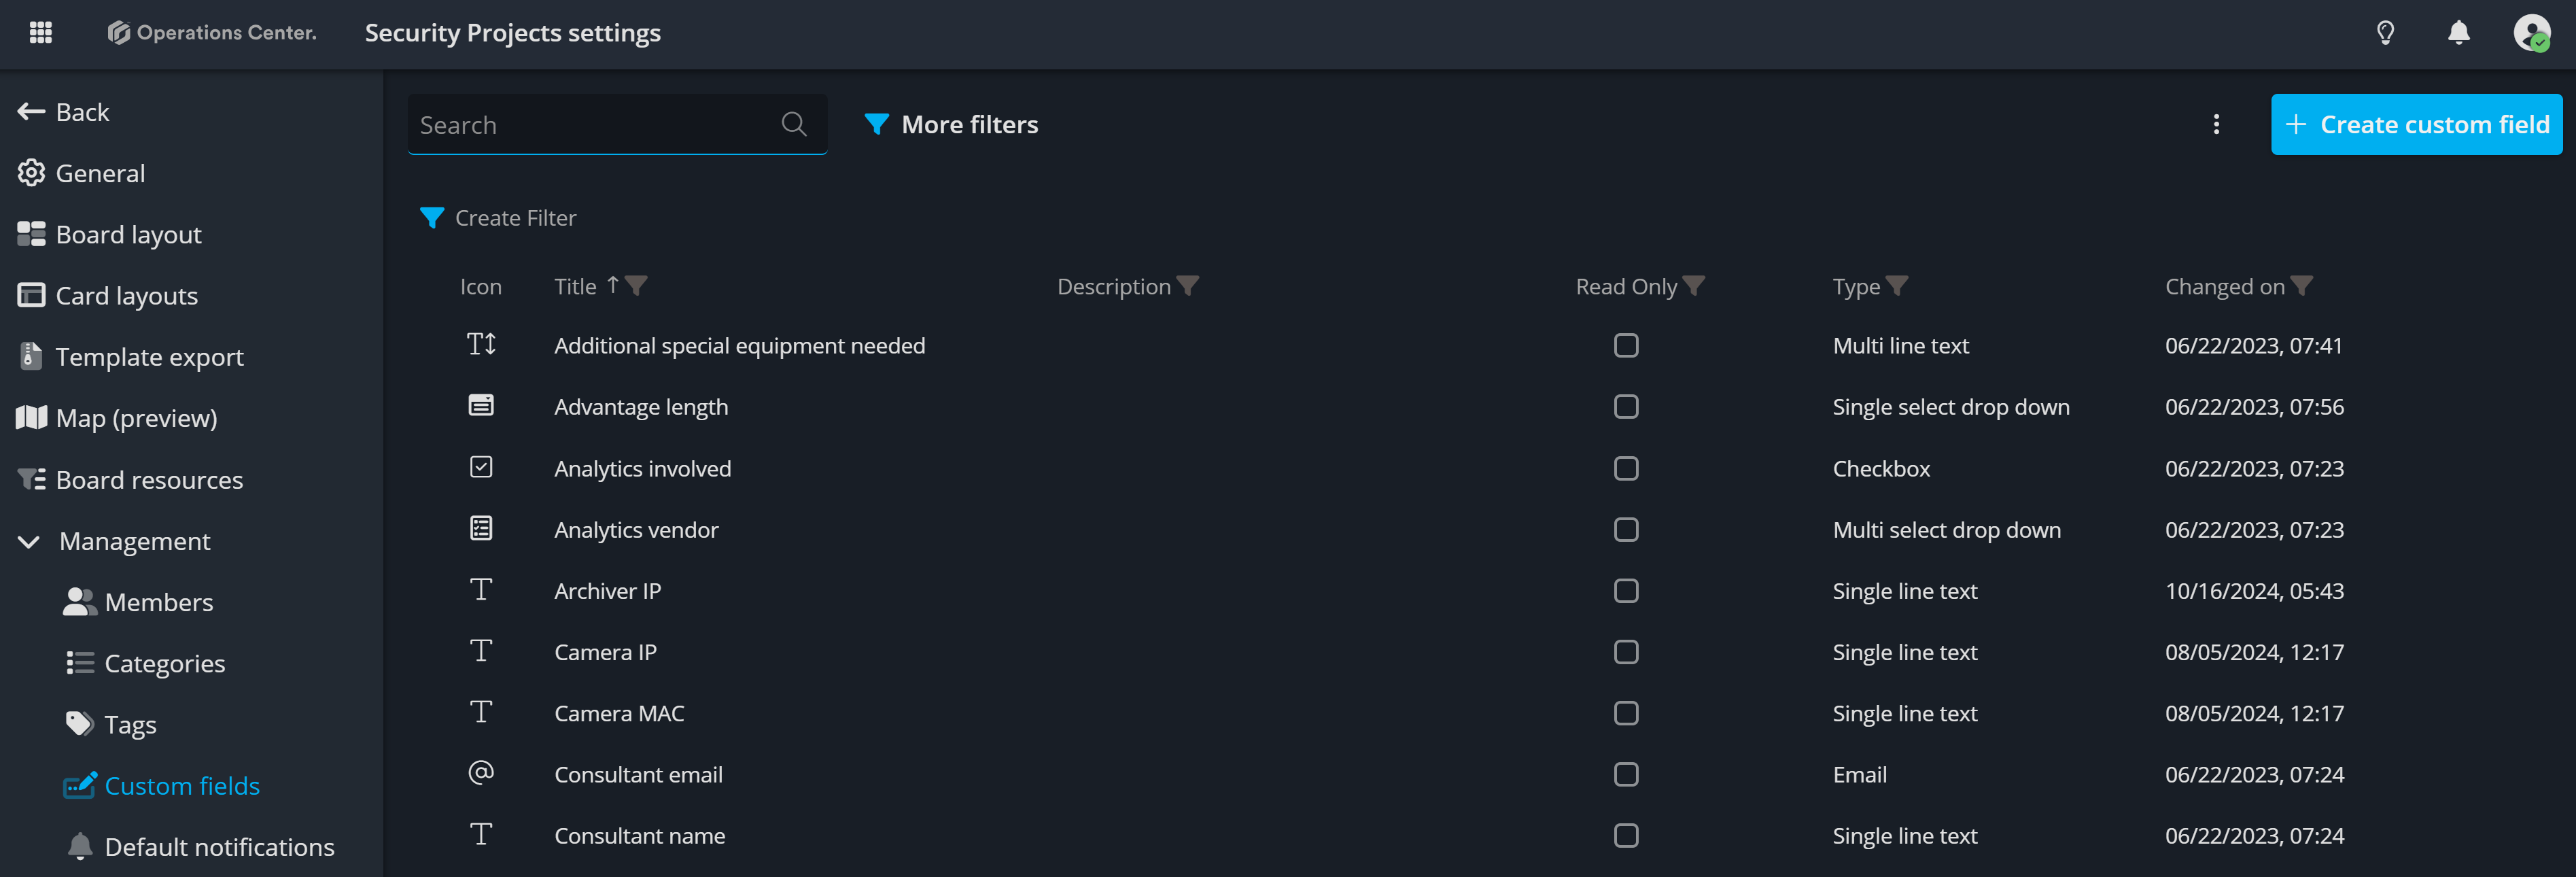
Custom fields can be created at the system or board level, depending on the user's role. System-level custom fields are available across all boards, while board-level custom fields are limited to the selected board.
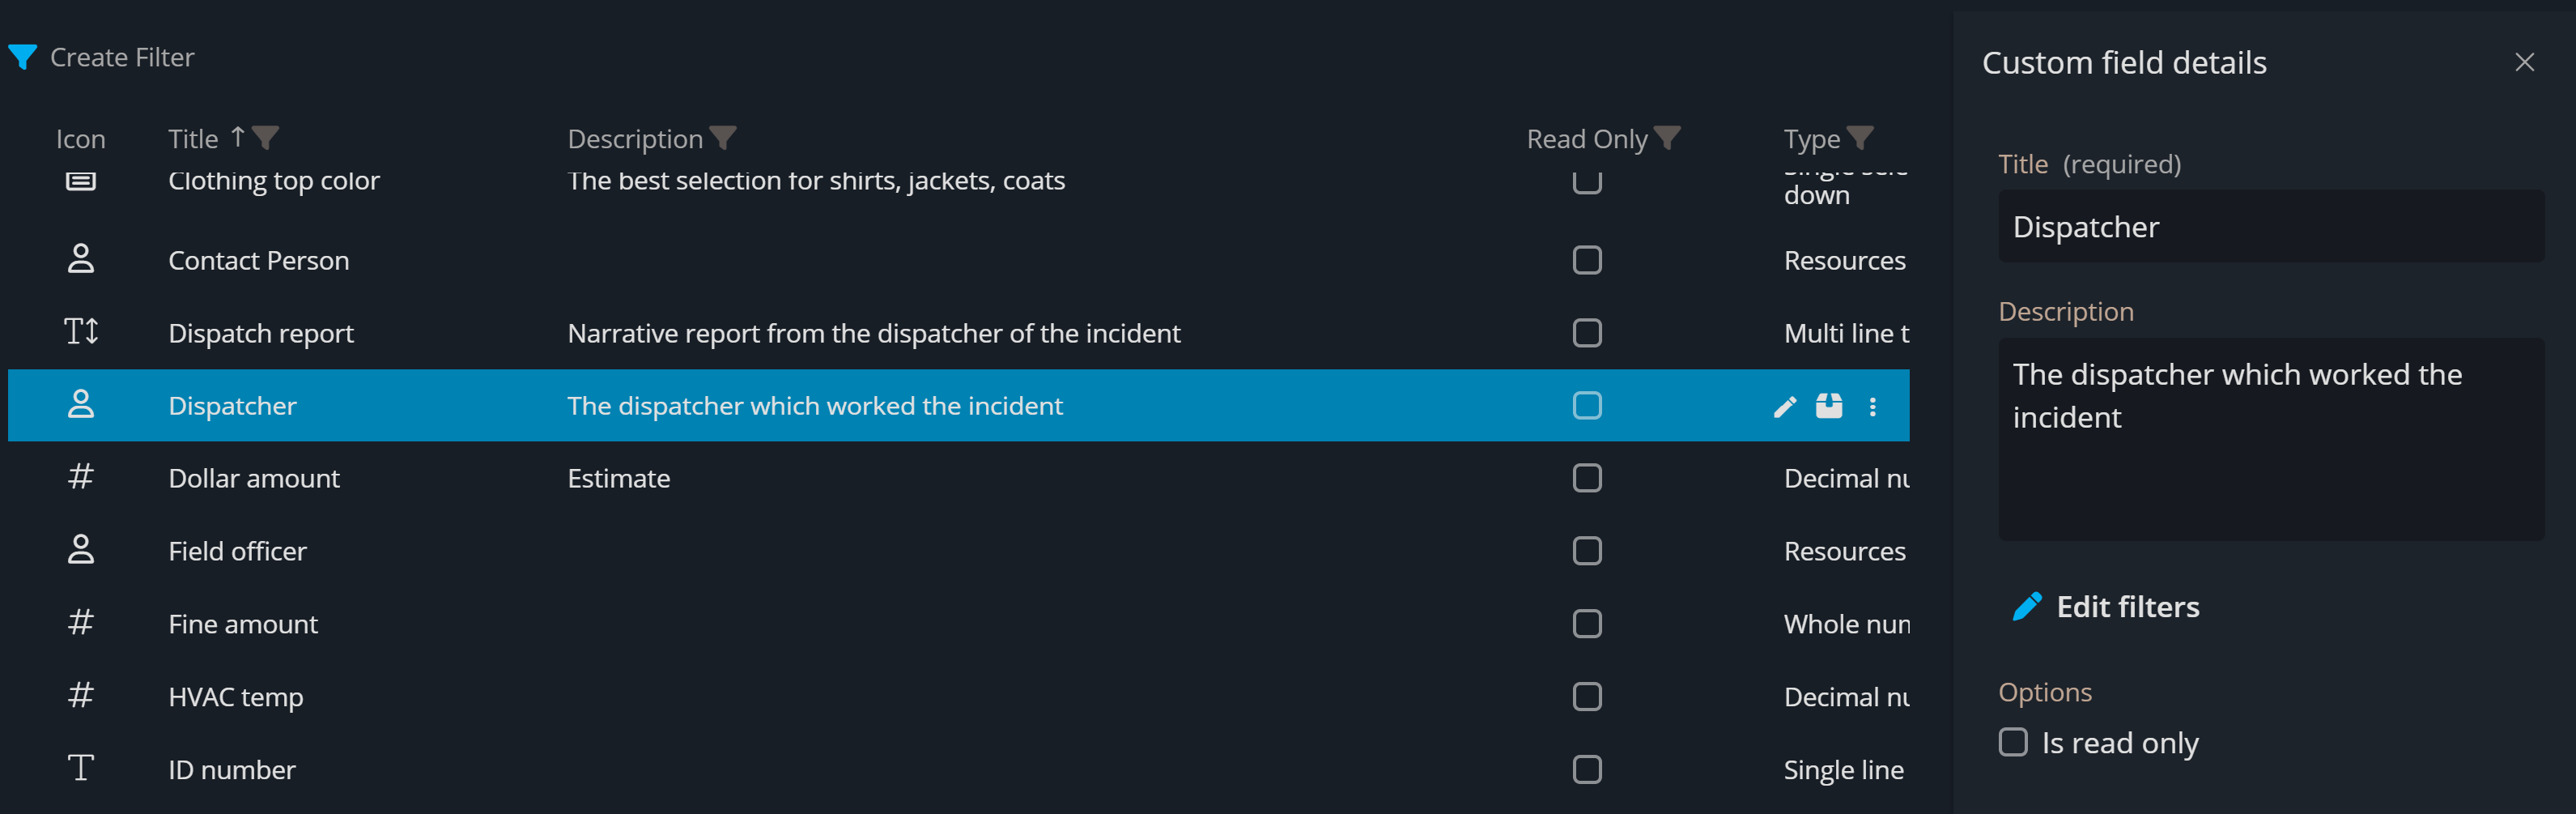
To create custom fields, click the Create Custom Field button, set the title, and choose the field type. After creation, you can add a description if needed and mark the field as read-only. When the Read Only checkbox is selected, users cannot edit that field—useful when a field is set through the API.

Custom Fields for Resources
In Operations Center, Custom Fields for Resources allow board admins to create dropdown fields that are specifically tailored to select resources for tasks, projects, or work items. This feature is particularly useful when certain information needs to be tracked in a standardized way, such as identifying which dispatcher worked on a specific task.
How to create custom Fields for Resources
After selecting the Resource single select or the Resource multi select custom field type, you can use the Edit filters to open the Filter resources popup.

How to use custom fields on your work items
After creating custom fields, you can add them to card layouts by clicking the Add field button, which opens a popup with all available fields. Click here to learn how!
Contact Support
If you have questions or need assistance, please reach out to our support team via OC-Support@genetec.com.
