
Manage your resources with Operations Center
Resources are the backbone of efficient operations, helping you manage tasks, projects, and workflows seamlessly. In Operations Center, resources are thoughtfully categorized to cover every aspect of your work:
- People: From staff members to contractors, this category represents the individuals who manage and execute your operations.
- Equipment: Tools, machinery, servers, and communication systems fall under this category, ensuring your projects run smoothly.
- Places: The physical locations where your operations take place, such as offices, warehouses, or remote sites.
Each of these categories is designed to help you organize and allocate resources effectively. In this article, you'll learn how to create resources and their types, customize layouts, and define fields and states for each resource type.
Navigate to resources page
Located at the top left of your screen, the Operations Center navigation menu provides quick access to your recent boards, system dashboards and reports, system settings, and resources. Clicking it will take you to the dedicated page where you can begin managing and creating resources.
Key Components for Resources
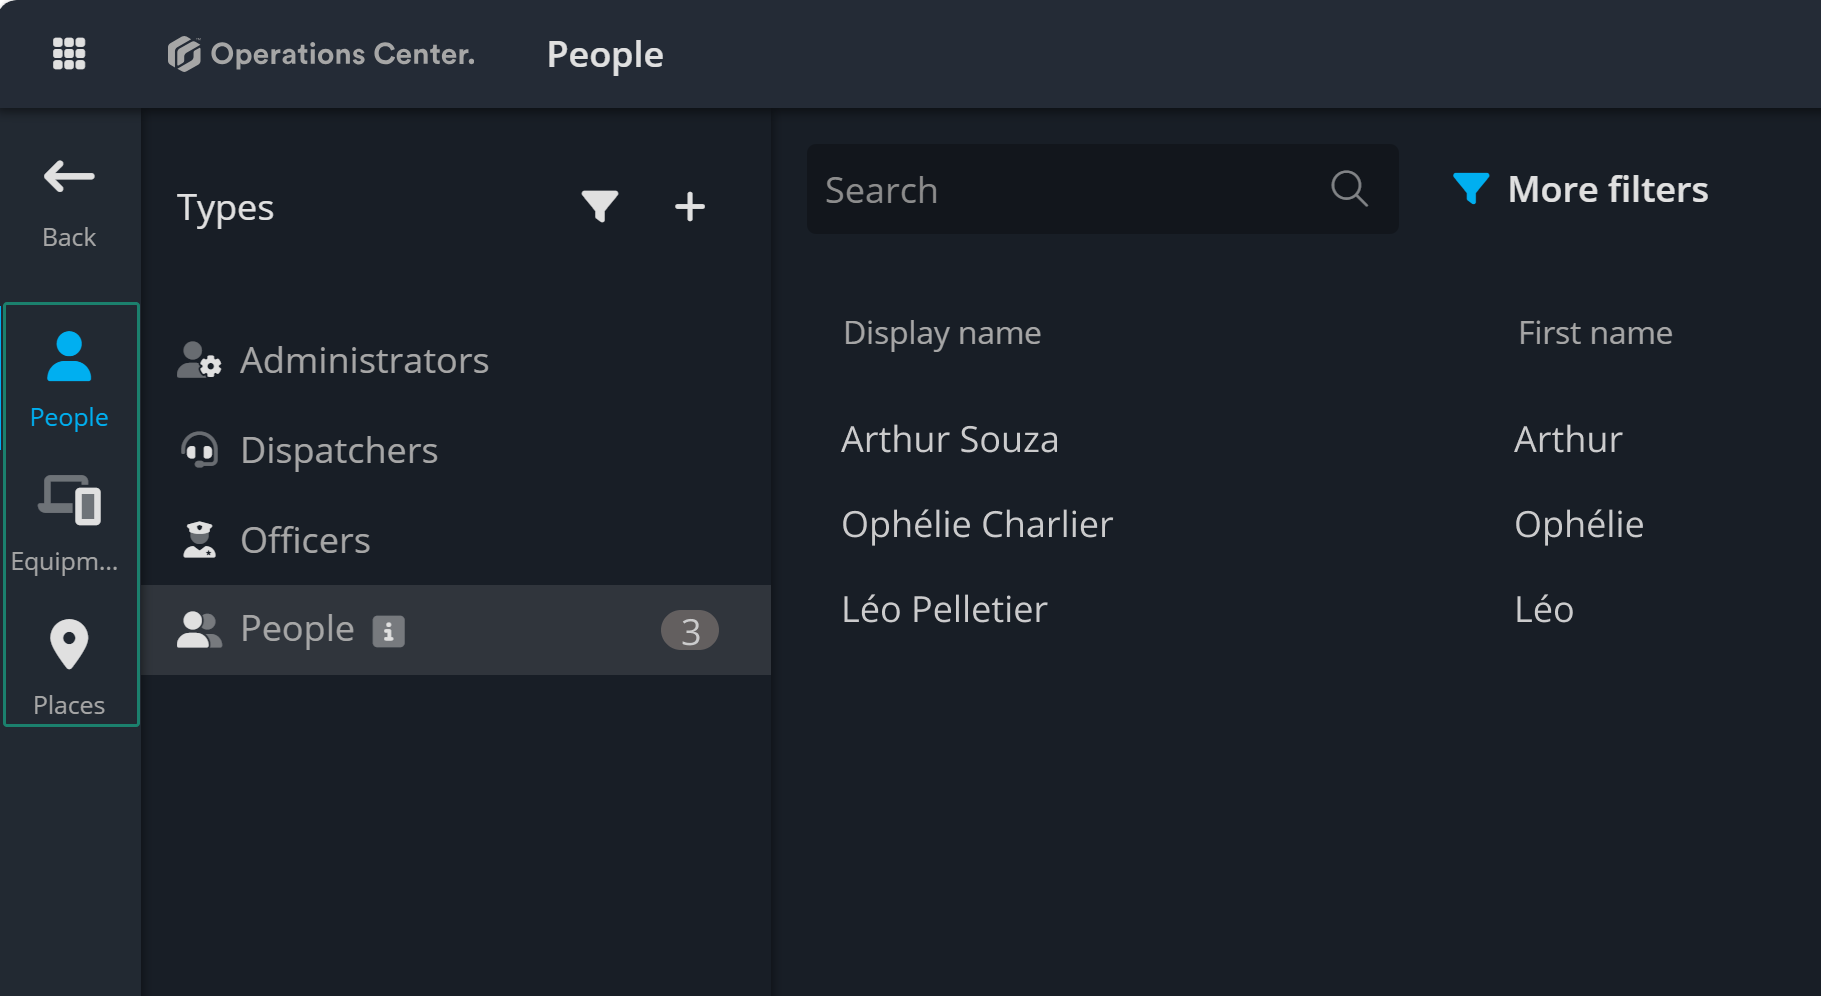
1. Resource category
Resources are categorized in People, Equipment, and Places. You can navigate to each category using the side bar:
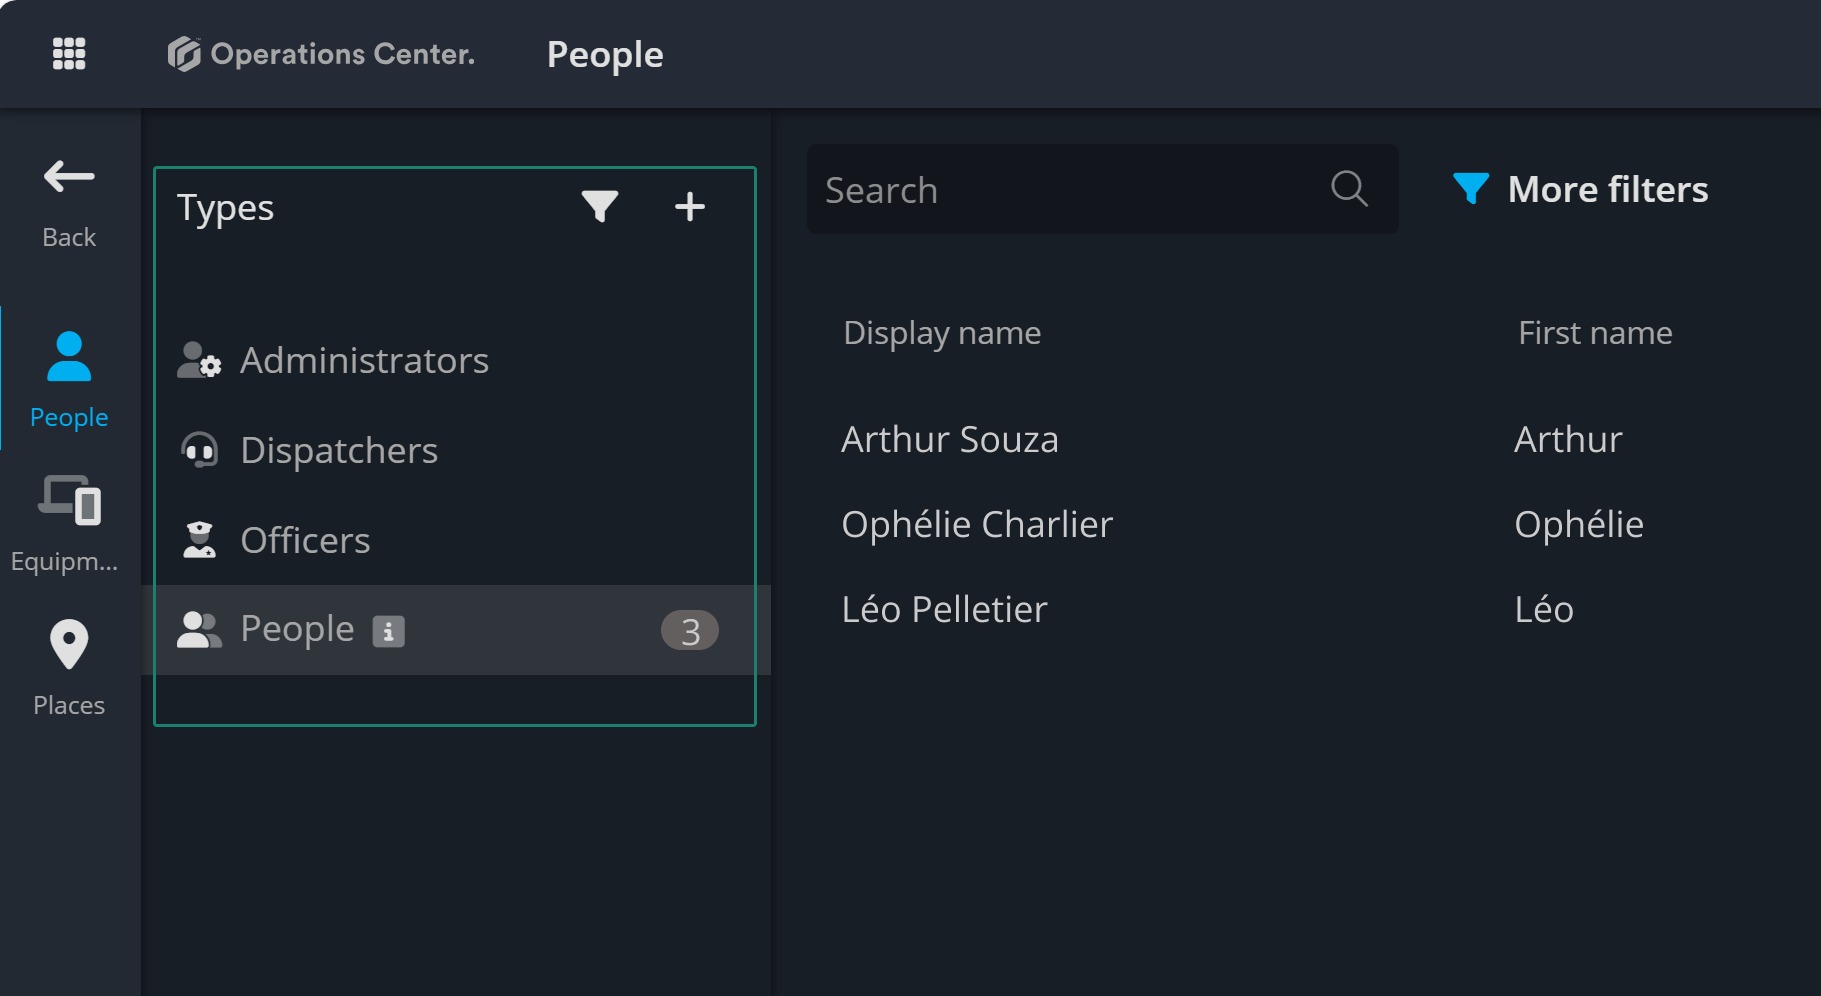
2. Resource types
Each resource category can have different types created. For example, the "People" category can include various types such as dispatchers, officers, and more. The "Equipment" category can include different types like cameras, radios, and doors. The "Places" category can include various locations such as office buildings, parking lots, event centers, and more.
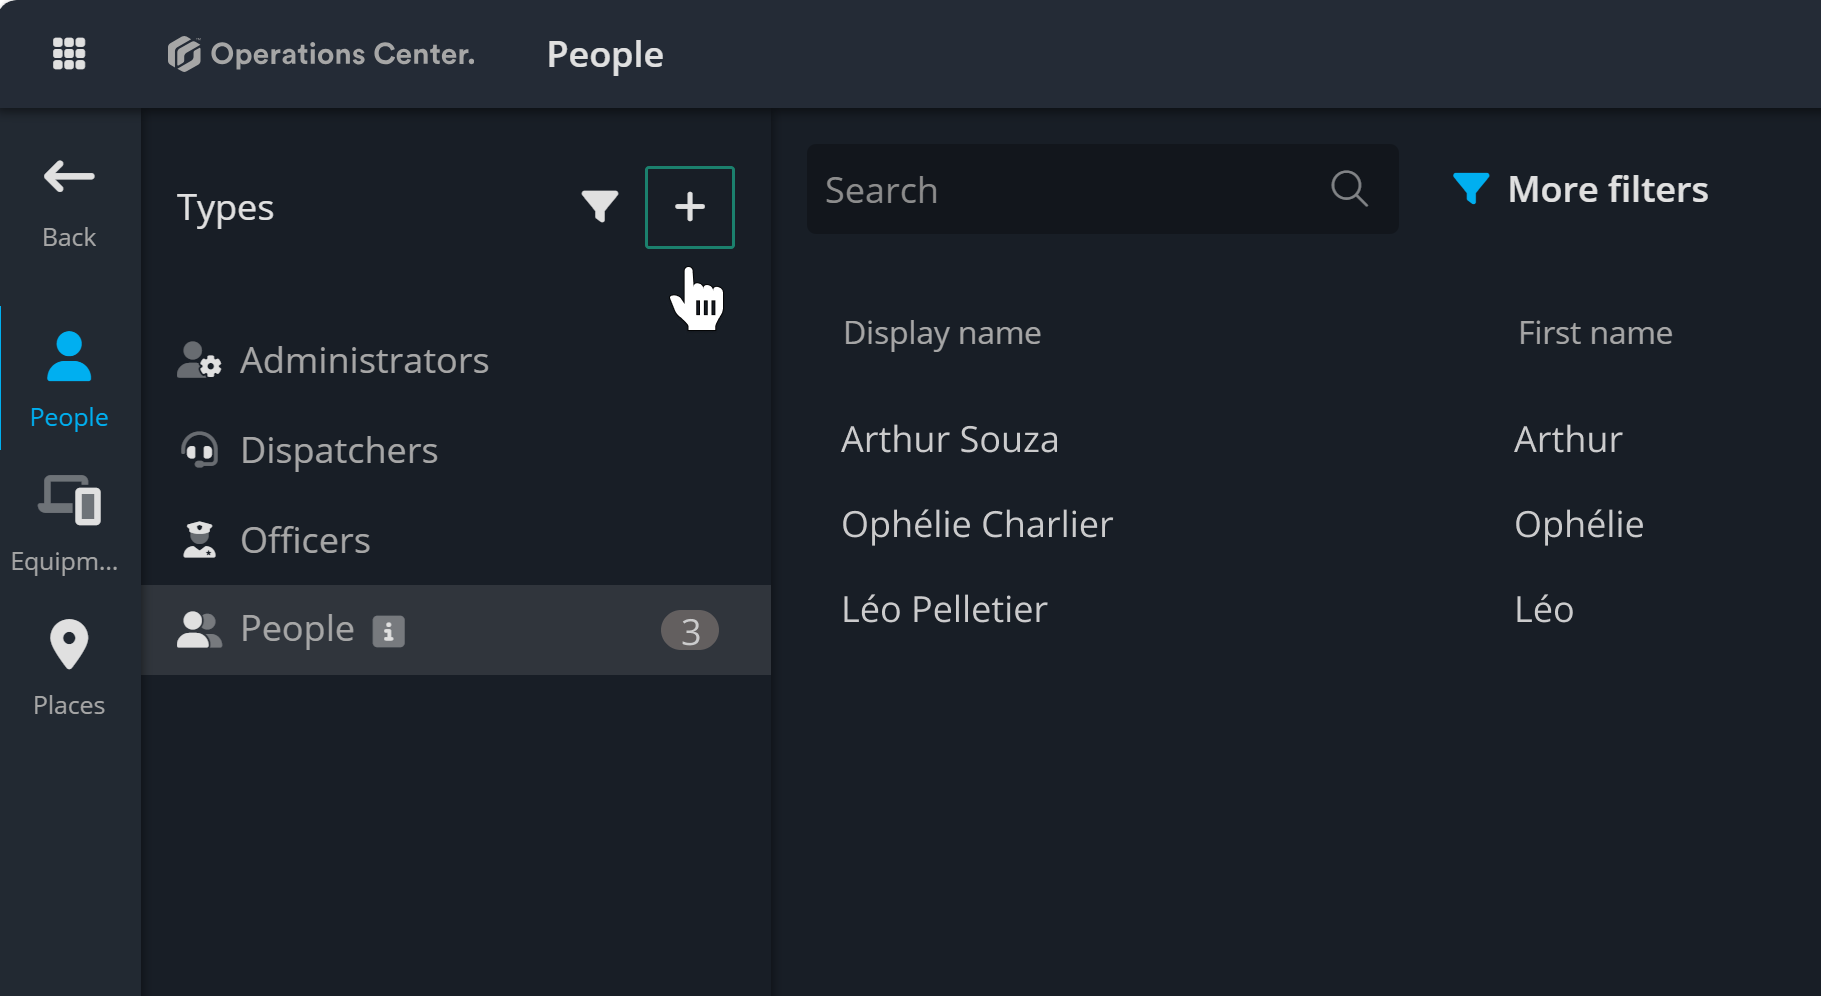
Add a new resource type
To add a resource type, click the + button at the top. This will open a popup where you must provide a title, add more details in the description field, and choose an icon to represent the resource type.
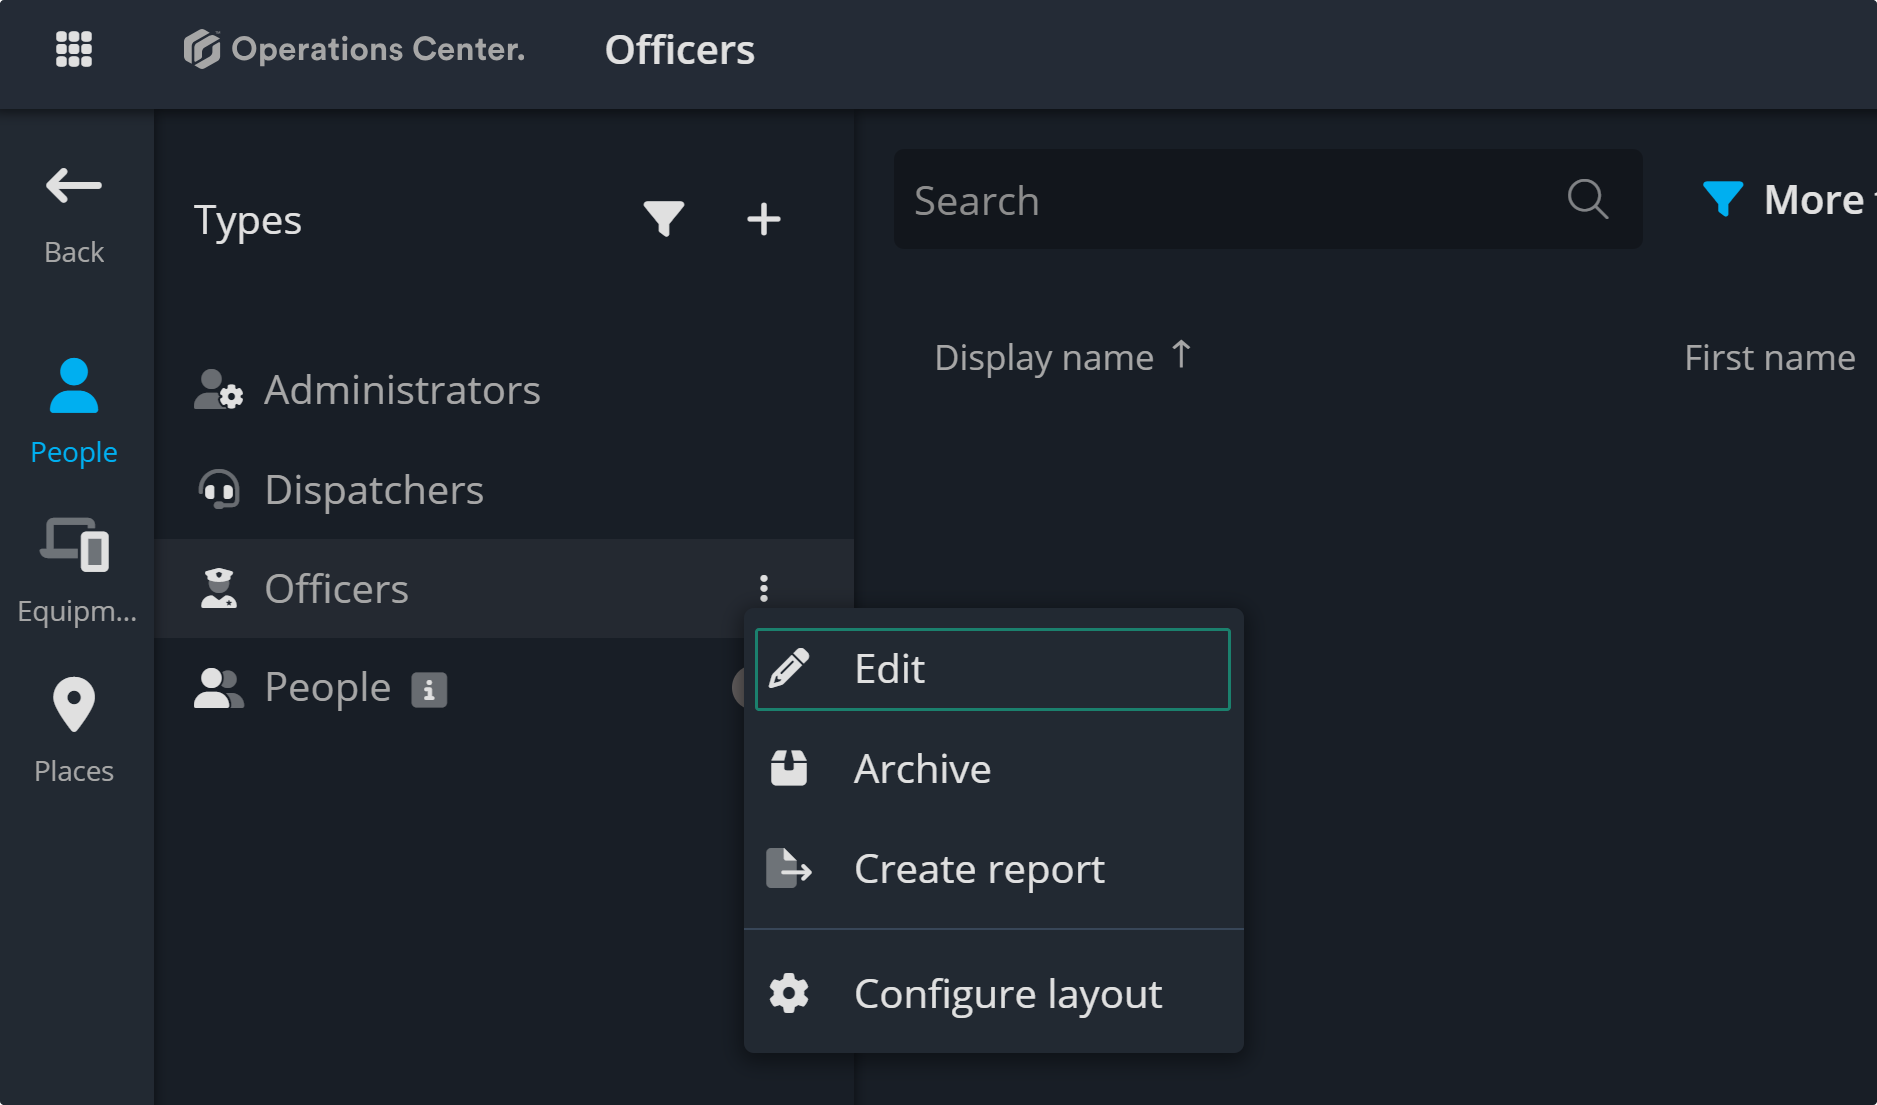
Edit resource type
Editing a resource type allows you to modify its title, description, and icon. To do this, hover over the resource type you want to edit and click the Ellipsis that appears. From the menu that opens, select Edit to make the necessary changes.
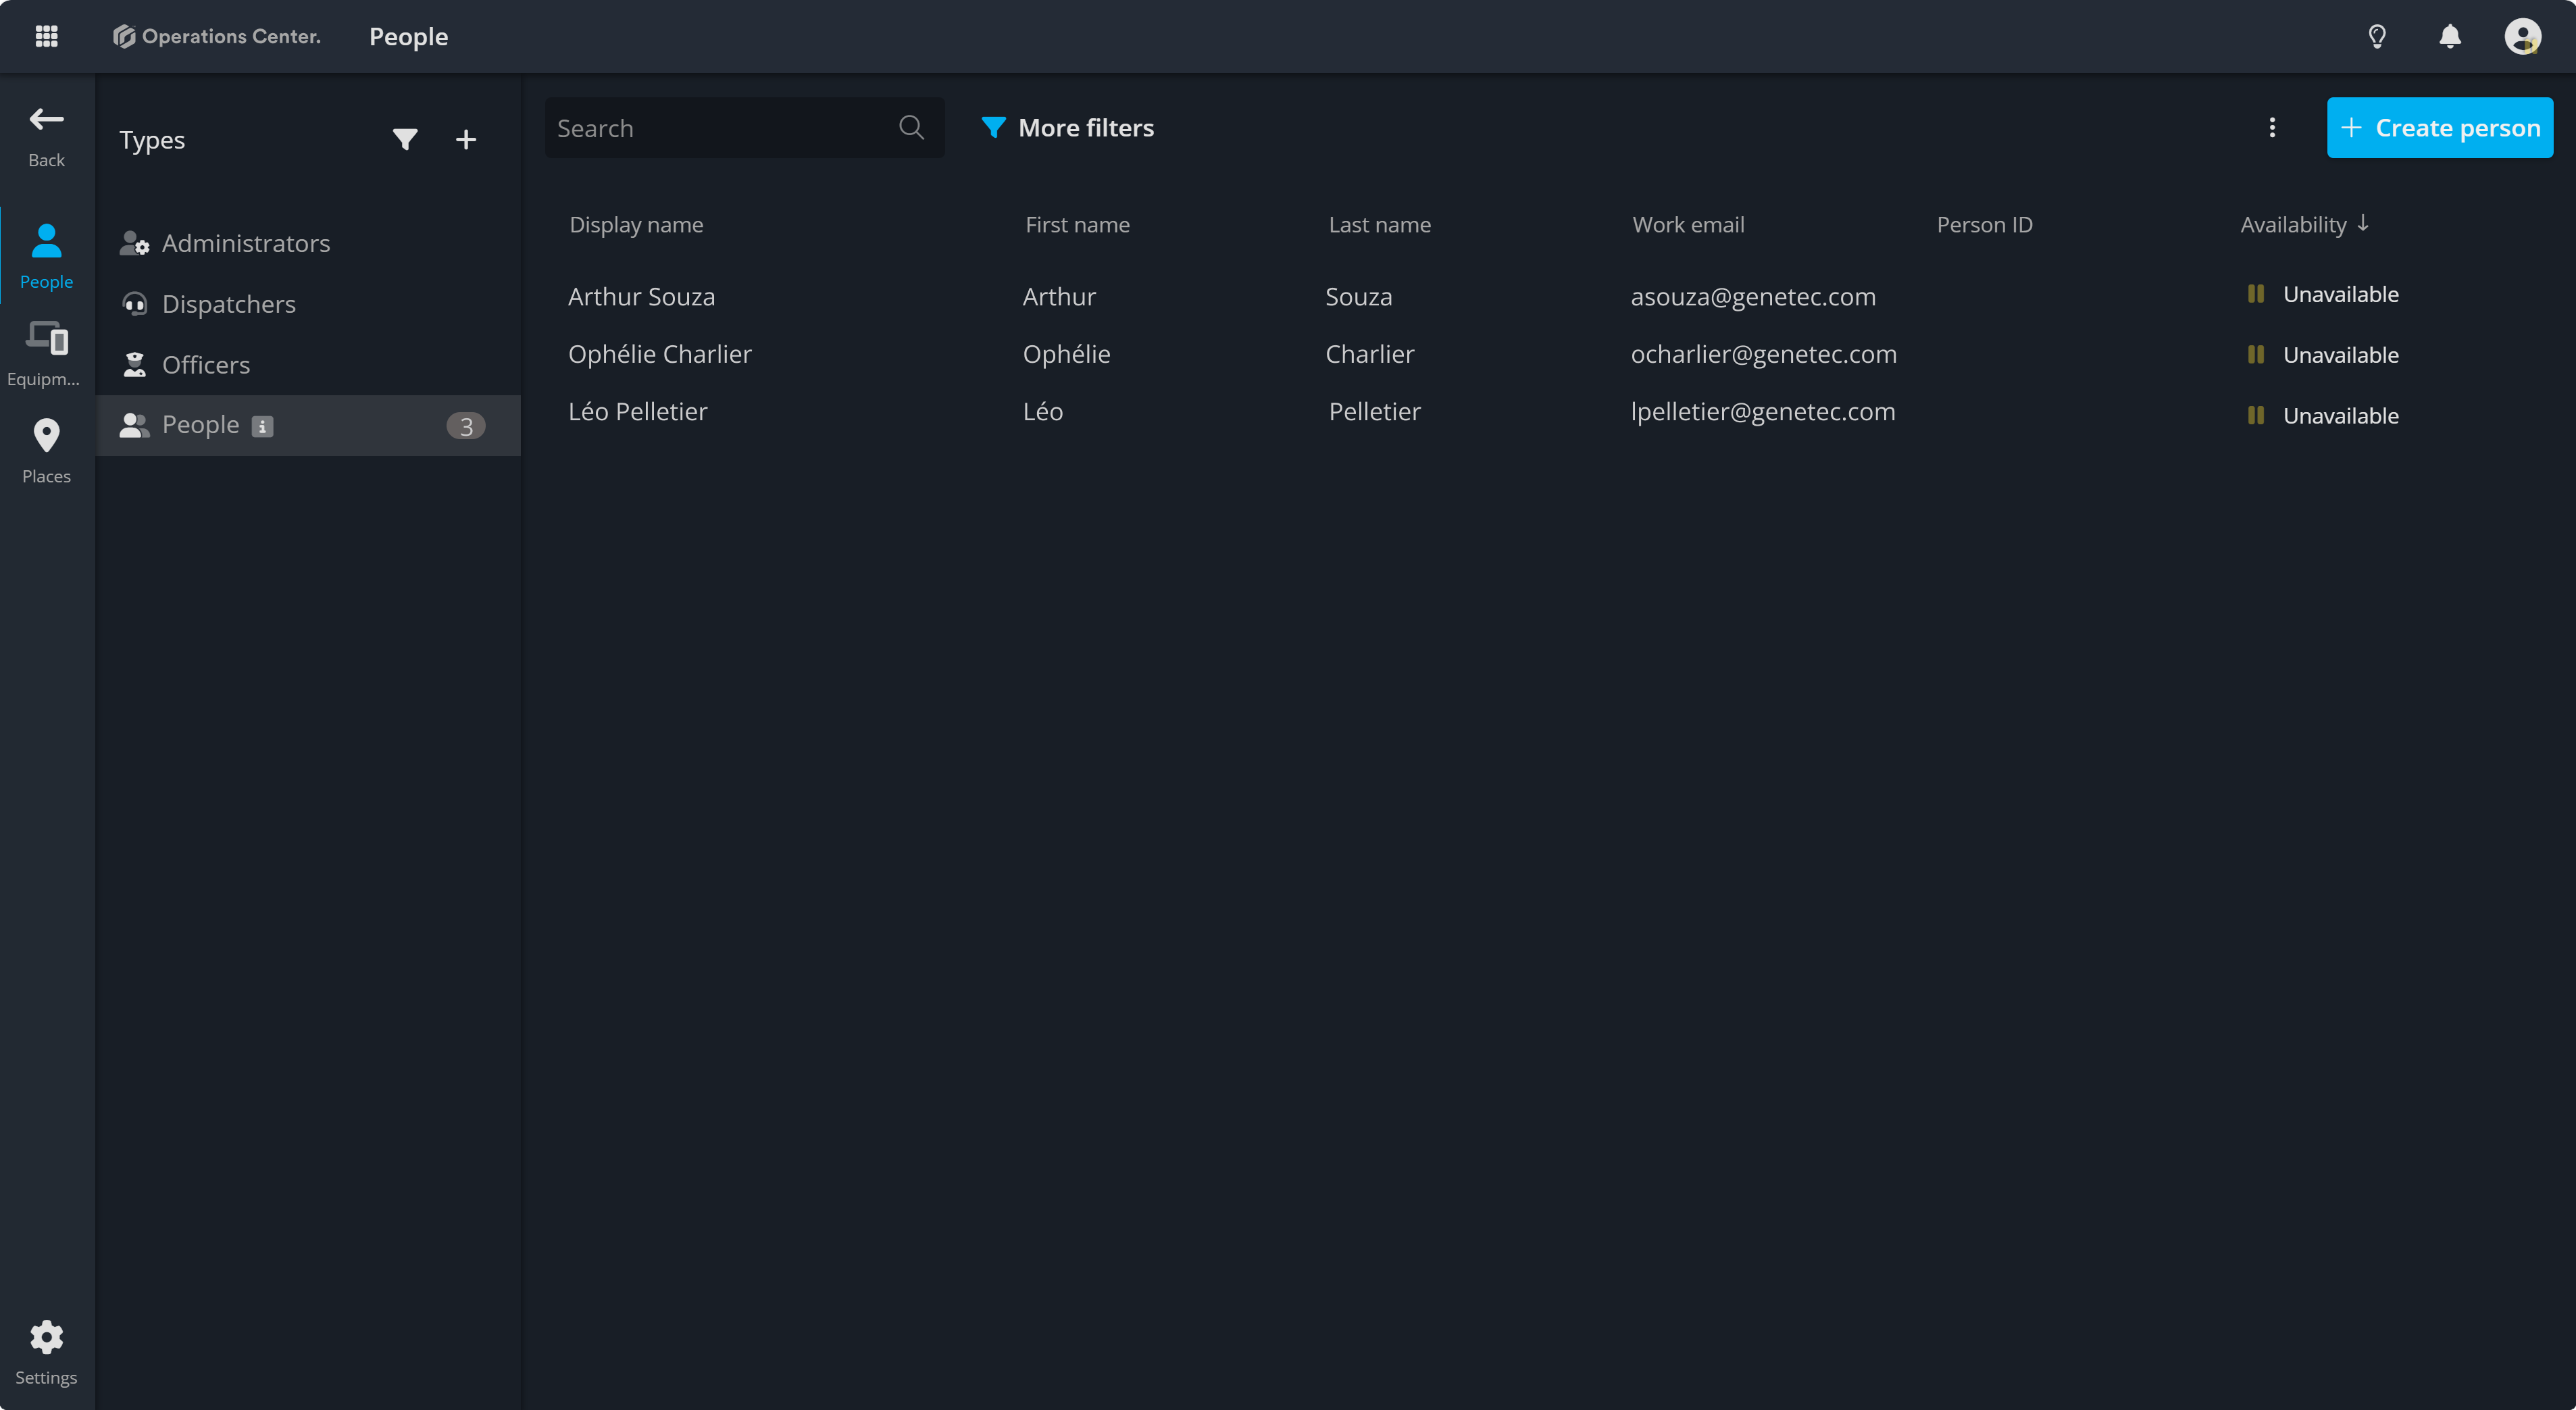
Create new resources
Now you can create your resources within each type. For example, you can start creating your dispatch officers by going to your "People" category and selecting the type for "Dispatch Officers." There, you’ll see the option to click the + create a person button. This opens a popup where you can add all the necessary fields for that type of resource.

Continue to the next article to explore Resource Details and their key features
Contact Support
If you have questions or need assistance, please reach out to our support team via OC-Support@genetec.com.