
Add fields of the card
Estimated reading time: 5 minutes
We have a report header and a page header that will only appear from the second page onward. Next, we’ll add the card fields to the Detail1 band.
- Open the Field List on the right toolbar and expand the Cards query and drag and drop the following fields onto the Detail1 band:
- CardTitle
- CardCategoryTitle
- CardCreatedOnLocal
- ResourceDisplayName
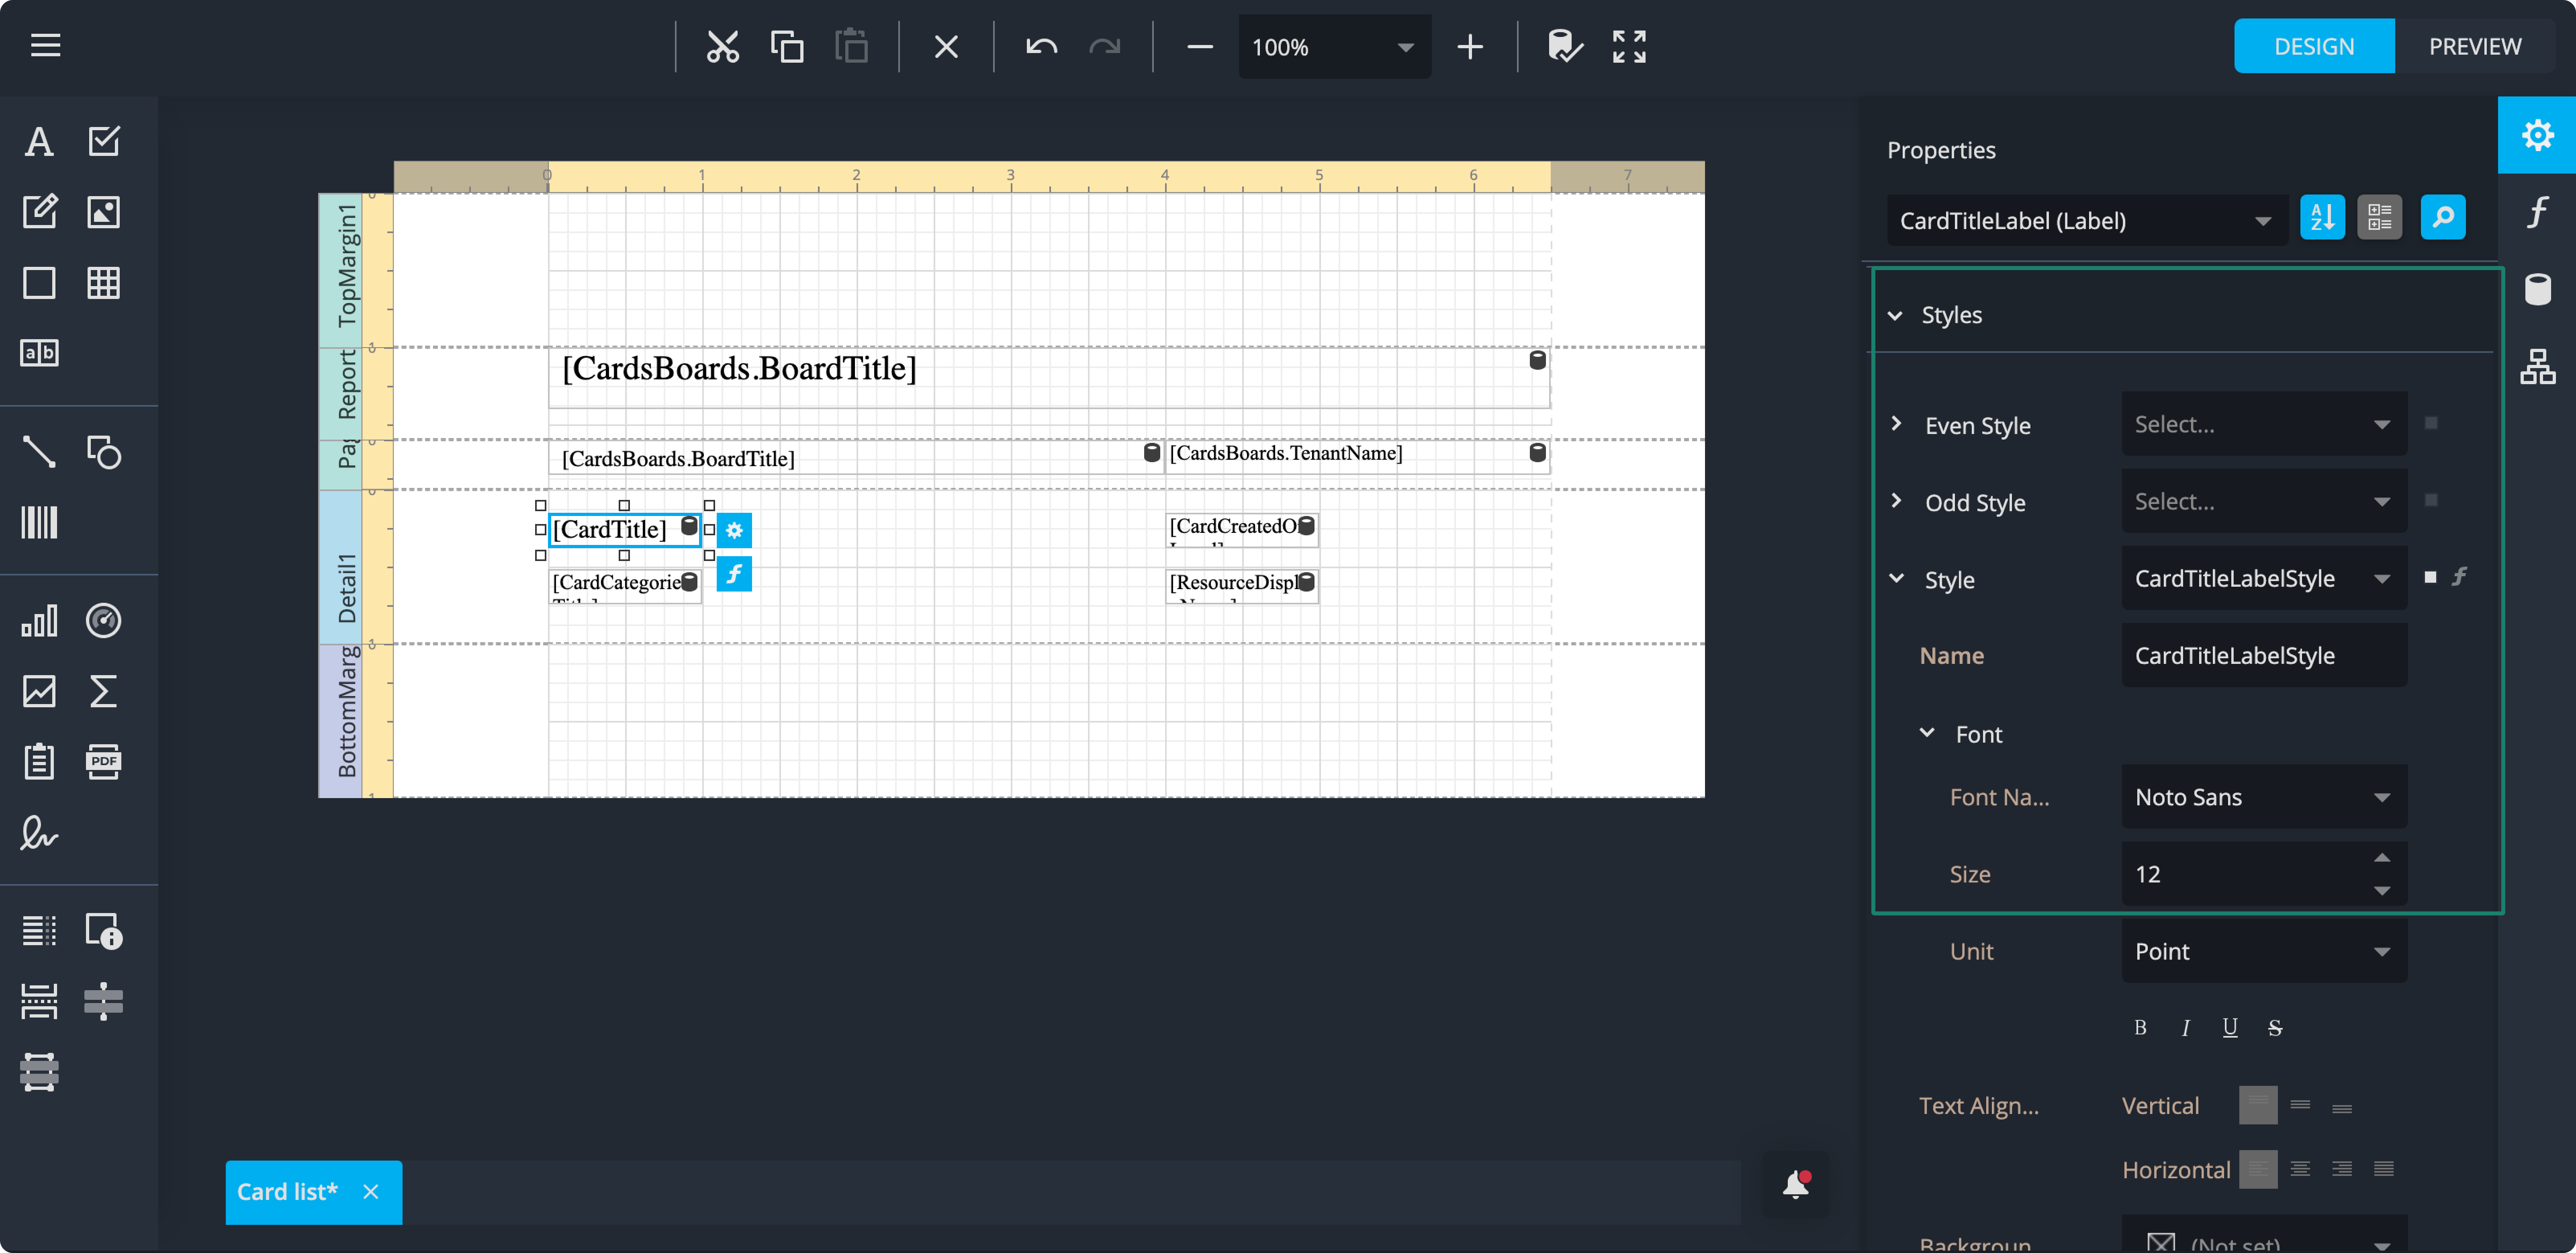
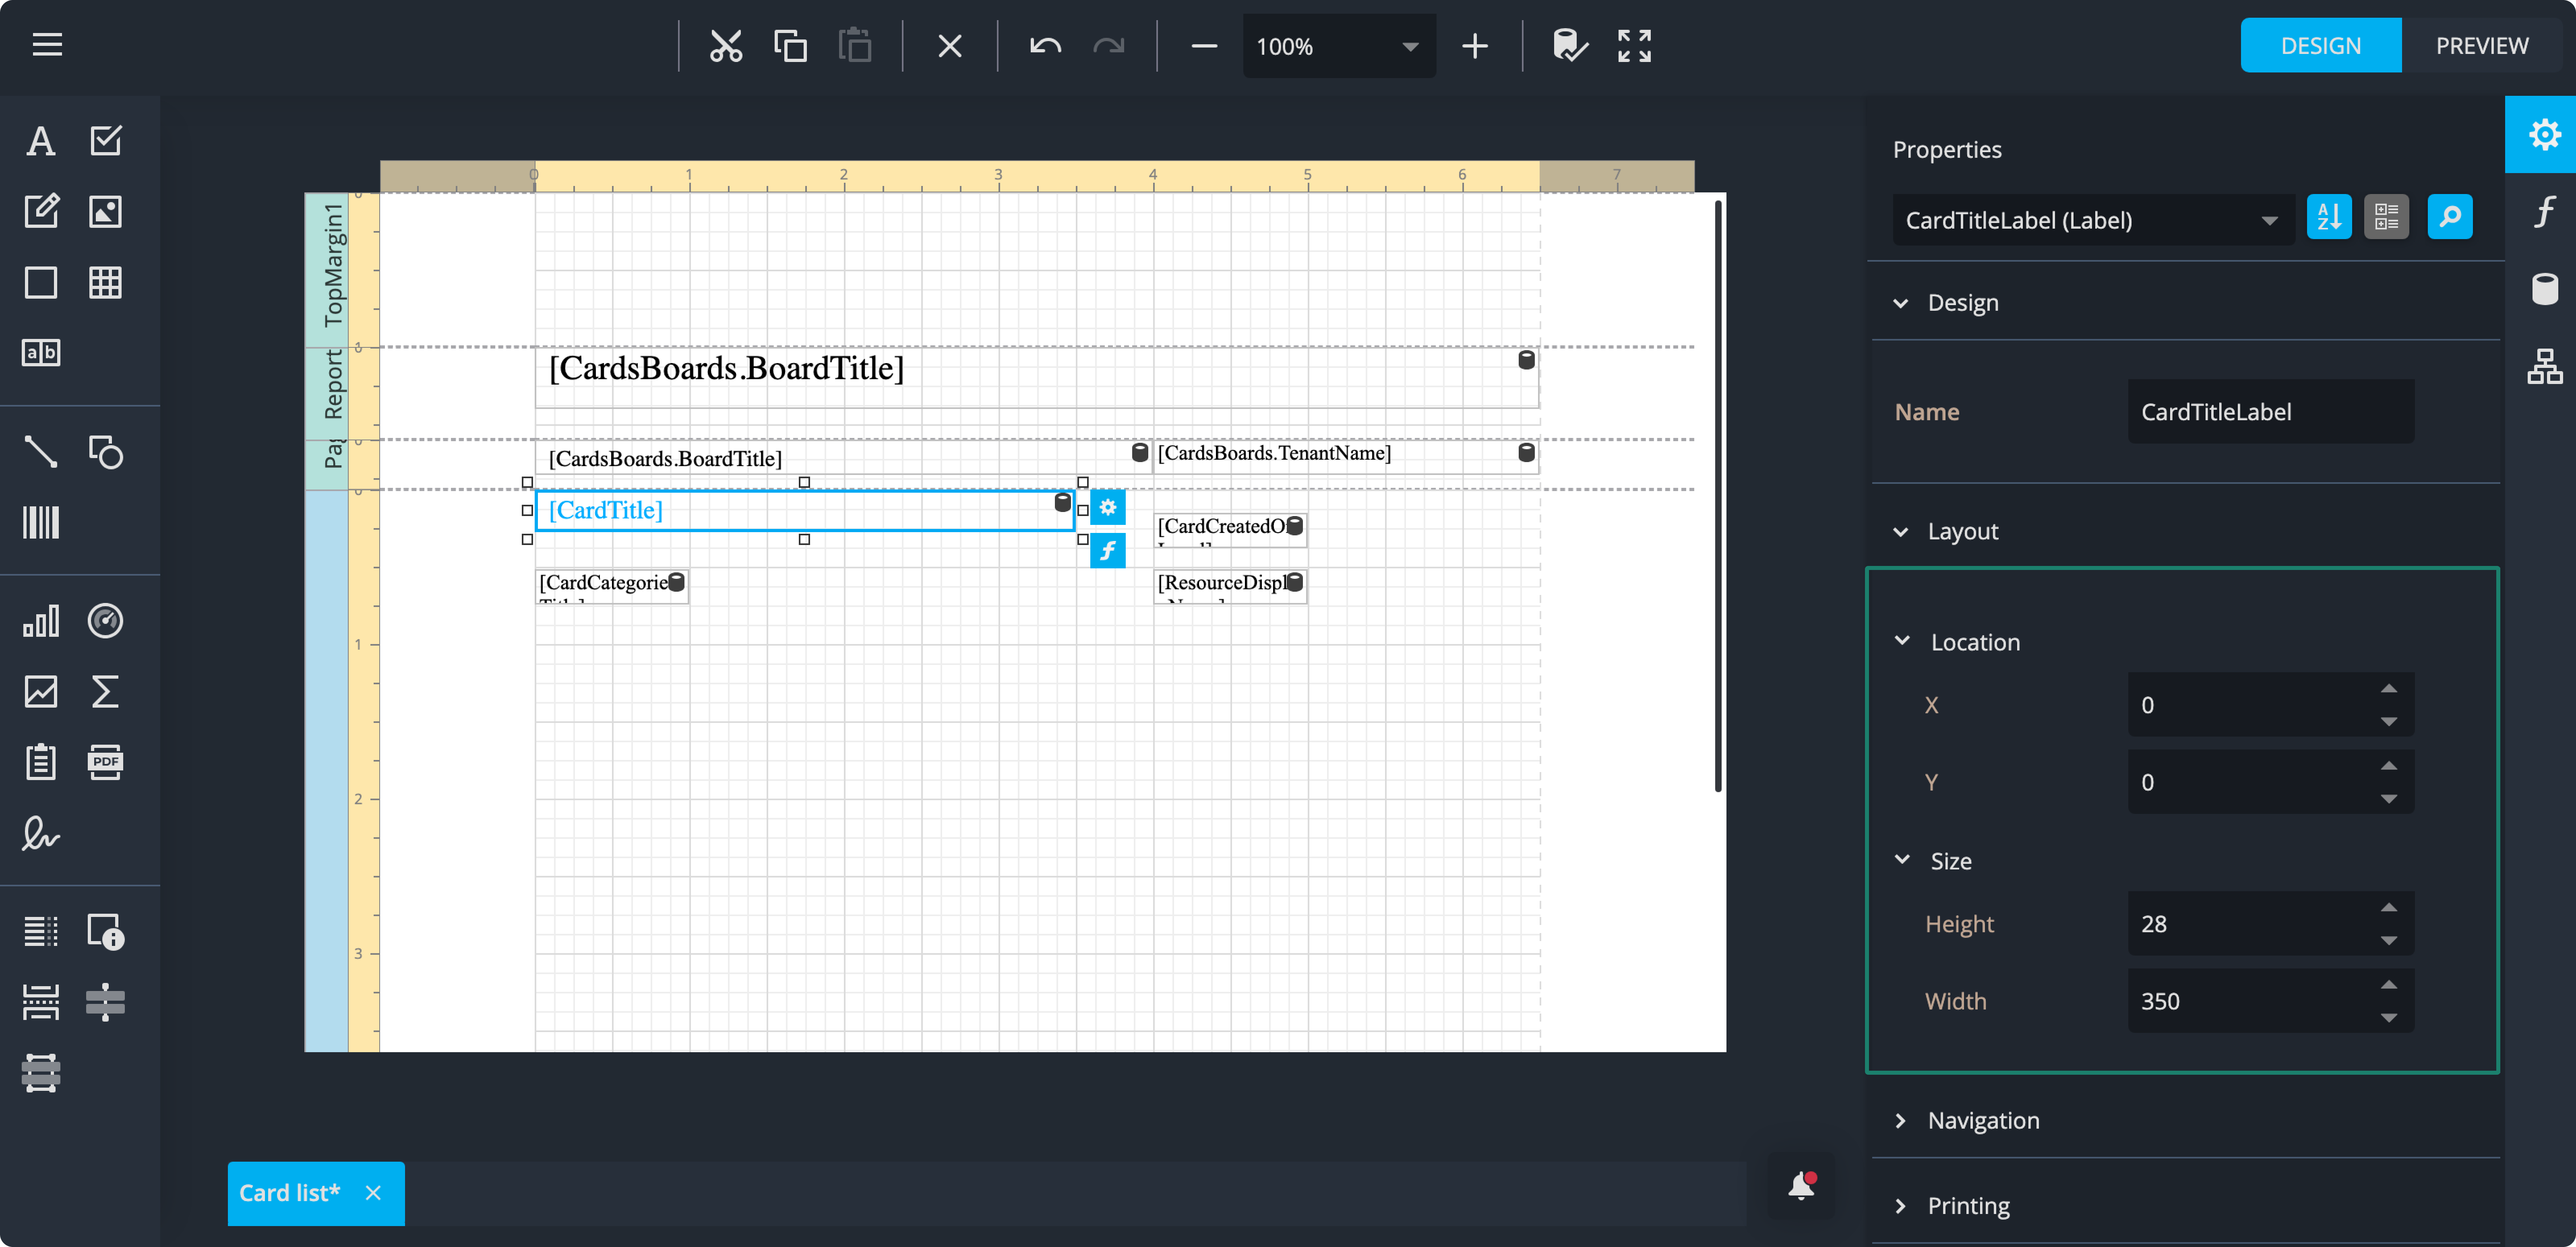
- Select the CardTitle control. In Properties, expand Design and rename it CardTitleLabel.

- Create a style CardTitleLabelStyle:
- Font: Noto Sans, Size: 12
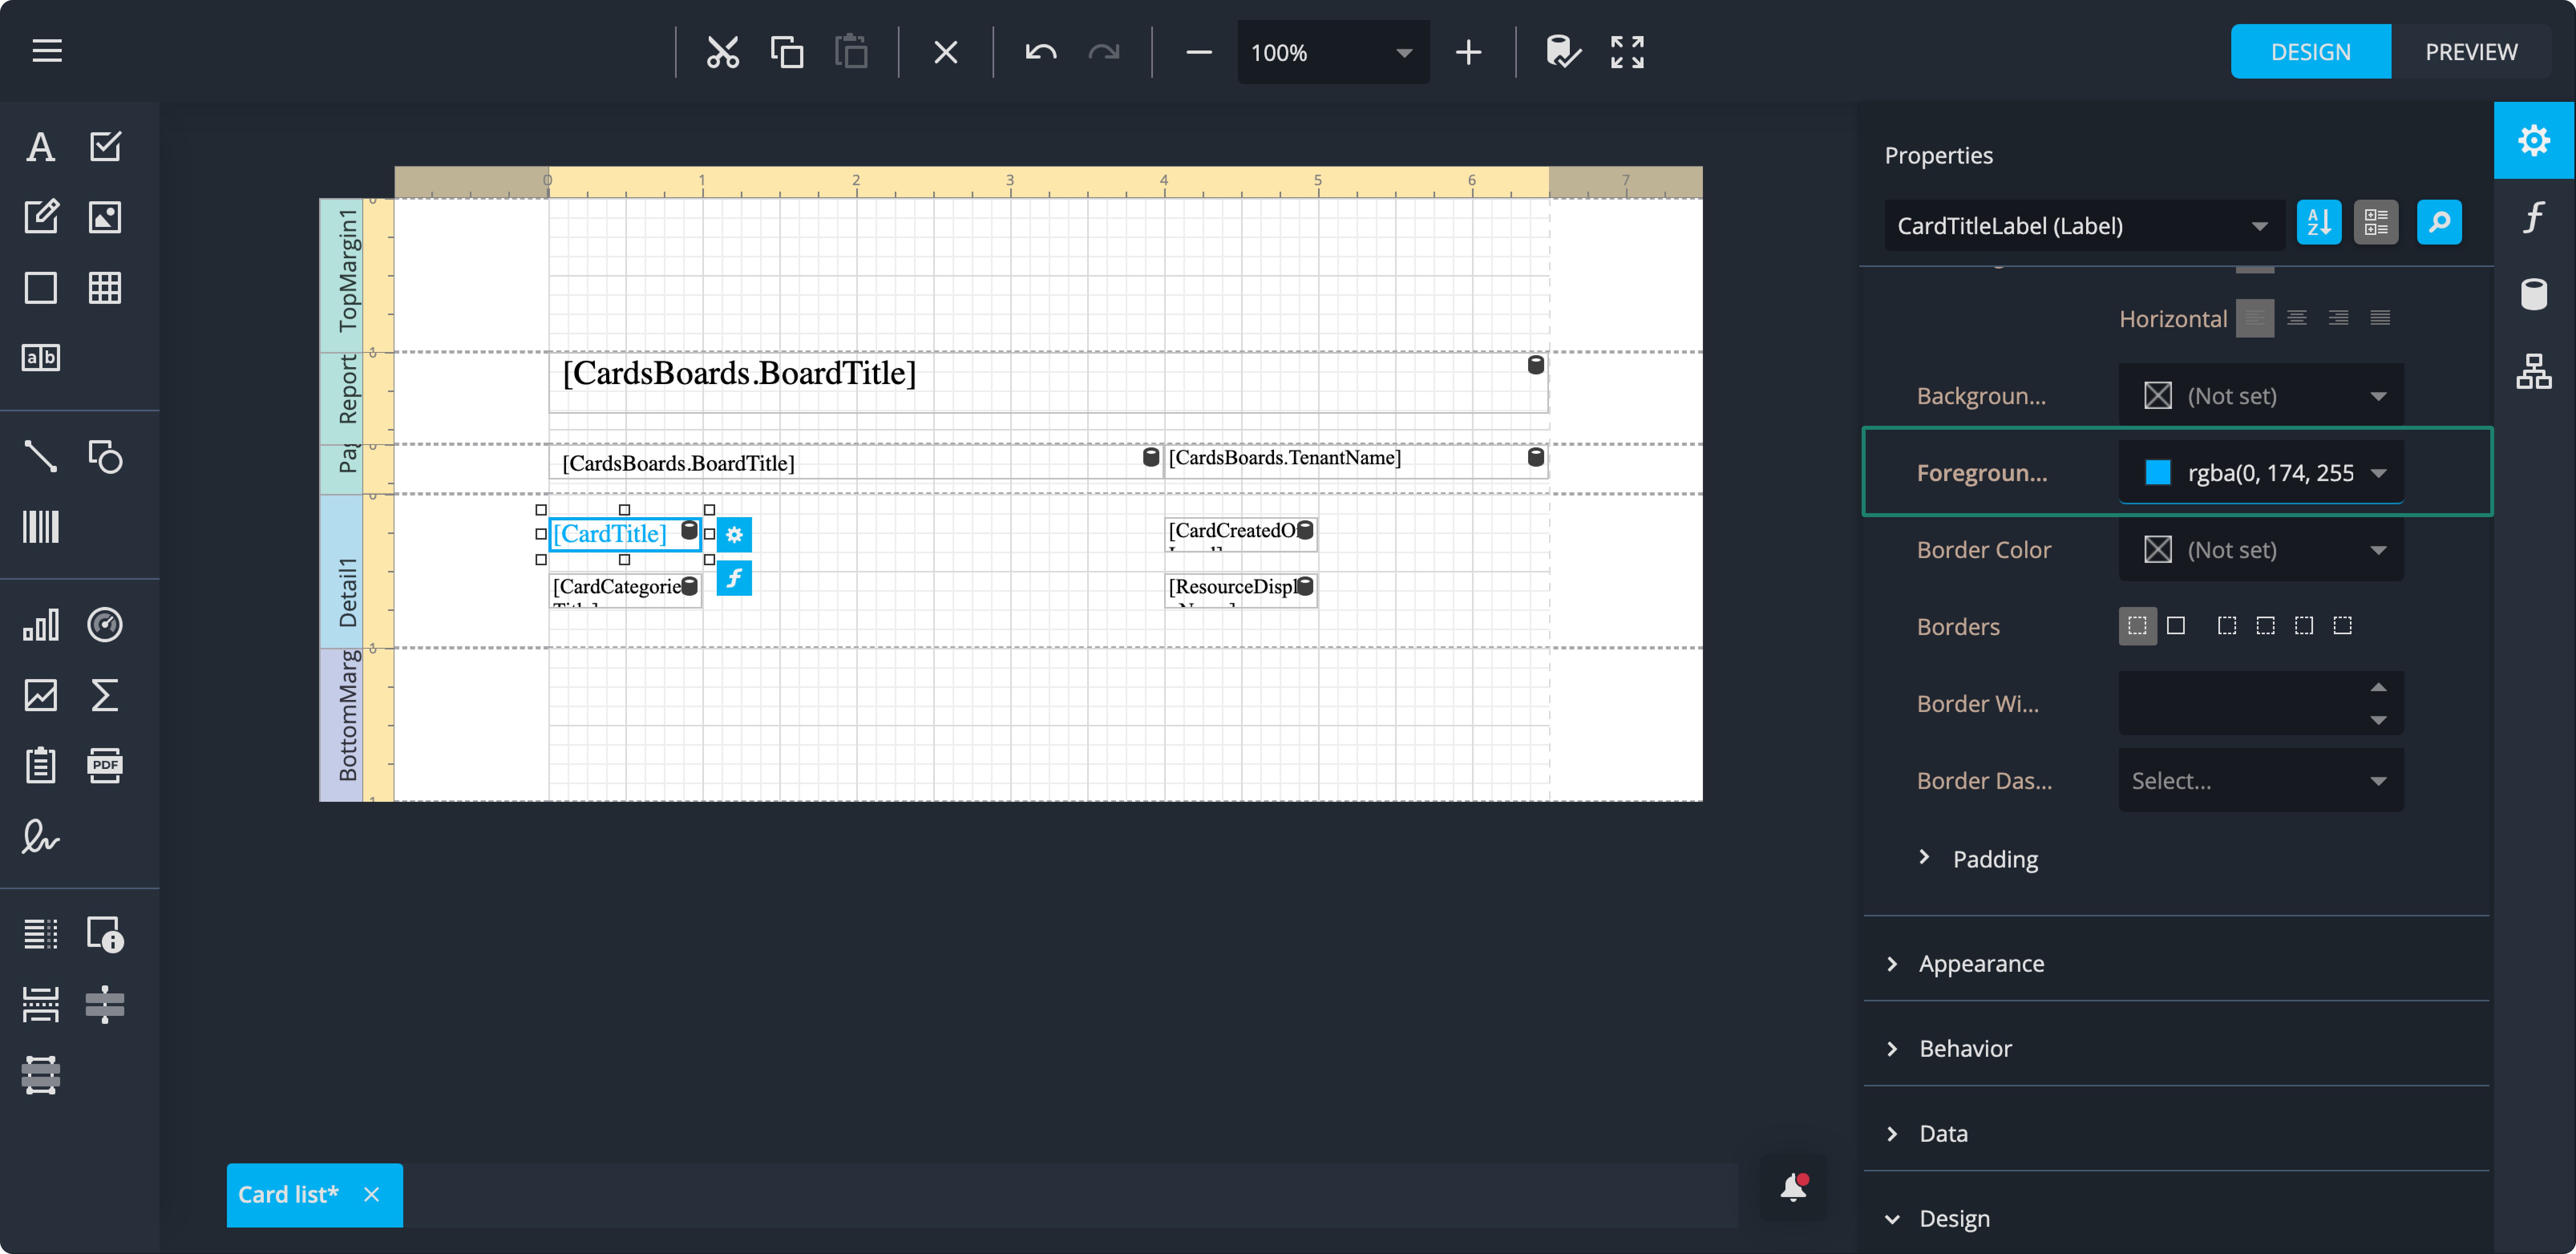
- Style Foreground Color: #00aeff
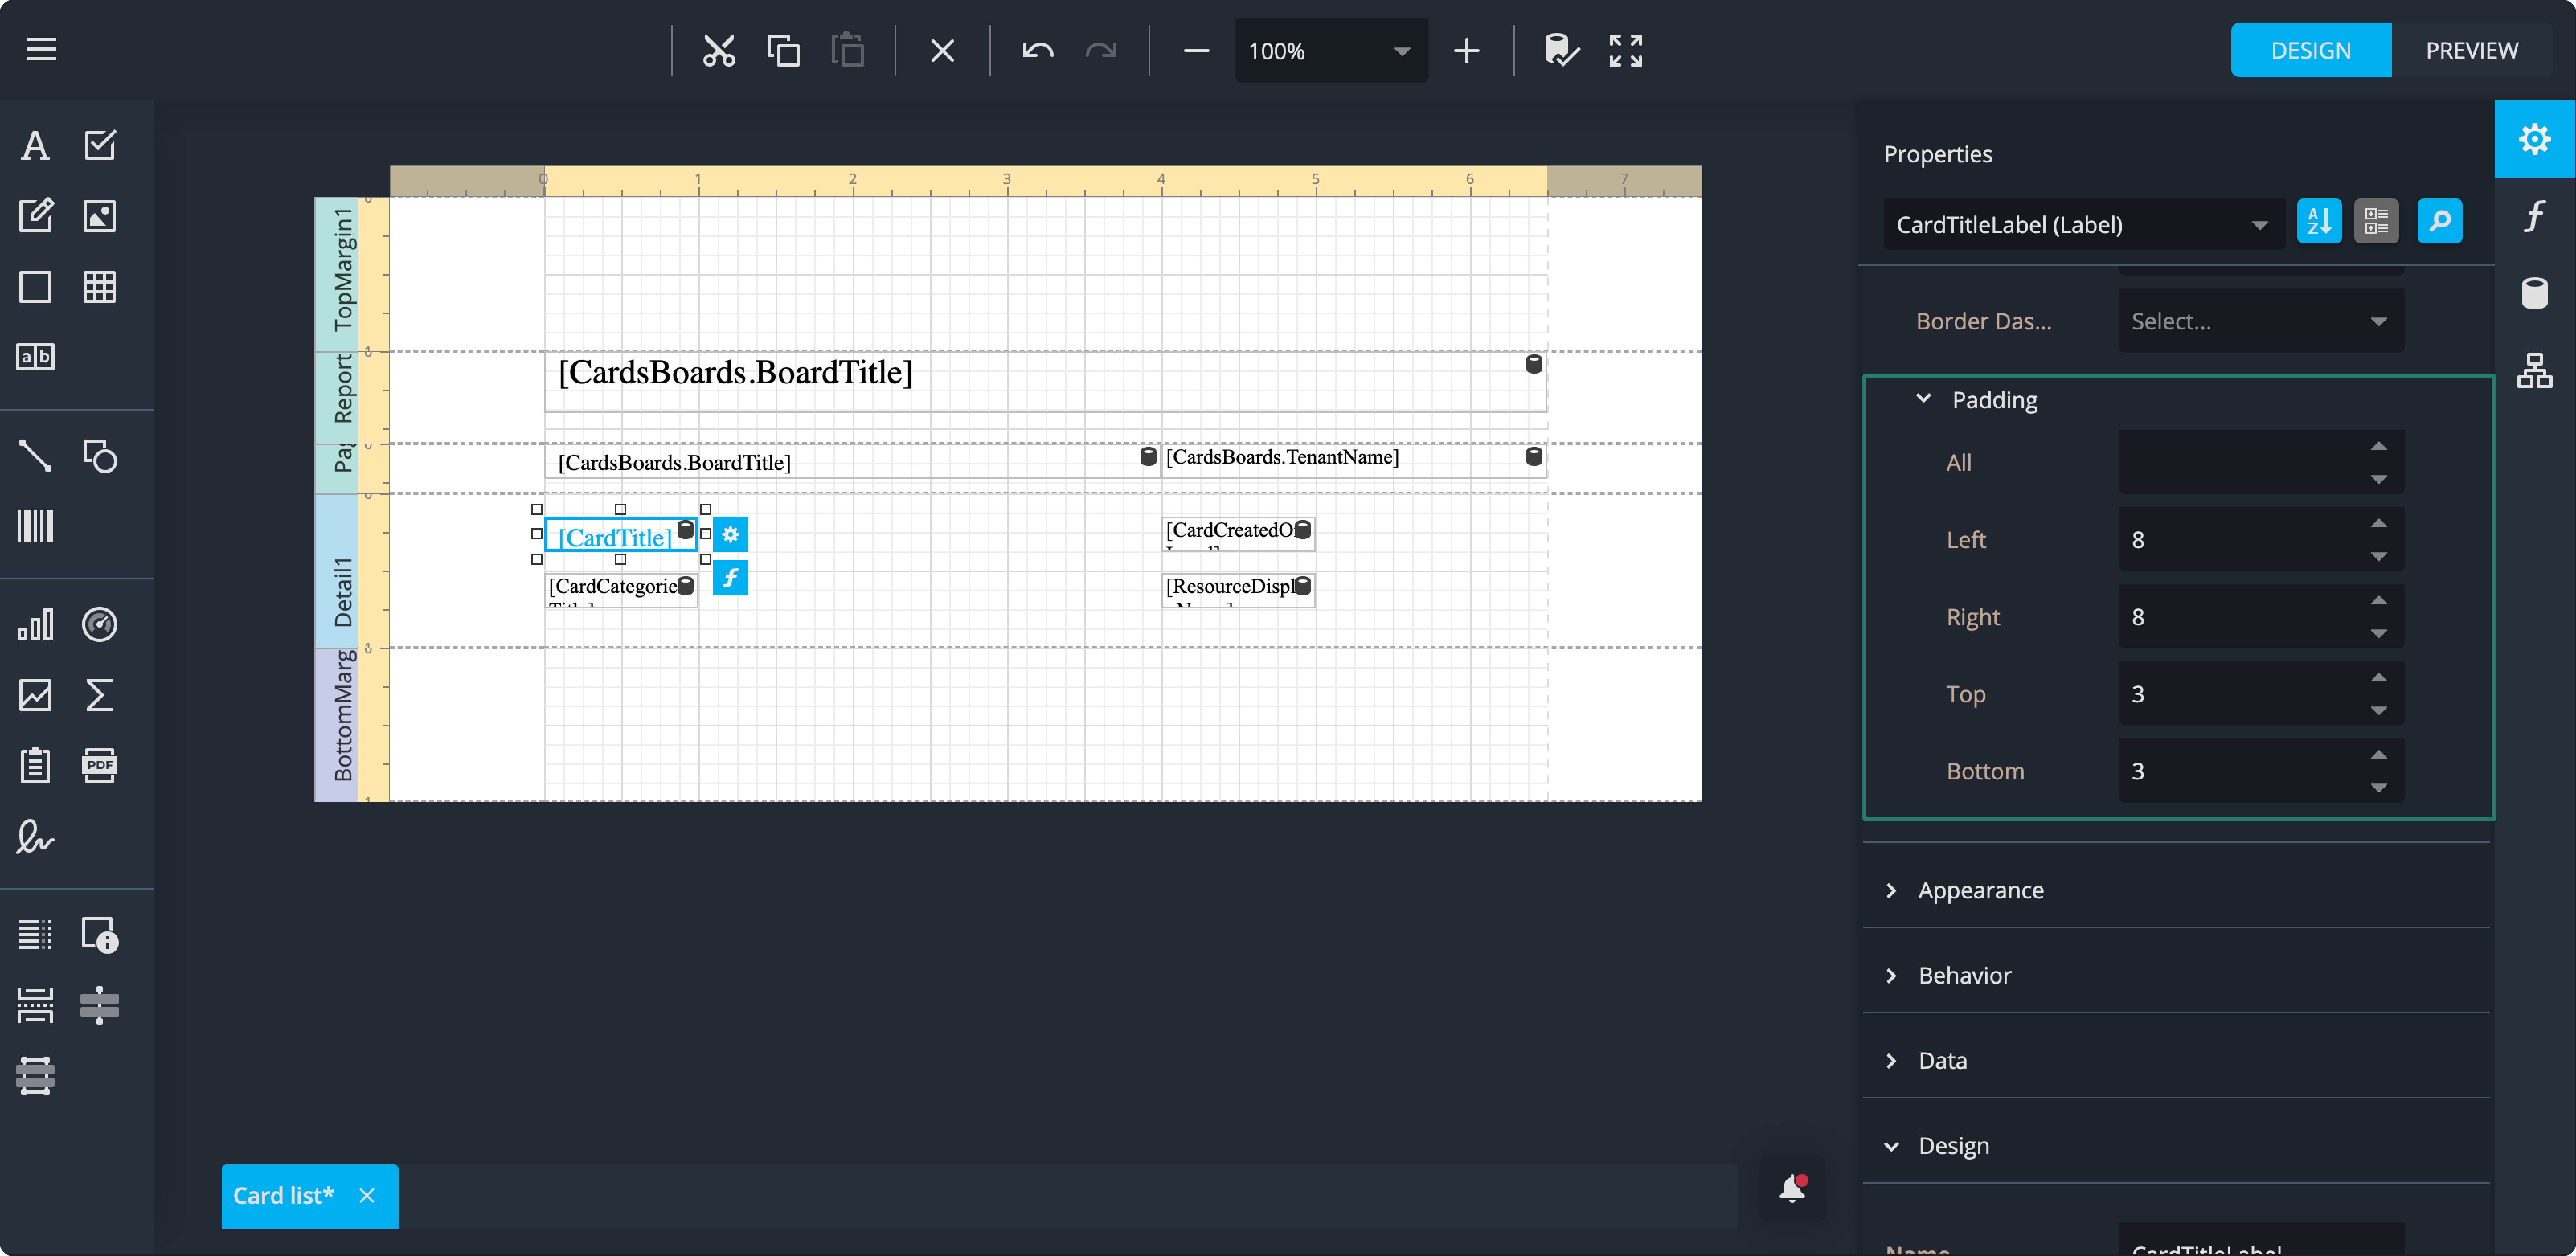
- Style padding: Left & Right: 8, Top & Bottom: 3
- Layout: X: 0, Y: 0, Width: 350, Height: 28
- Font: Noto Sans, Size: 12
Now, let’s do the same for the rest of the fields dragged…
1. Cardcategory
- Select the CardCategory control in the Detail1 band. In the Design section of Properties, rename it CardCategoryLabel.
- Create a style DetailLabelStyle:
- Font: Noto Sans, Size: 10
- Padding: Left & Right 8, Top & Bottom 3
- Set the layout: X: 0, Y: 30 Width: 350, Height: 28
2. CardCreatedOnLocal
- Select the CardCreatedOnLocal control. In the Design section of Properties, rename it CardCreatedOnLocalLabel.
- Apply the DetailLabelStyle.
- In Appearance, set the text alignment to Right.
- Set the layout: X: 400, Y: 0 Width: 250, Height: 28
3. ResourceDisplayName
- Select the ResourceDisplayName control. In the Design section of Properties, rename it ResourceDisplayNameLabel.
- Apply the DetailLabelStyle. In Appearance, set the text alignment to Right.
- Set the layout: X: 400, Y: 28 Width: 195, Height: 28
- Final step: Select the Detail1 band and set its Height to 60.
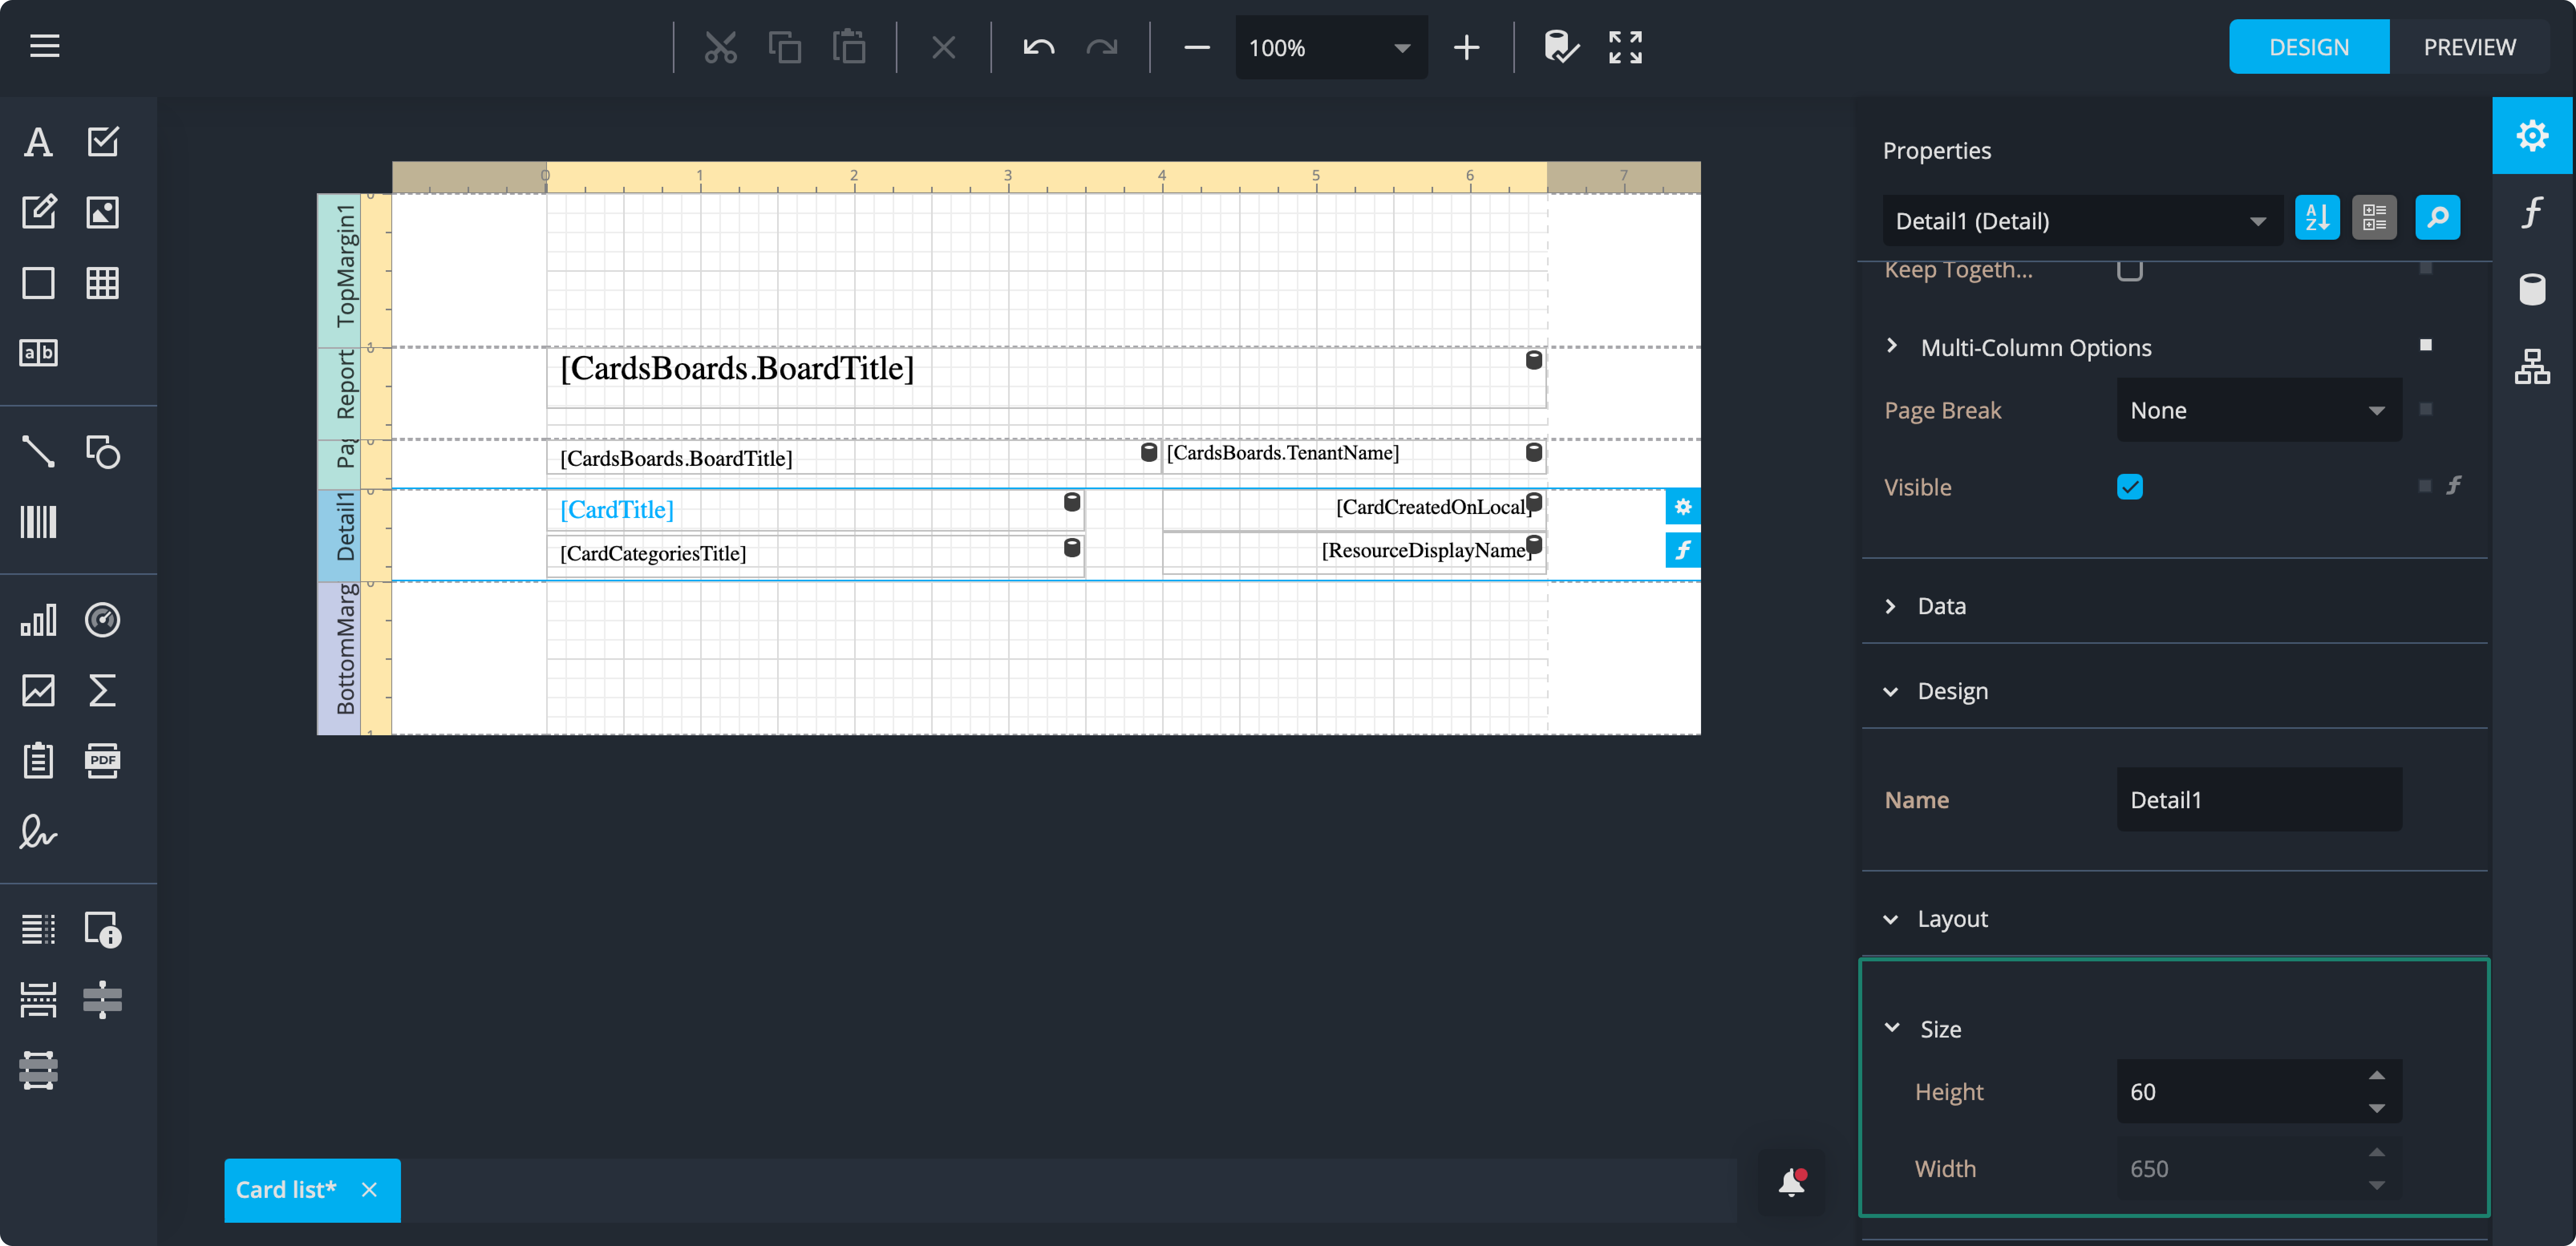
Your report should look like this in preview.

Congratulations! 🎉 You’ve completed building your report from start to finish. All queries, fields, bands, styles, and layouts are now set up.