
Create a new report template
Now that you’re familiar with the predefined reports, you can start creating your own. Custom reports let you select exactly what data you want to see, apply filters, and organize information in the way that best fits your needs.
This section will guide you step-by-step, so you can confidently build reports tailored to your boards and period of interest.
Create a new report
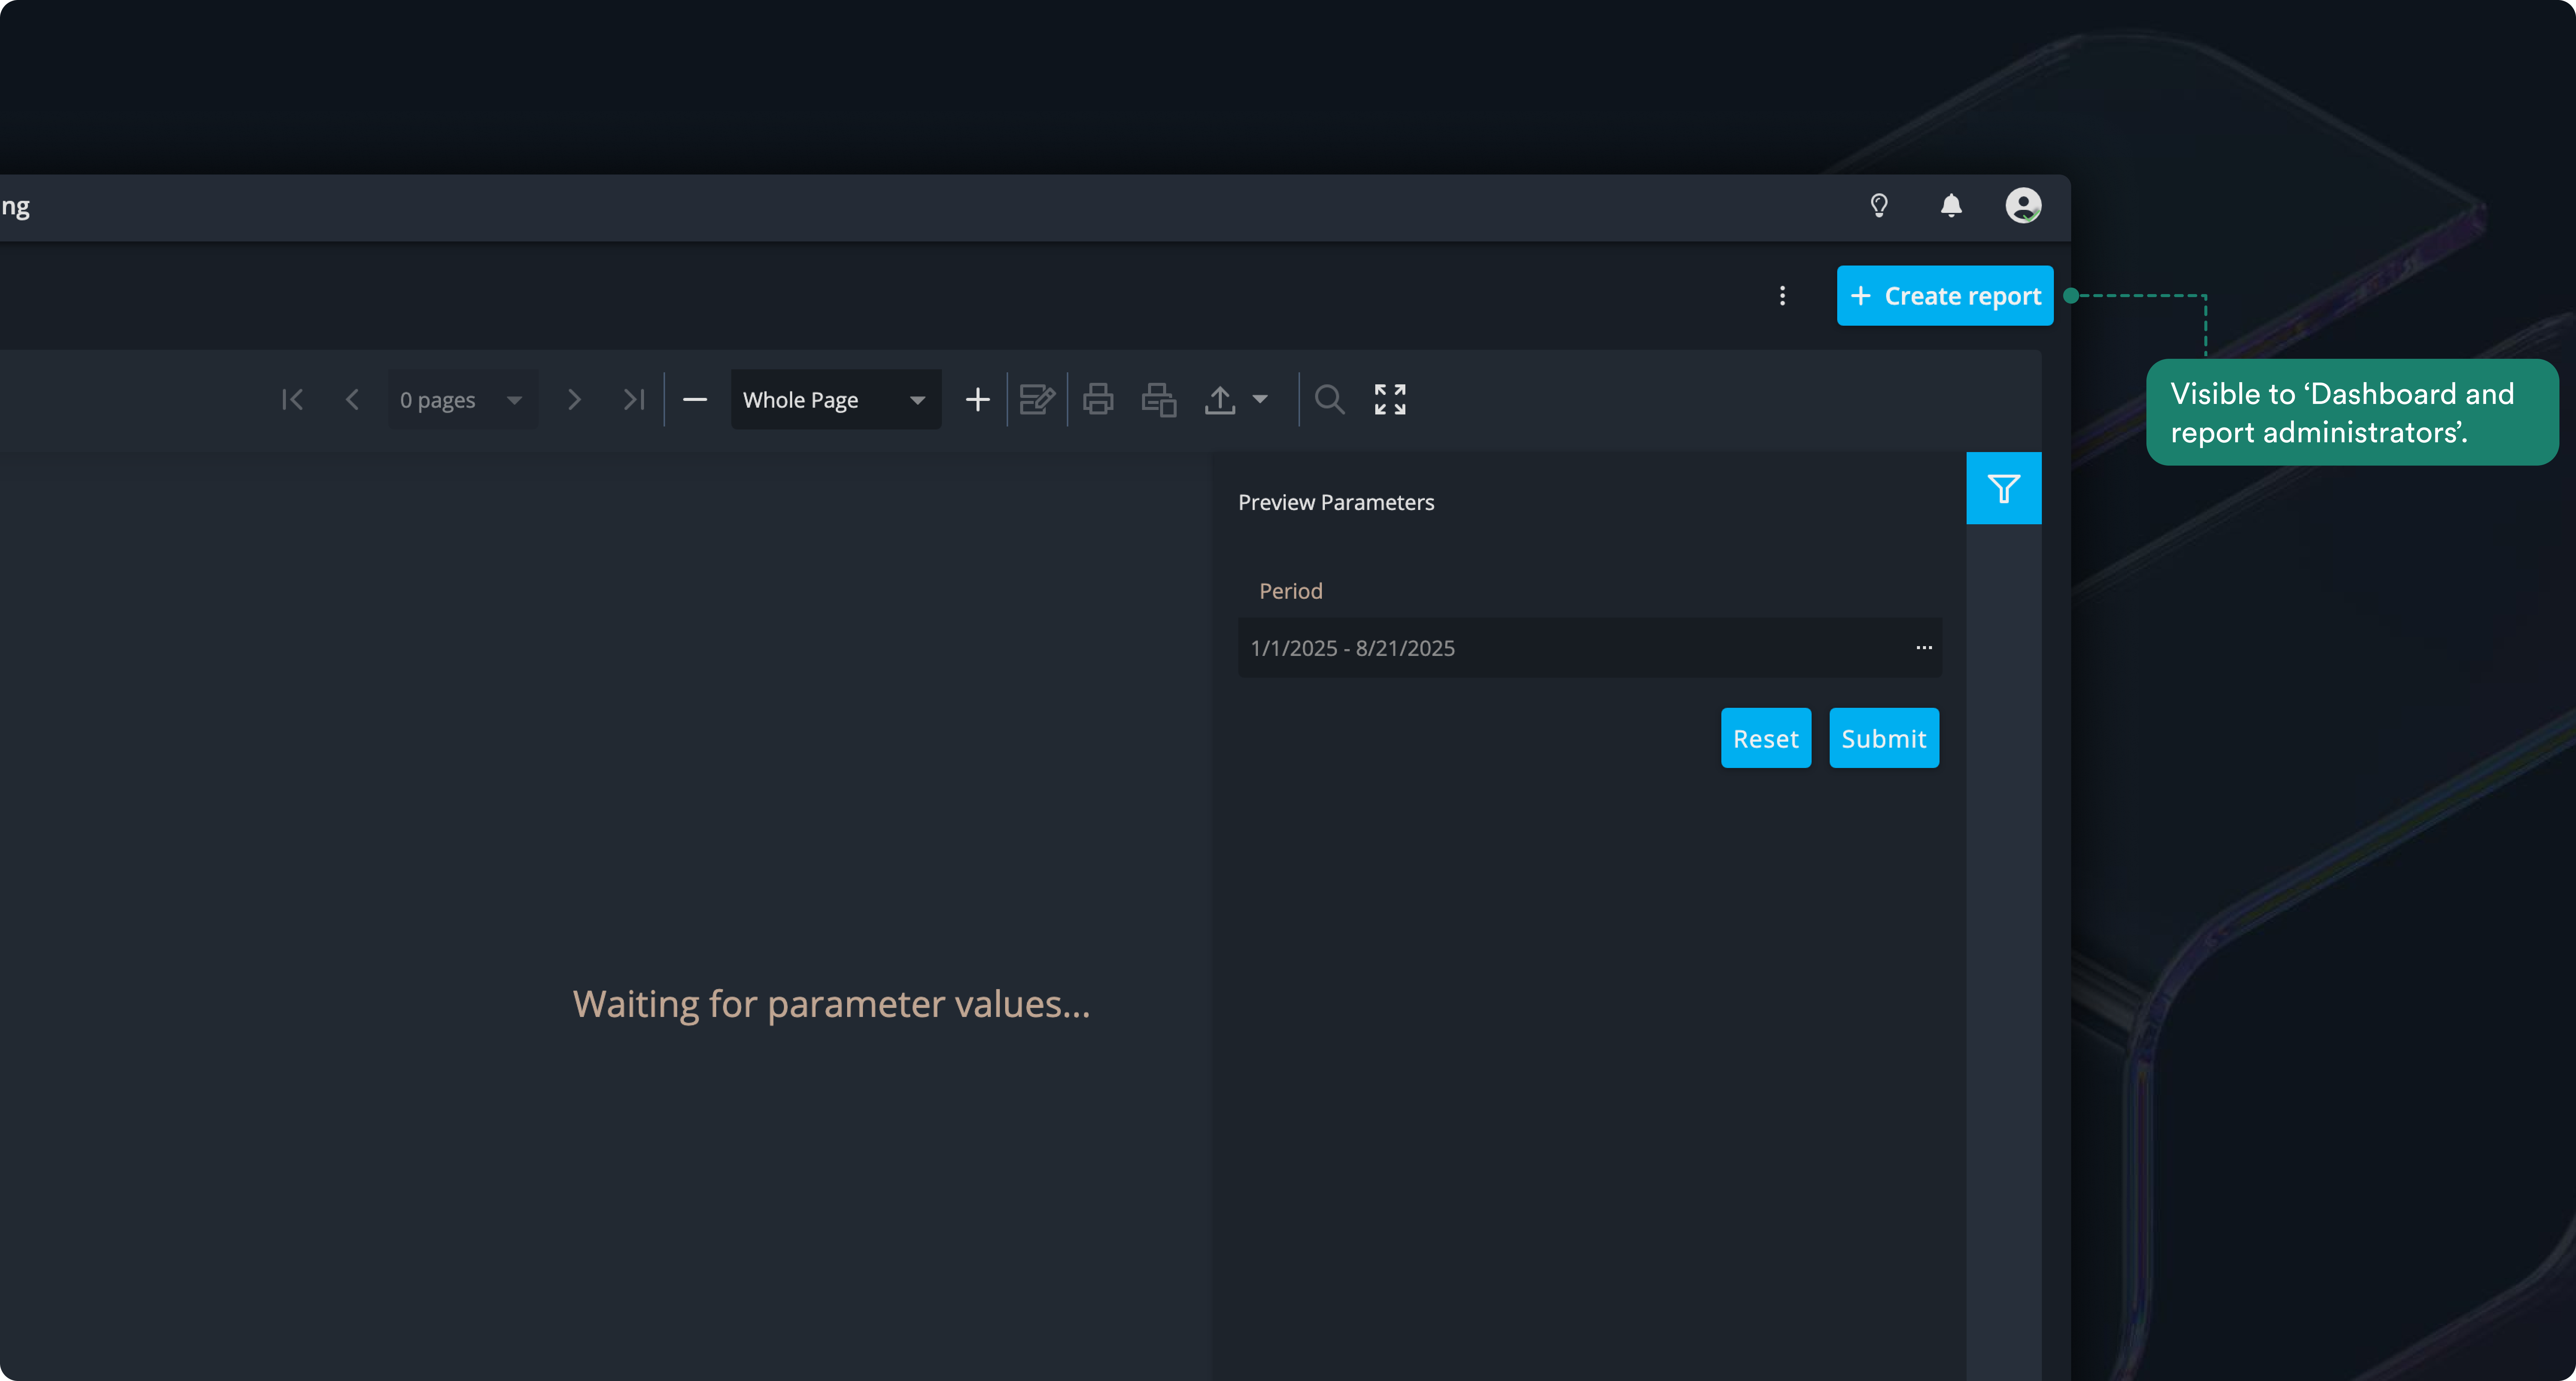
If you do not see the + Create report button, reach out to your system admin to ensure you have the report administrator role assigned.
Step 1: set up your new report
Click + Create report to open the popup and enter the basic information for your new report:
- Report name: enter Card list
- Availability scope: keep set to Board
- Sub-report option: leave unchecked
Click Create, and you’ll see a confirmation message at the top of your screen letting you know the report was successfully created.
Note: Since we haven’t added any data yet, the report will appear empty.
Now that your report is set up, it’s time to add content. We’ll use the report designer to do this.
Step 2: open report designer
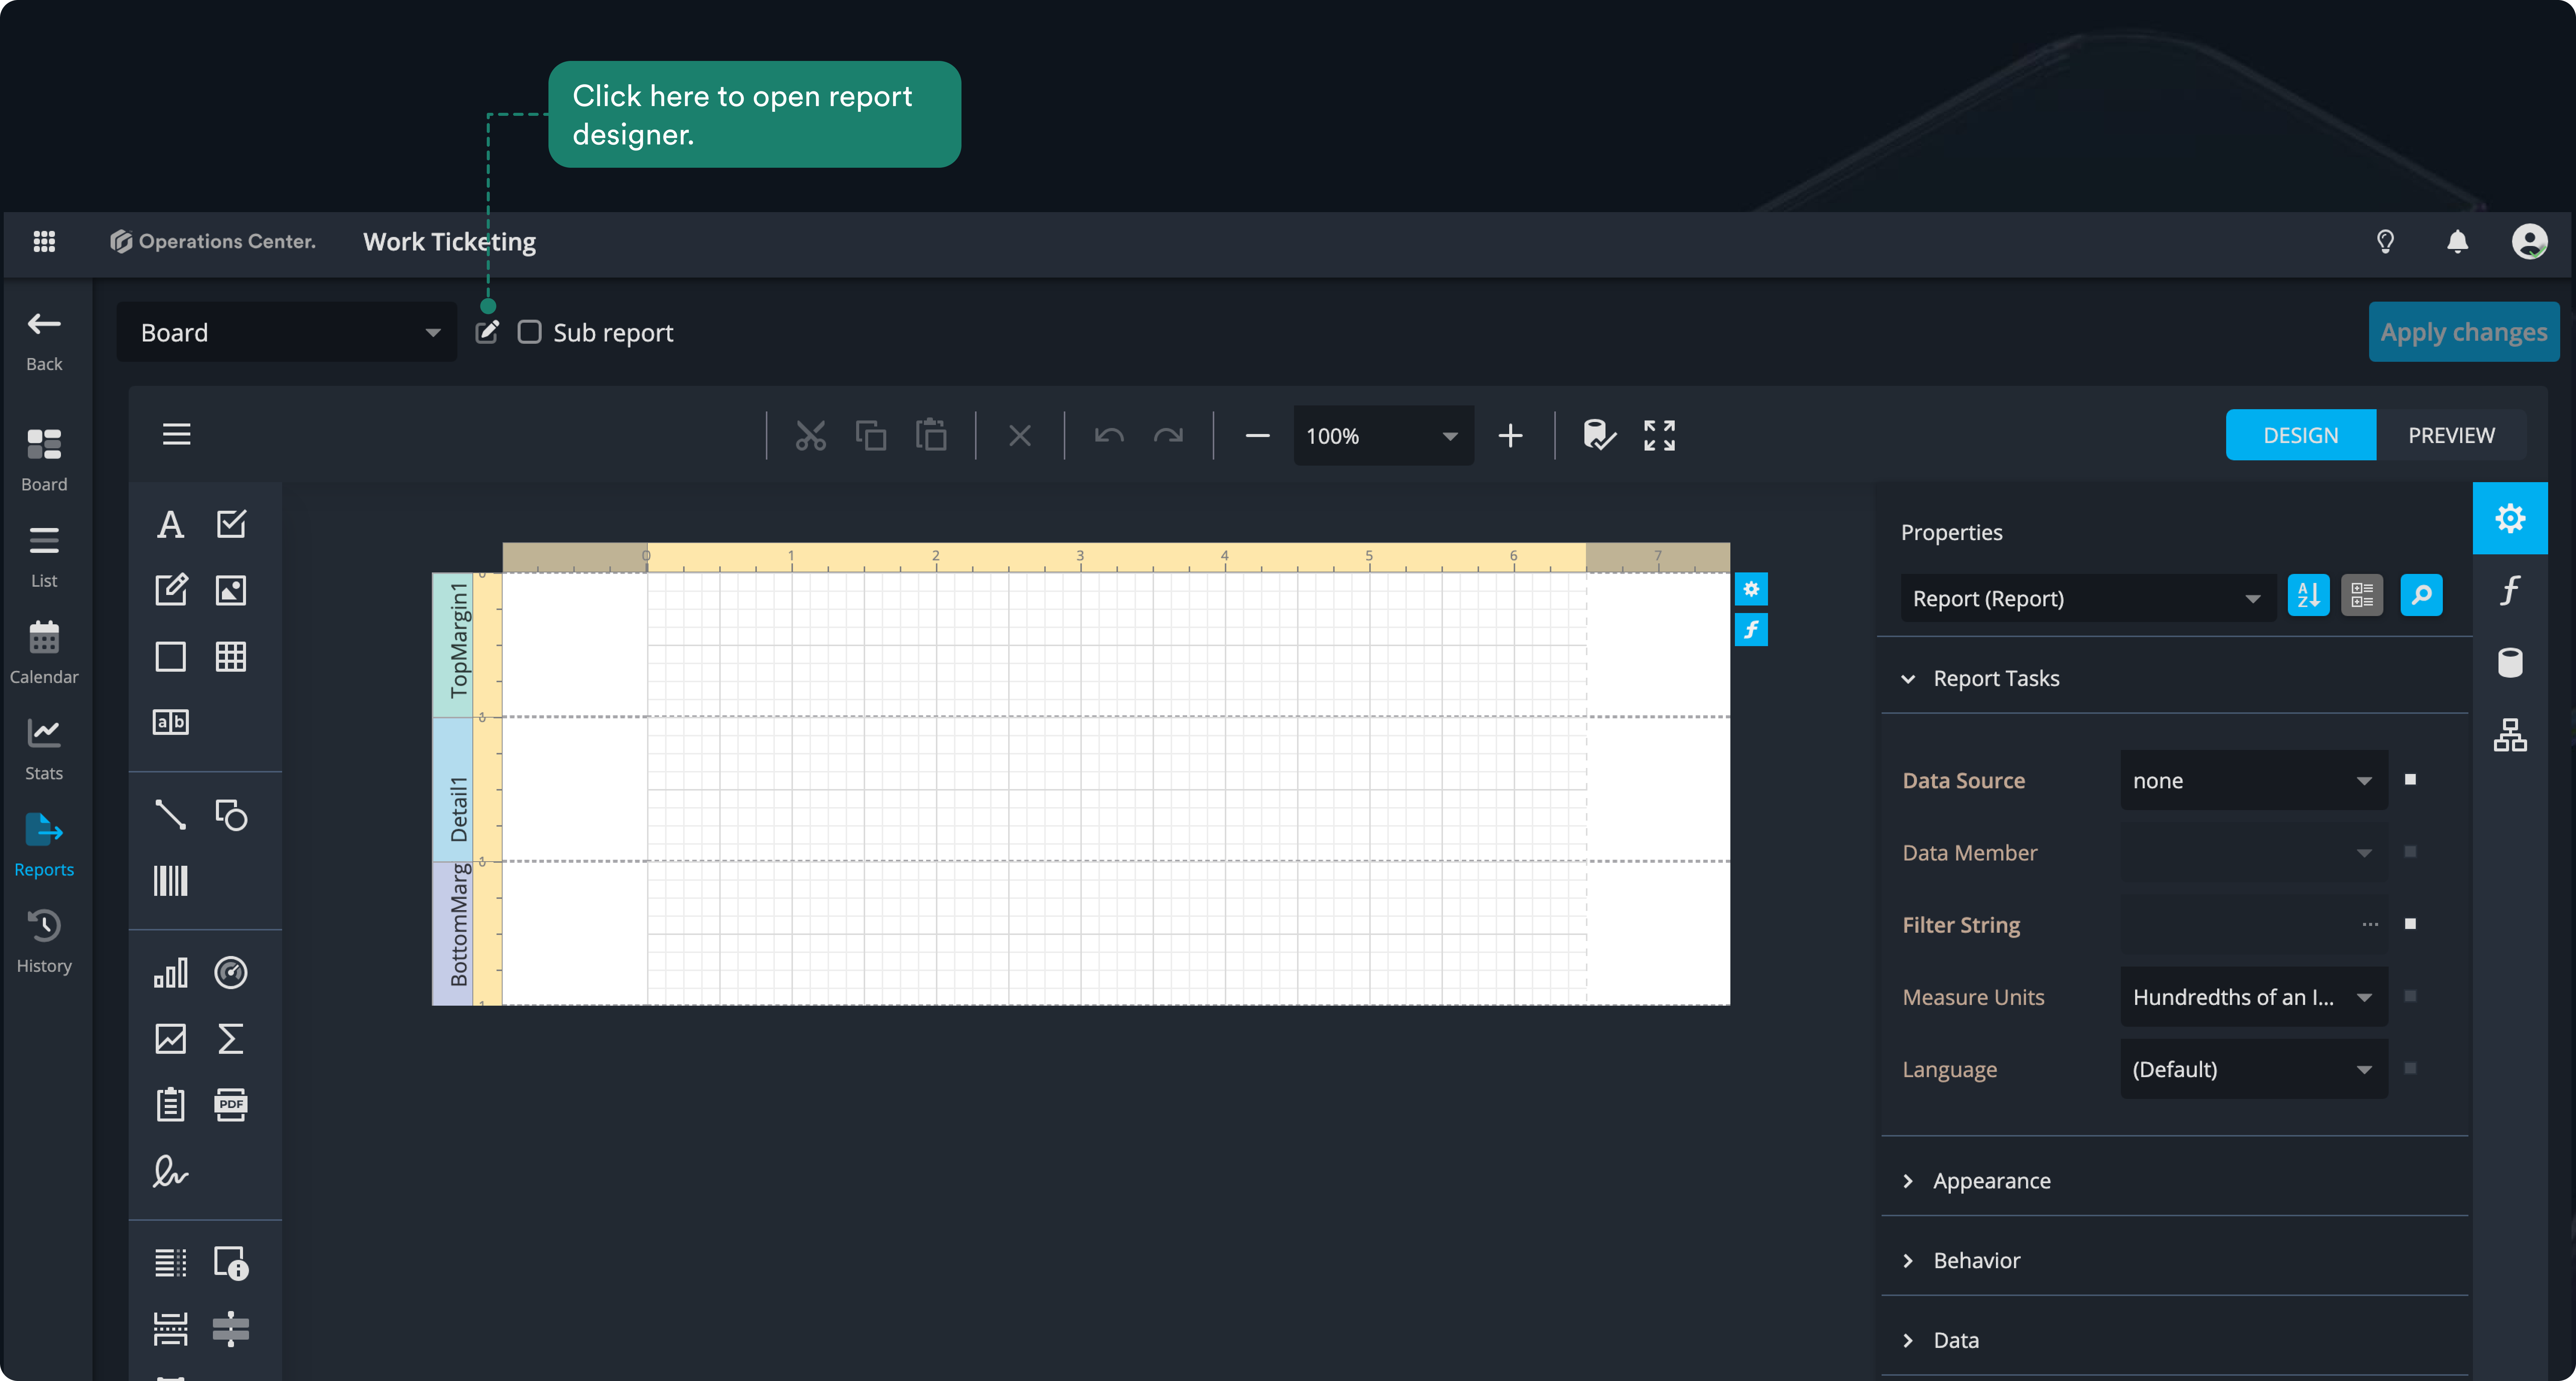
Click the edit icon at the top to switch to the report designer.
Before moving to the next step, let’s take a first look at the report designer. This is where you’ll build and customize your report.
- Menu: manage and set up your report.
- Toolbox: drag and drop controls onto the design surface.
- Toolbar: access report editing commands.
- Properties panel: configure report controls.
- Expressions panel: define data and conditional formatting.
- Field list panel: explore the report’s data source schema.
- Report explorer panel: navigate all elements in your report.
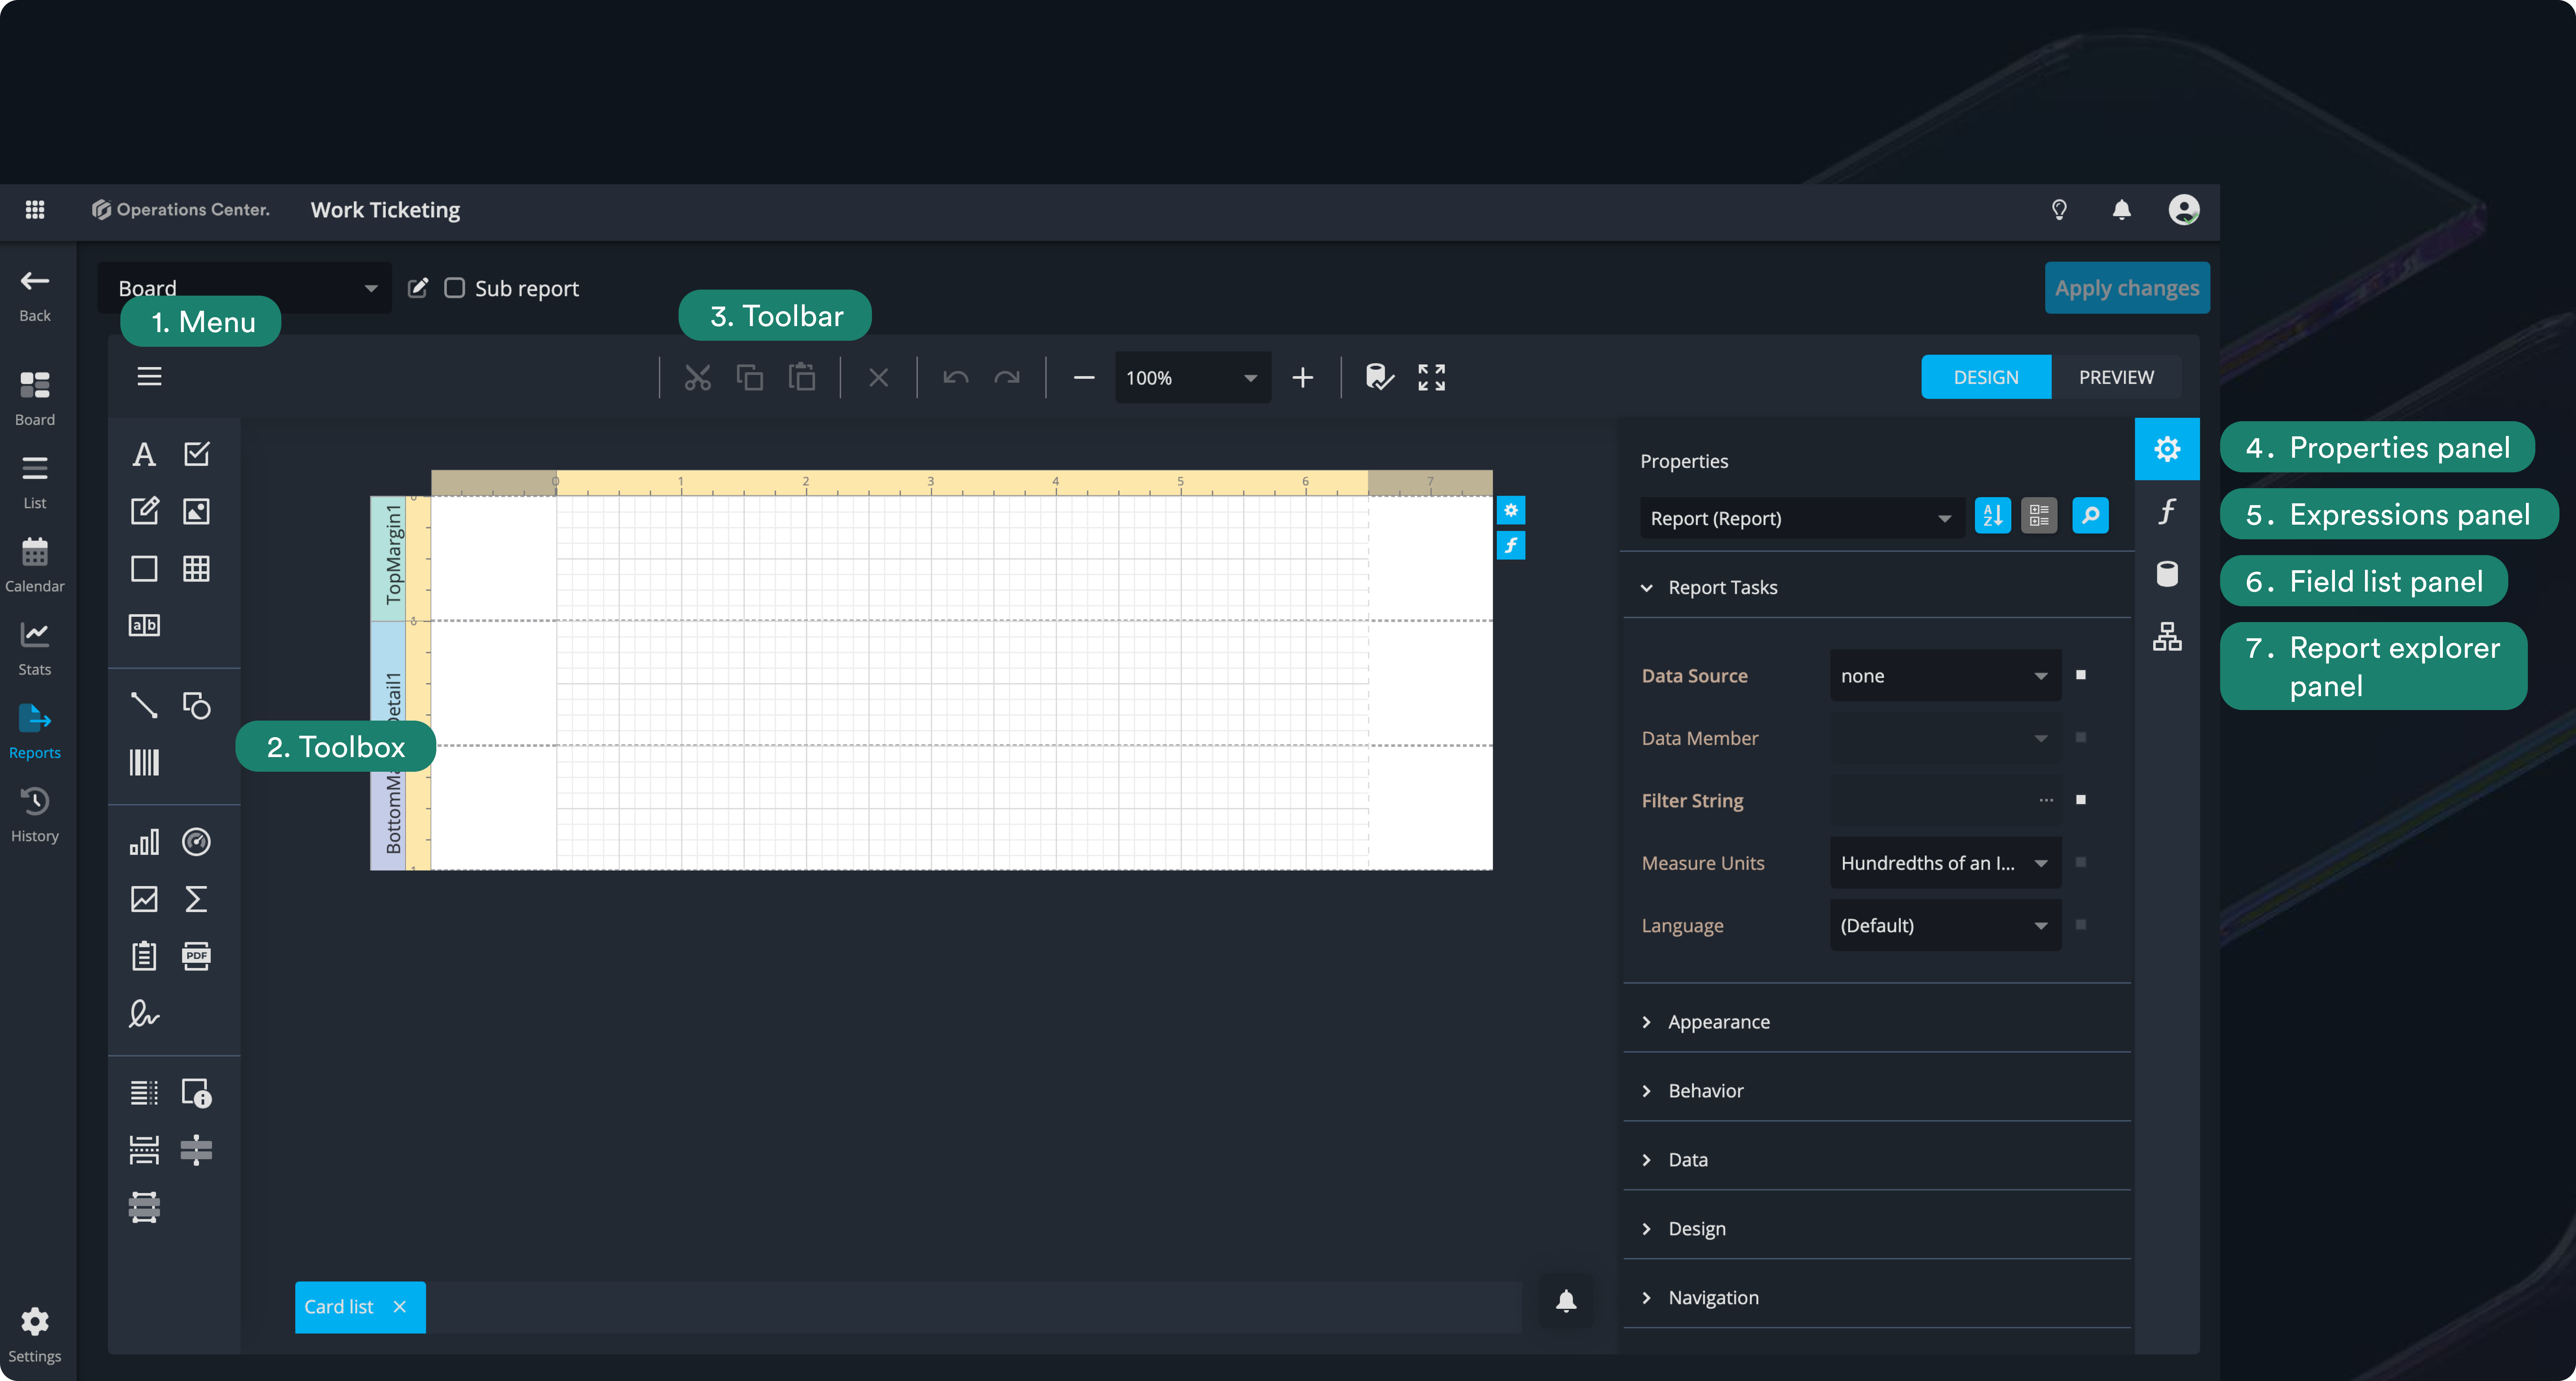
With these panels and tools, you have everything you need to start designing reports exactly how you want.
Step 3: specify page size, margins, and other properties
In this step, we’ll set some default style configurations for the entire report. These settings will apply to everything you add later, so you won’t have to configure individual elements like fonts separately.
The side panel is located on the right of the screen and contains different sections for configuring your report.
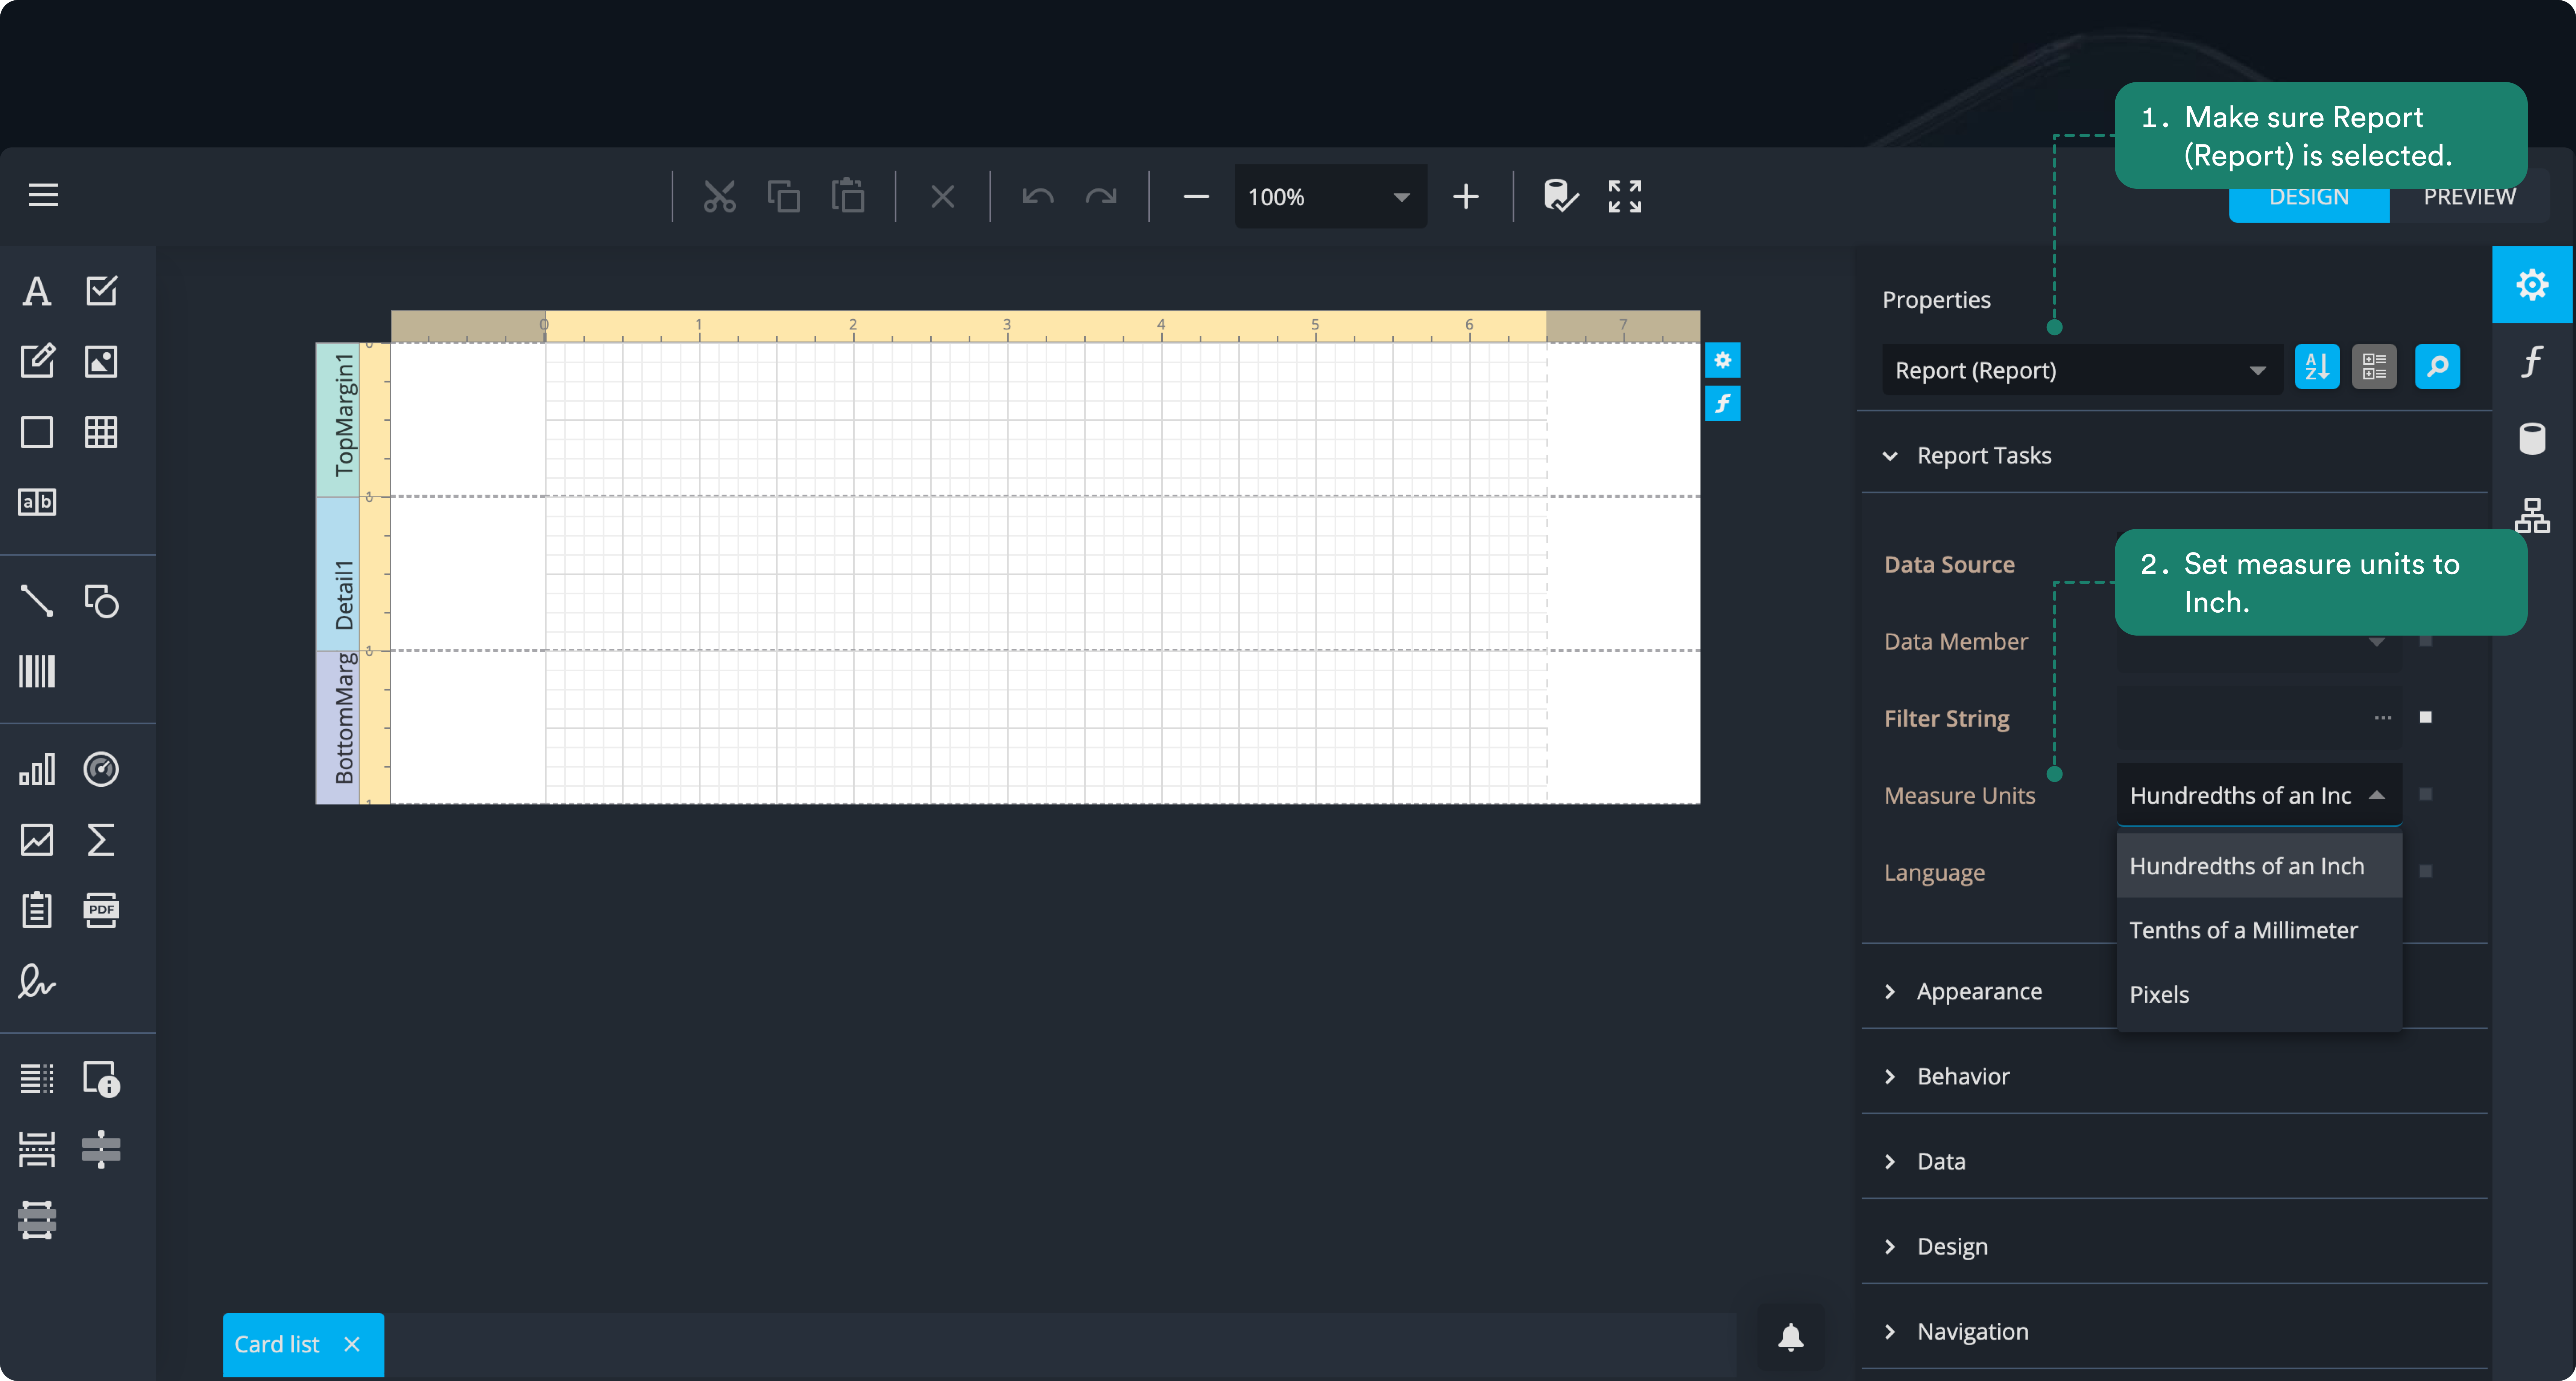
- Make sure the whole report is selected (not just the top, details, or bottom sections). If it isn’t, click outside the white area of the report to select it. This ensures that the defaults you set—such as fonts, styles, or layout—apply to the entire report.
You can also resize the side panel by dragging its left edge. - In the Report Tasks section, set Measure Units to Hundredths of an Inch.
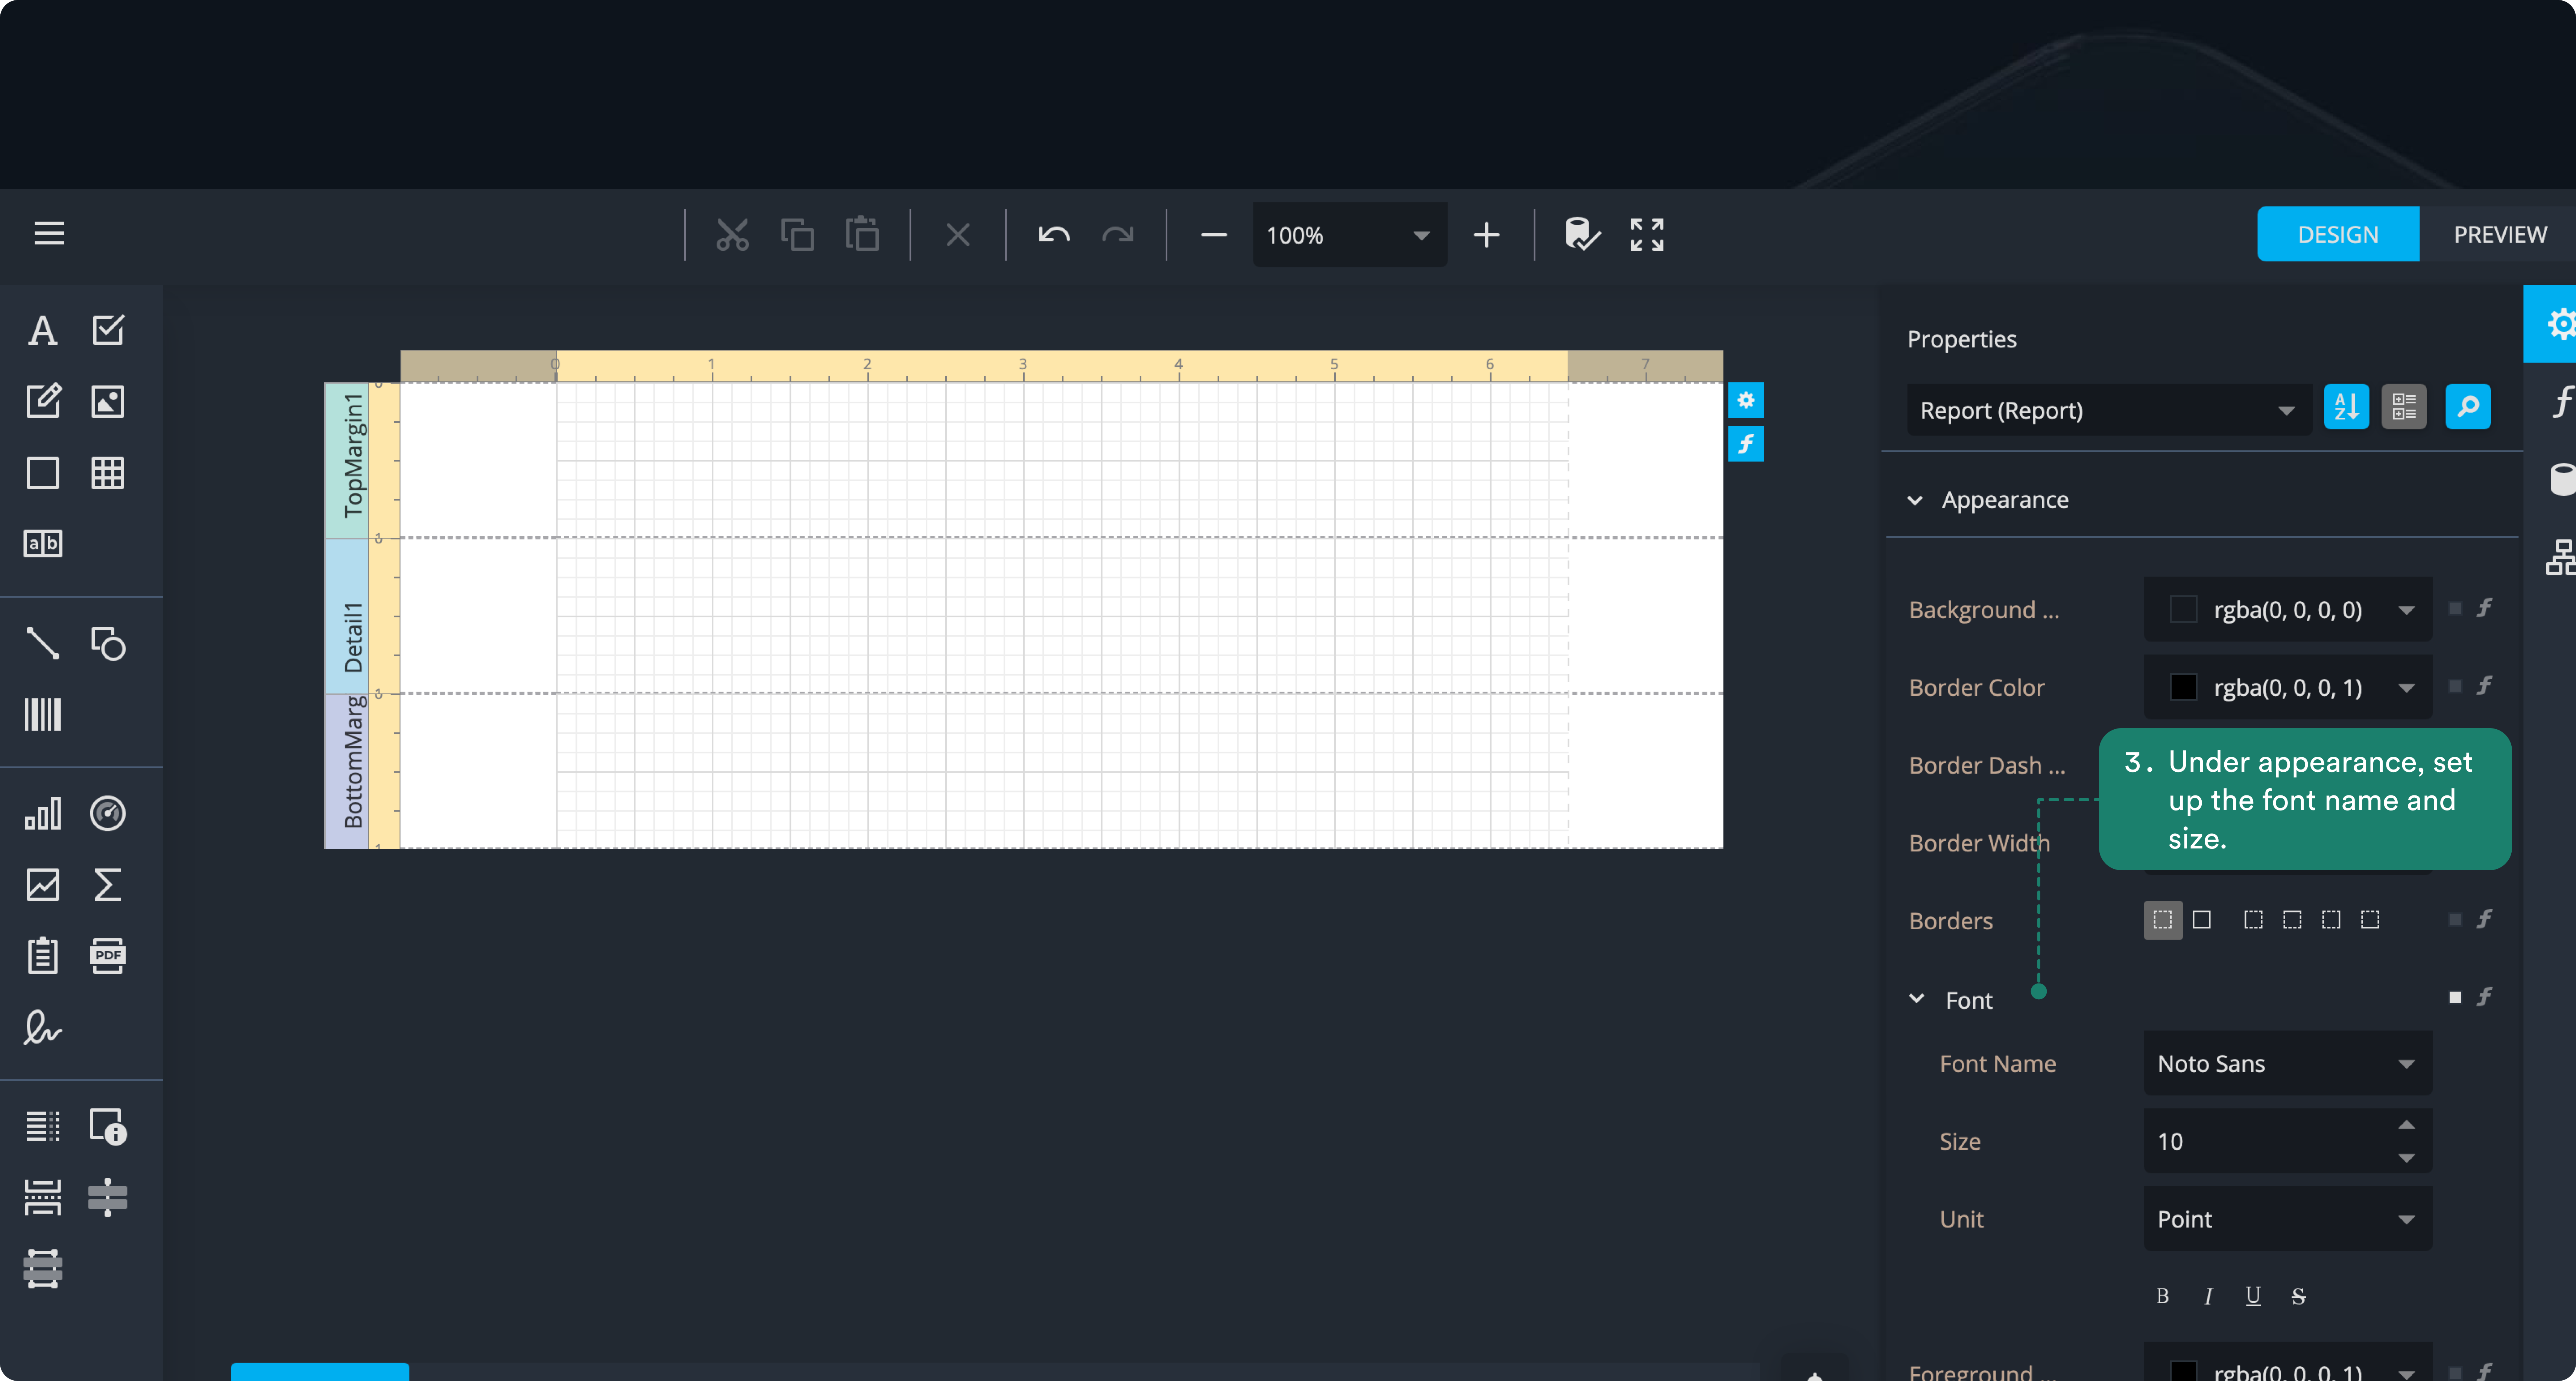
- In the Appearance section of the Properties panel, open Font and select Noto Sans. Then set the font size to 10.
- In the Behavior section, set both Vertical Content Splitting and Horizontal Content Splitting to Smart
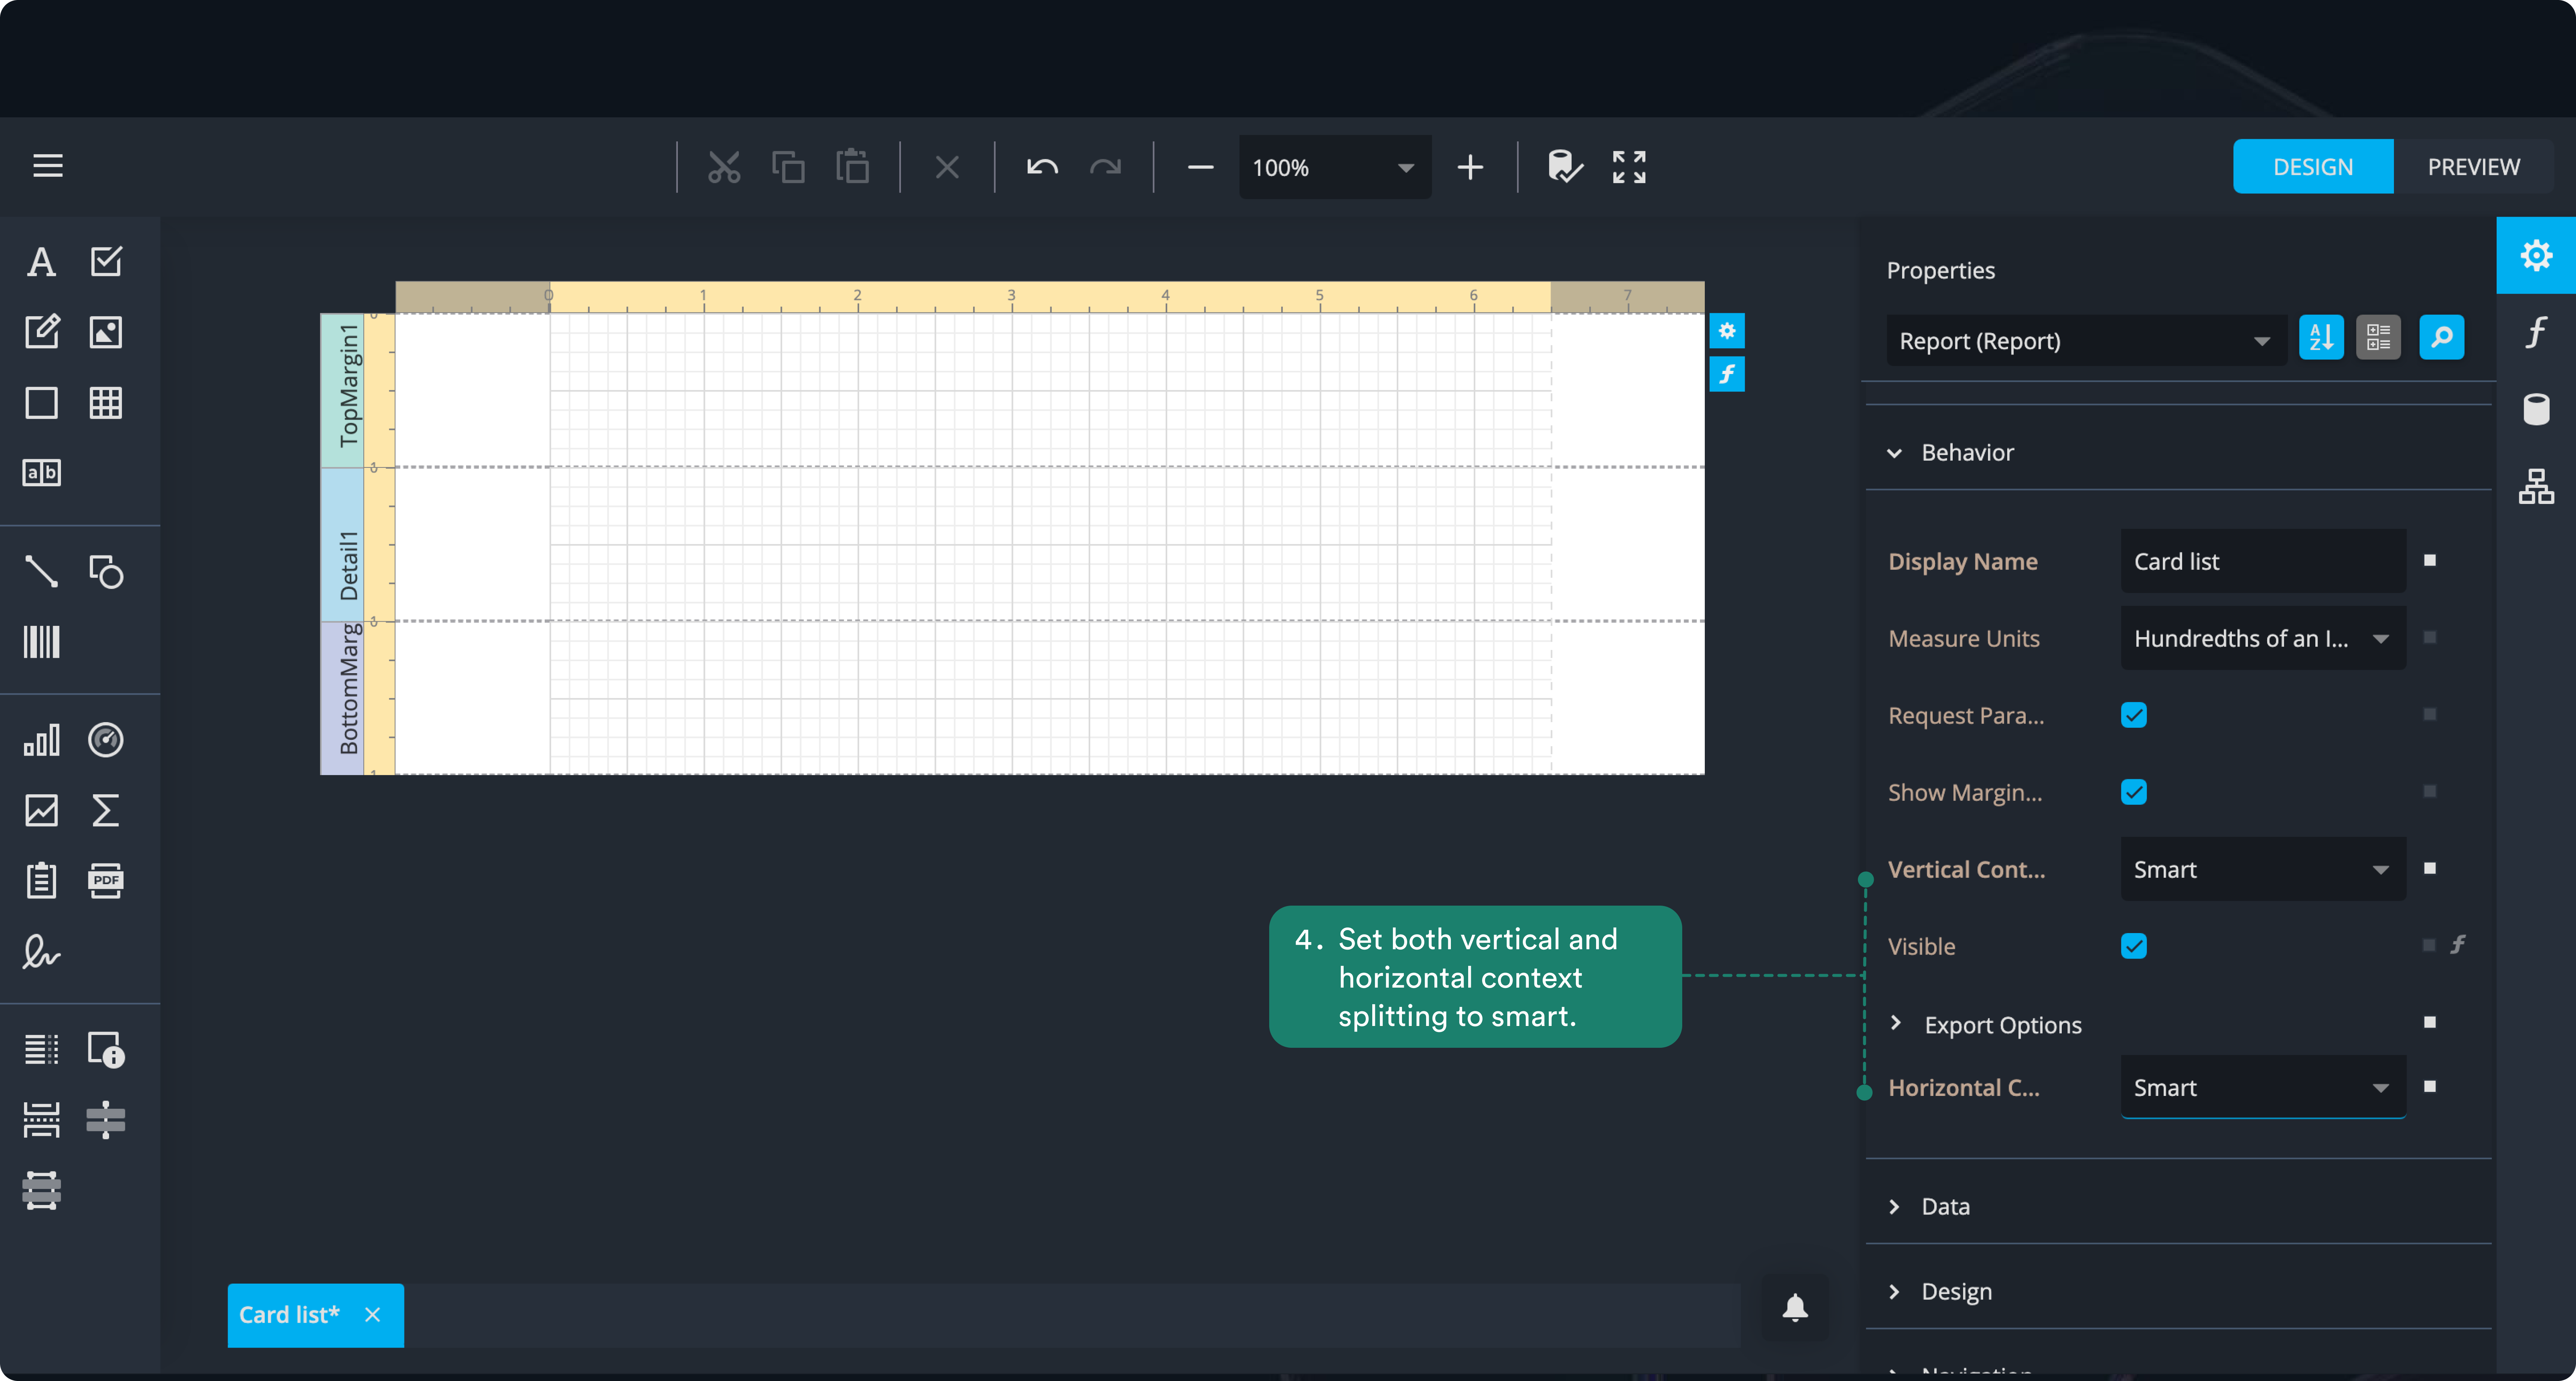
Why: Setting the font and splitting behavior at the report level ensures that all content added later will use these defaults, keeping your report consistent and readable without having to adjust each element individually.
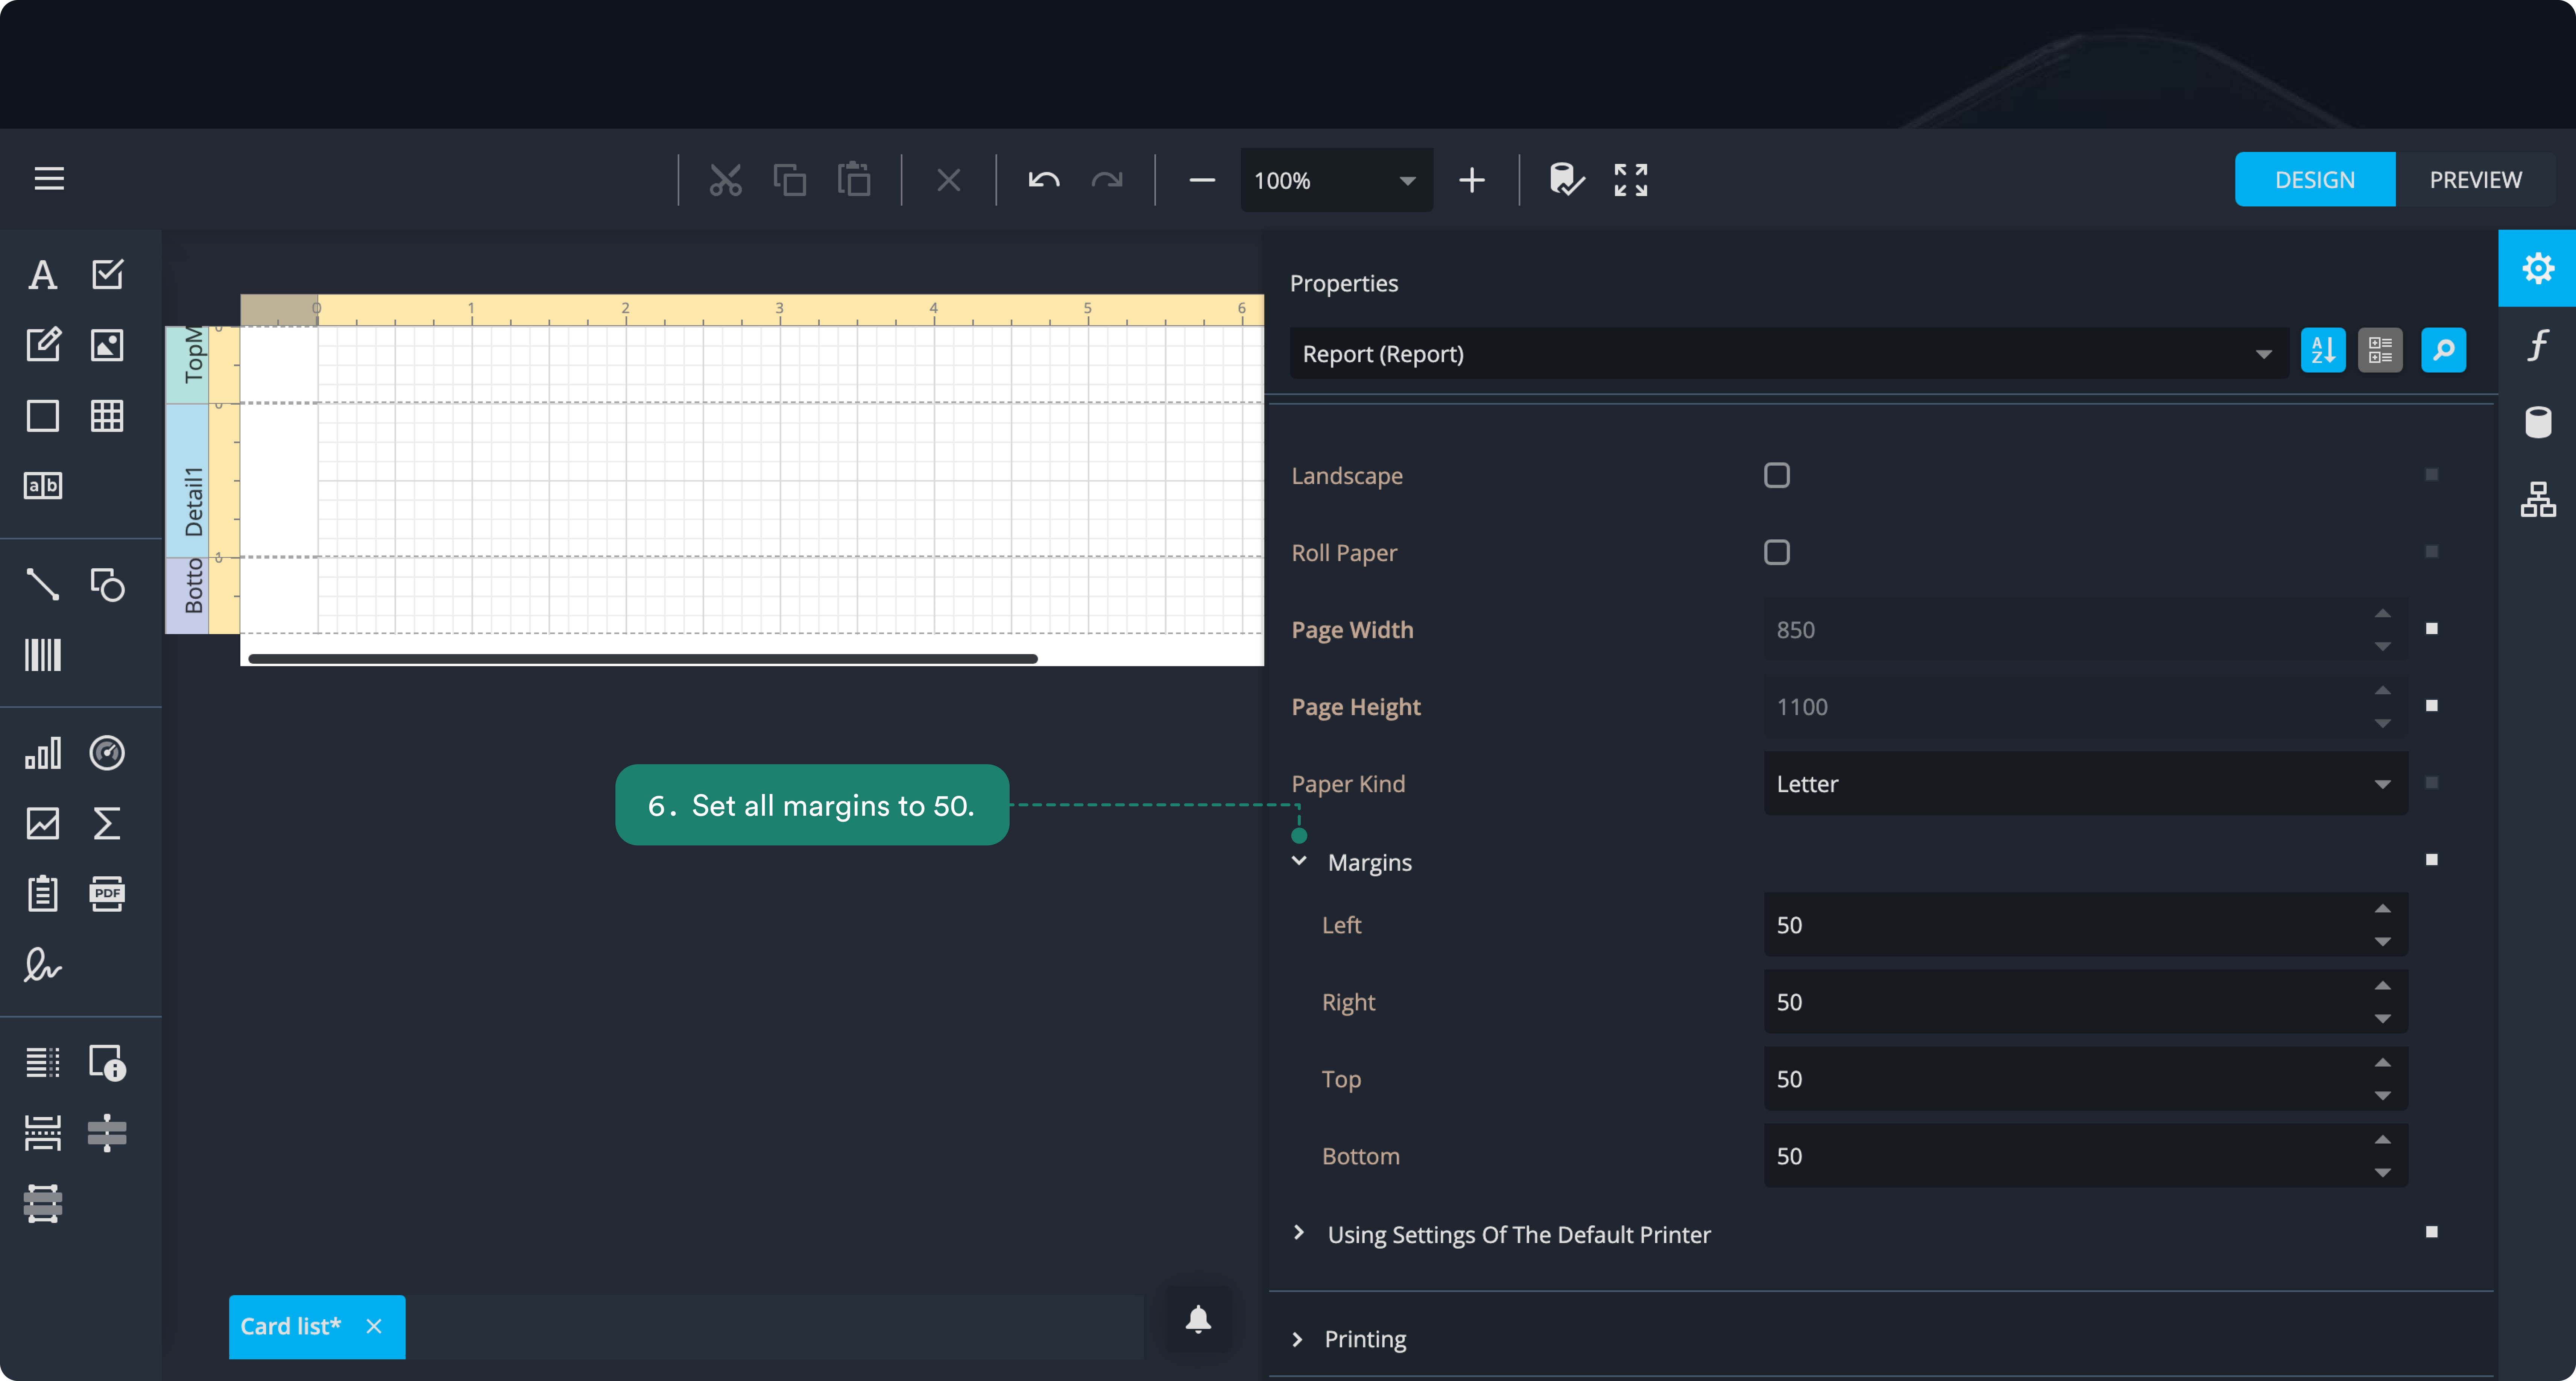
5. In the Page Settings section, make sure Landscape is unchecked. Ensure Paper Kind is set to Letter.This sets the default orientation and size for your report pages, so all content fits properly and prints as expected.

6. Set all Margins (Top, Bottom, Left, Right) to 50. Applying uniform margins ensures consistent spacing around your content throughout the report.
7. Save your changes by clicking the 'Apply changes' located at the top right.